Welcome to my kitchen! In this post, you'll find all the necessary kitchen tools (and some not so necessary kitchen tools) for a modern homestead kitchen. You all have requested this information multiple times, so I figured I'd put it into one place, organized in a nice and tidy way.
It's true that heading into the new year many people are concerned with inflation, prices at the grocery store, etc.
I think wisdom is being prepared for whatever life throws your way. Being prepared is wise.
One of the best ways to be prepared is with a vast array of kitchen skills.
Because, to put it bluntly, you can do all the gardening in the world, and you can raise incredible chickens, cattle, pigs, etc., but if you don't know how to prepare and preserve the food you're bringing in from the garden or the pastures, all that other knowledge will only take you so far in actually feeding your family.
Everything comes back to the kitchen. Whether it's the tomato you grew in the garden or the pigs you grew out back. Having the basic cooking skills and knowledge of how to prepare your food will go a long way in making your dollars stretch further.
Turn Your Waiting Room into a Classroom
You've heard me say this time and time again, but we all need to turn our waiting rooms into classrooms. We don't just have to sit on our hands whenever we're not able to do everything we imagine doing.
In fact, we're so much better off if, when we have a big dream of doing something later on, we equip ourselves in the meantime.
My homesteading journey began in the kitchen. It became this thing that just welled up in me that I needed to grow food.
At that time I didn't have much land to grow a garden, I didn't have help, and I didn't really know what I could do where I was. But what I could do was cook! Though I didn't have all the kitchen supplies I do now, I started slow and basic.
I didn't even have much money to source local foods, which was something else I knew I wanted to do. So I would take my $20 to the farmer's market and buy as much as my $20 would allow.
What truly got me started was a friend who had wild blackberries that allowed me to come forage. I would pick gallons of blackberries because it was an ingredient that I could turn into jam and cobbler. It's how I learned how to can, etc.
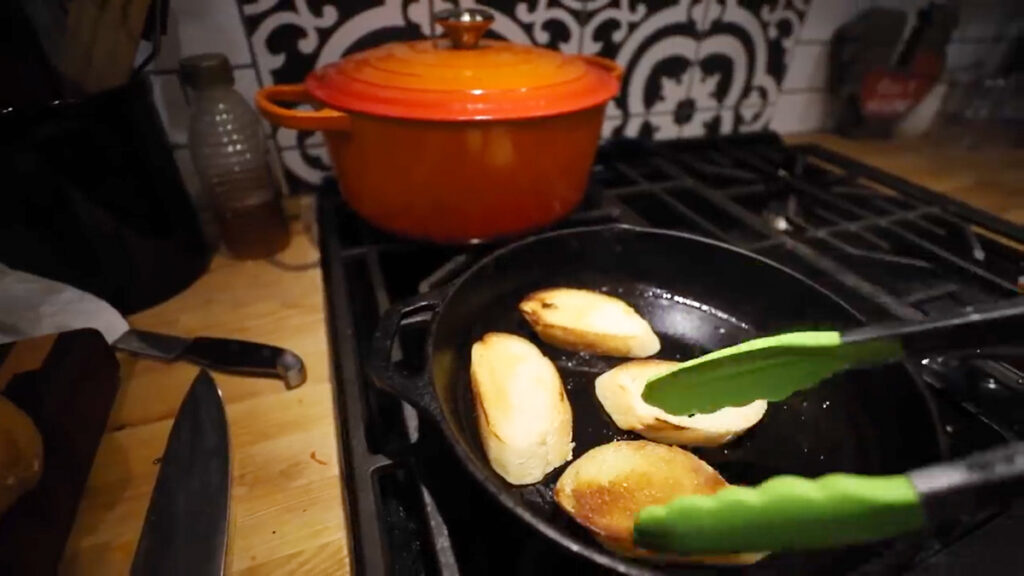
Source Wisely
None of us need to go out and buy brand-new kitchen items to fully stock our home. 15 years ago, I didn't have what I do today, and most of what I bought in the beginning was from garage sales, thrift stores, off Craigslist and Facebook Marketplace.
I try to buy the highest quality kitchen tool that I can afford right off the bat. I would rather buy something used that's of higher quality than new.
Get creative with how you can obtain your tools. I'll ask for kitchen tools for my birthday and Christmas and am always so blessed when I received them! But know your audience, as some women don't want these items as gifts!
Just Start
If not having an expensive piece of machinery keeps you from getting started, you need to shift your mindset.
For instance, I have a very nice Excalibur 9-tray dehydrator that I love and that dehydrates food very evenly. But the first dehydrator I purchased was for $17 on an endcap at the grocery store.
It dehydrated food somewhat unevenly, and I would have to swap the trays around frequently, but I used it for years. Before that, I dehydrated food in the oven at the lowest temperature with the door cracked.
Where there's a will there's a way!
Please don't allow your lack of finances or your lack of equipment to tell you that you're out of the game. I believe with my whole heart that when you're tenacious and when you steward the small things well, you'll get the large things.

Pots & Pans
Now I don't like to use non-stick cookware. I tend to stick with cast iron, enameled cast iron, or stoneware as my preference. I do own a couple of pieces of Pampered Chef non-stick cookware because I'm teaching my boys how to cook. These are mostly used when frying eggs (using spatulas that won't scratch the surface).
Are they completely non-toxic? Probably not, but I think teaching the skills to my boys is more important in this instance.
Stockpots
I typically use stainless steel stock pots. Some of mine have come from TJMaxx. Look for pots that have a heavy bottom in various sizes for whatever you'll be making.
I also have some enameled stock pots from LeCruset. Start off with about a 15-quart stockpot, then get yourself a 20-quart stockpot.
Let what you do determine the size pot to get. If you're not feeding a large family, or if you don't make homemade cheese regularly as we do, you may not need anything larger.
Although, in my experience, if you have a place to store it, you'll never regret having a huge stockpot. It can double as a water bath canner and can even be used to scald chickens.
Dutch Oven
I have varying Dutch ovens with varying prices, and I will say the more expensive pieces have held up better than the less expensive pots, but they both cook about the same.
The enameled cast iron Dutch ovens will conduct heat a bit slower, but will retain the heat and keep dinner warm much longer. A stainless steel pot will heat up much quicker and is great for boiling water.
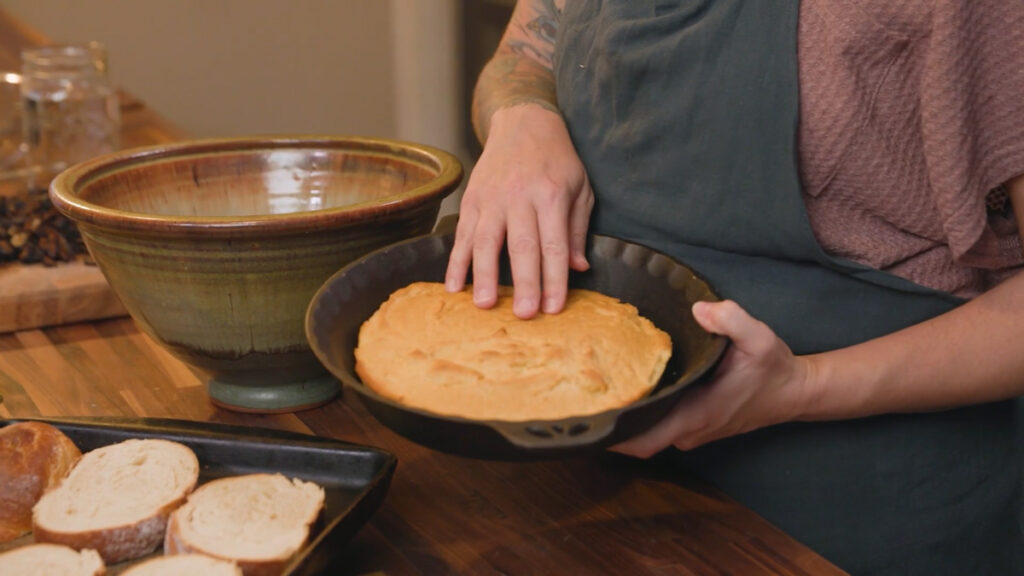
Bakeware
I have a friend who is a Pampered Chef consultant. Any of you who are in our Facebook page, Friends of Roots and Refuge Farm, will probably know Samantha. But every year I host a Pampered Chef party and this is how I've been able to build up my large collection of stone bakeware.
She has a Pampered Chef party open at the time of this publication (12/21/2022) if you'd like to place an order. These are extremely high quality items that get used on a regular basis in my kitchen.
In fact, I used to think I wasn't a good baker because I would always burn the bottoms of my cookies and biscuits. But it turns out the metal cookie sheets distribute heat differently than stoneware.
Some of my favorite items from Pampered Chef are:
- Pizza Stone
- Jelly Roll Pans
- Bread Pans
- Muffin Pans
- Casserole Dishes
- Pie Pans
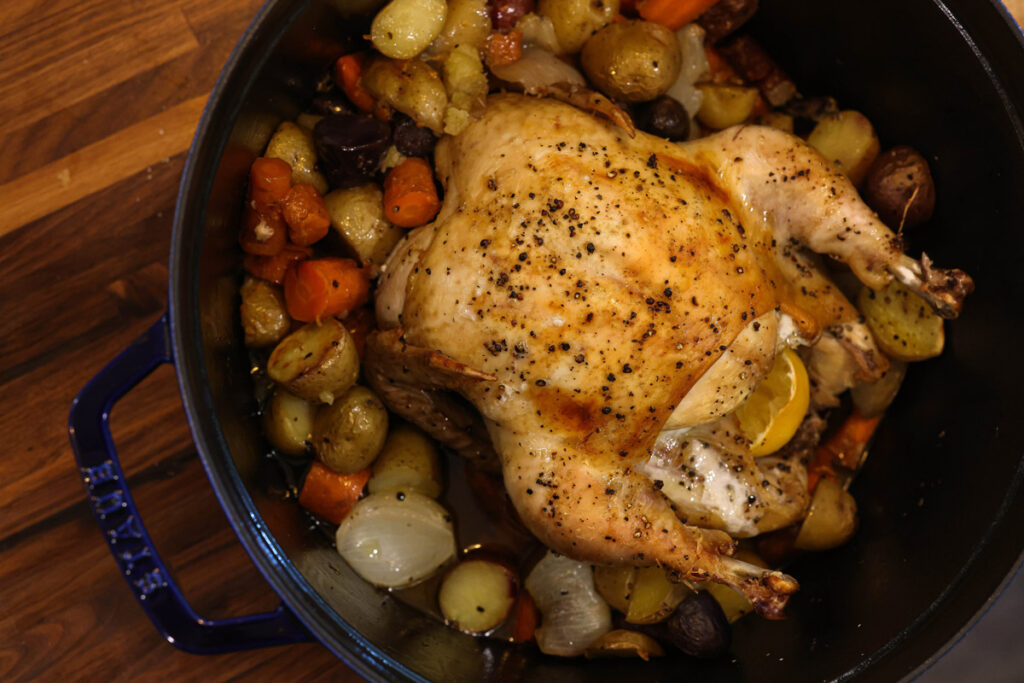
Cast Iron
I've covered my love of cast iron before, so for more information about all things cast iron, be sure to check out that post.
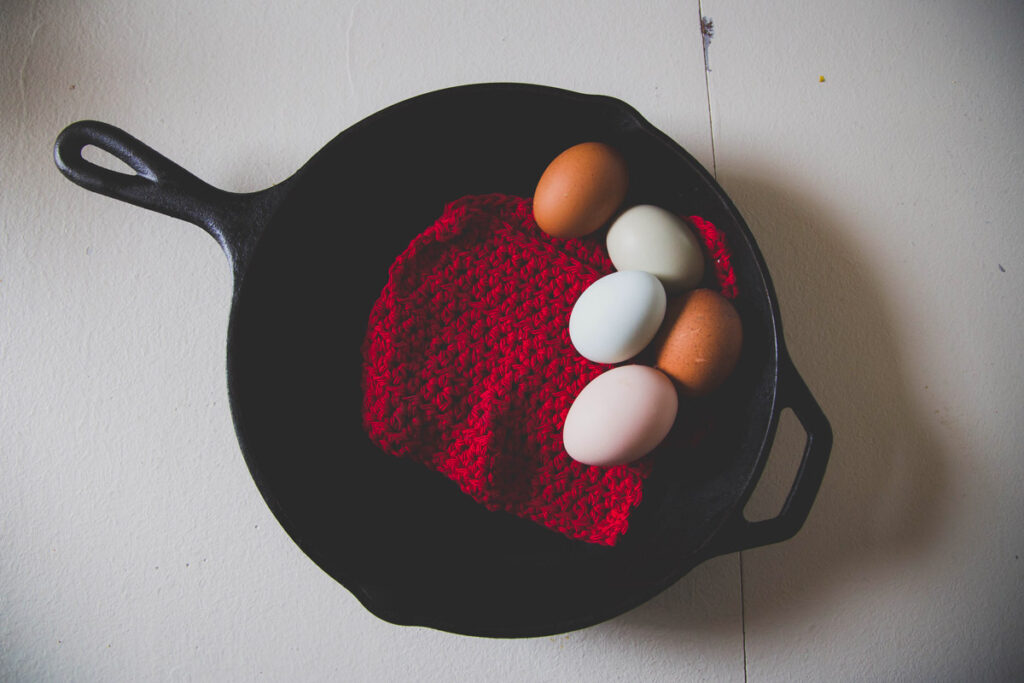
If you can only buy one piece of cast iron, I would recommend getting a 10-inch cast iron skillet. It's a great size that you can grab and cook up some eggs really quickly, but is also large enough to sear a steak and finish it in the oven, fry up some bacon, etc.
My most used pieces are my 12-inch cast iron skillets. You can bake cornbread or biscuits, fry up a large number of potatoes, etc.
Get creative when sourcing cast iron. Keep your eye out at antique stores, garage sales, etc. Even if they're rusty and orange, you can strip it down and reseason it and it should still work beautifully.
If you want to cook my spatchcock chicken recipe, getting a 15-inch cast iron skillet is a great option.
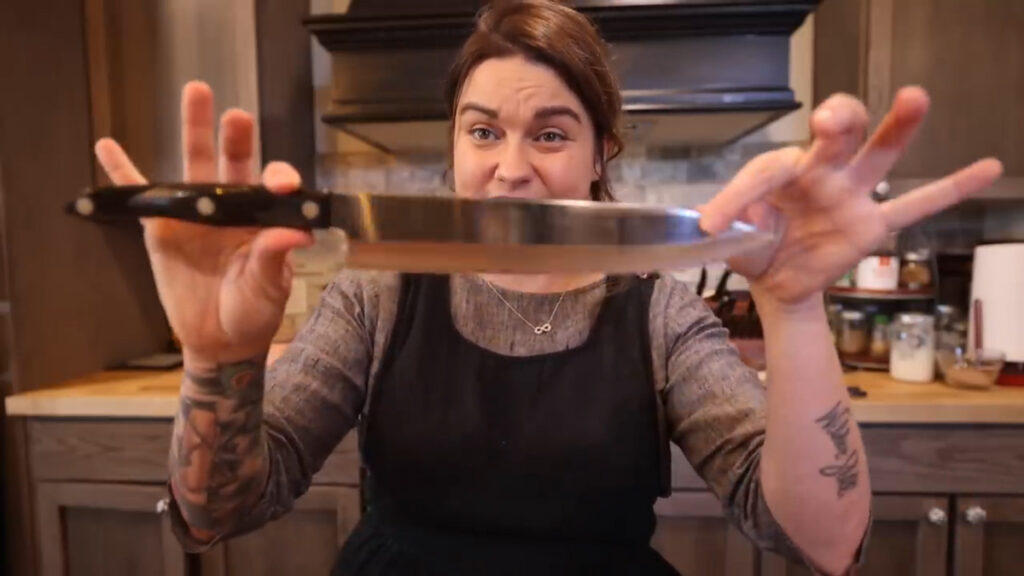
Knives
I finally have a very fancy set of knives that was gifted to me by my husband. They are Cutco knives and they'll last me the rest of my life. But I will also say there are many knives in that set that go unused most of the time.
My recommendation when it comes to knives is to buy the best knife you can afford and learn how to sharpen it. You should have a whetstone and a honing tool. Never put them in the dishwasher, and store them properly.
Having the right tool can make or break a job. I've heard so many people tell me they're not good cooks, but when they got good quality tools to do the job right, they ended up being great cooks and actually enjoyed the process.
Trying to cut potatoes or break down a chicken with a dull knife can actually be dangerous, but a sharp knife can be a game changer.
Here are the knives I would recommend:
- Chef's Knife – A good 8-inch chef knife can do a lot in the kitchen. My two chef's knives get used more than the rest of my knives combined. If you can only afford one knife, get a chef's knife. Check out the makers of my favorite knife, MTKnives Custom KnifeMaker.
- Medium Knife (Santoku) – I don't think this is essential to have, but it can be nice for certain jobs. Many times a chef's knife can get the job done, but a 6-inch Santoku knife is helpful.
- Paring Knife – A small paring knife is great for many smaller jobs or jobs that require more attention to detail.
Small Kitchen Appliances
There are a lot of kitchen appliances, specifically mixing tools. Having some sort of mixer will make your life easier in the kitchen, but it may not be necessary to have all the appliances I have.
Another thing to consider when purchasing these mixing tools is that the more expensive brands/models sometimes come with a lifetime warranty. Over the course of the appliance, if you have a lifetime warranty, you can end up saving money in the long run over purchasing a less expensive brand/model without a warranty.
Each one does a specific job in my kitchen. Here's what I have:
- Breville Food Processor – The Breville food processor is great for chopping, slicing, dicing, pureeing, or even mixing pie dough or dumpling dough for homemade chicken and dumplings. The one linked doesn't come with all the attachments, but those can be purchased separately as needed. I've had mine for a few years and 70% of the time, I'm using the standard S blade that it comes with. The other 25% of the time, it's with the cheese grater attachment, and maybe 5% of the time, I'll use the other attachments like the slicer, spiralizer, etc.
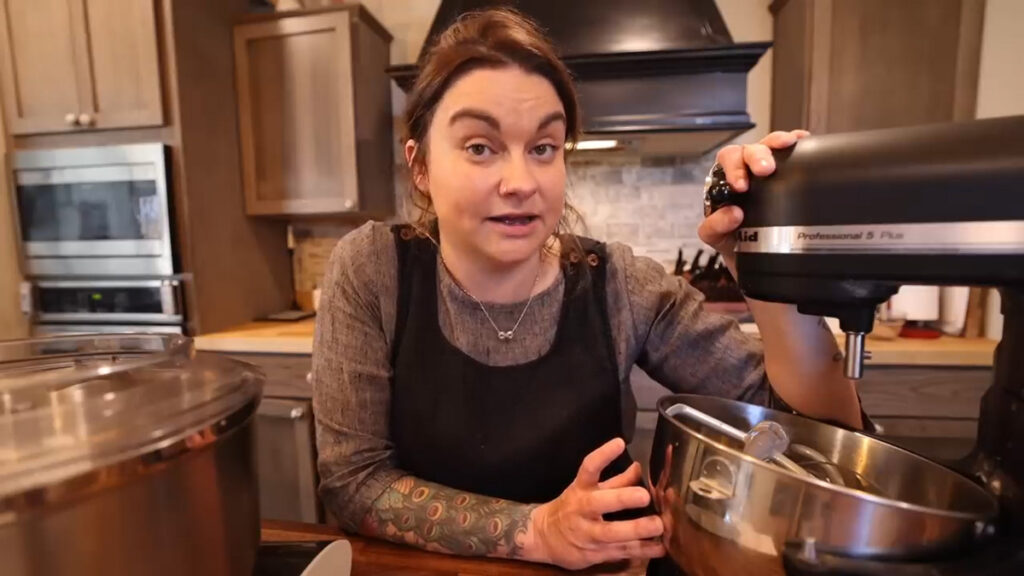
- Bosch Mixer – The Bosch mixer is a newer appliance to our home and I specifically purchased it because it has an enclosed top. I use it for making butter on a busy kitchen day. The other thing I like is that my KitchenAid is no longer tied up and I can be making bread at the same time as butter.
- KitchenAid – I did burn up my first KitchenAid mixer due to user error. I didn't maintain it as directed, so I'm on my second one. I use it a lot, sometimes for hours at a time. It's truly a workhorse in my kitchen. I have the 5 Quart Pro. These are significantly cheaper at Costco.
- Vitamix Blender – I probably burned up four $50-$60 blenders before I purchased my Vitamix. I have now had my Vitamix blender for 17 years. Keep an eye out at Costco as they often go on sale there. I use our Vitamix for daily smoothies, but it's also great for making nut butter, nut milk, and even grinding grain (they have a specific dry container for grinding grain).
- Roaster Ovens – I love my roaster ovens! You can usually find them for $40 or $50 at Walmart, but don't buy them during the holidays. They're overpriced! Generally speaking, you can find them used on Facebook Marketplace after the holidays because people buy them for Christmas and Thanksgiving, then sell them. I like to use my roaster ovens to cook two chickens at a time, then turn all the bones into homemade bone broth.
Large Kitchen Appliances
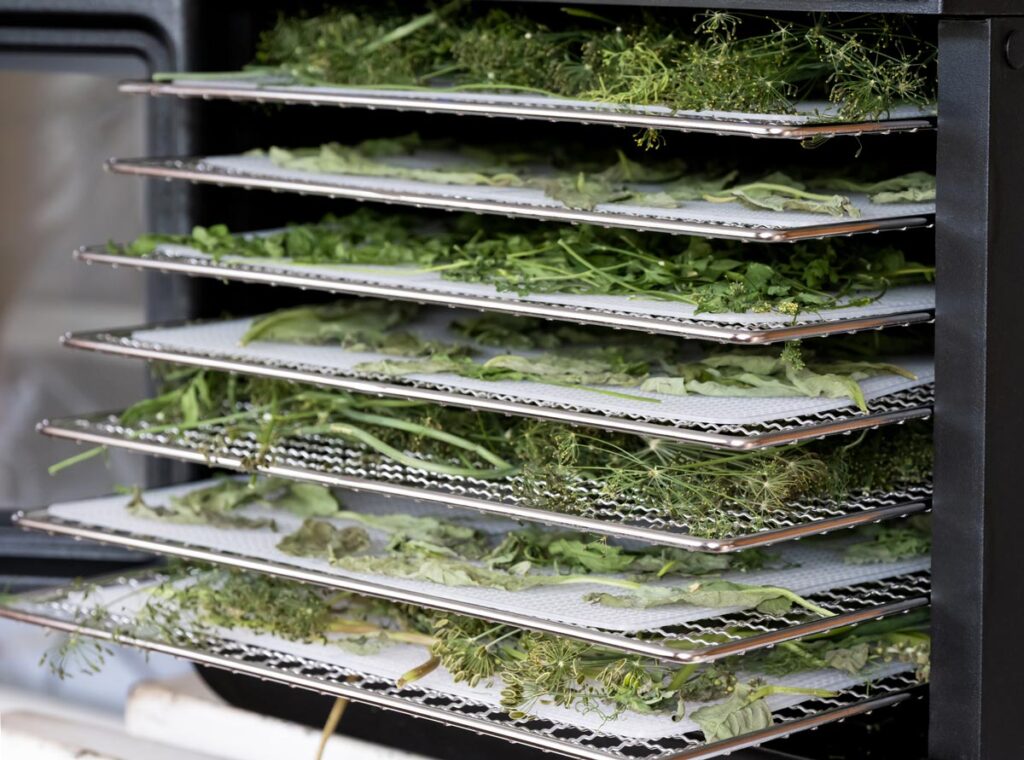
Dehydrator
There is a lot that can be done in a dehydrator. It's a great preservation method, but it's not an appliance I would recommend as a first in your kitchen.
There's a lot that can be dehydrated without the use of a large Excalibur 9-tray dehydrator like I have. You can dry herbs on a kitchen towel on the counter. You can dehydrate fruit on a tray in the oven with the door cracked open.
My advice is to exhaust all your options for dehydrating without a dehydrator first. Then, if you've decided that dehydrating will be a major source of food preservation in your kitchen, then consider investing in a machine that will do the job well.
Freeze Dryer
I do have the large size Harvest Right Freeze Dryer and I love it. But again, this isn't a machine that changed my life. It was something that we layered in after we had mastered both water bath and pressure canning, we'd done a lot of dehydrating, and I'd learned the skills of gardening to merit bringing in enough produce to freeze dry.
Yes, they're very cool machines, and yes, we love it, but it's an expensive piece of equipment and there's a lot more you can learn in the kitchen before taking the leap into freeze drying.
Canning Supplies
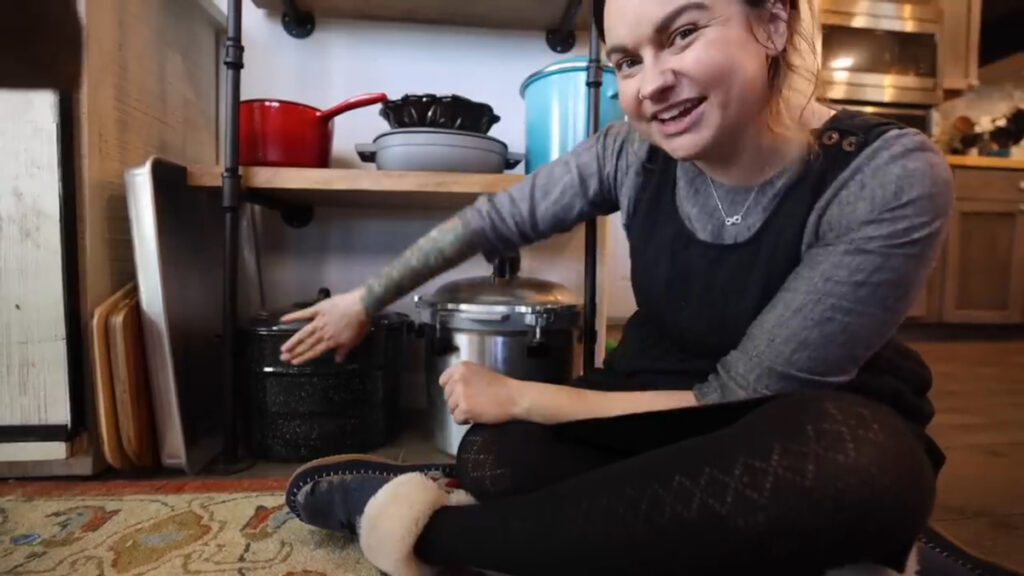
Next up are my canning supplies. Again, I've sourced these things over the years as I can afford them. But when it comes to a large pot for canning, you can get away with a large stockpot. Just be sure to put something on the bottom of the pot when canning so your jars don't create a vacuum seal. Something like canning bands laid out on the bottom work great.
- Enameled Water Bath Canner – A canner has a ridged bottom to prevent this from happening with your canning jars.
- All American Pressure Canner – I prefer the smaller size of the All-American Pressure Canner because, when I'm canning a lot, I wouldn't be able to lift a larger pressure canner!
I'm not going to get in the middle of the canning wars that happen every day across the internet. In the United States, what's recommended is that you pressure can low-acid foods and water bath can high-acid foods.
There are a lot of resources out there, so use common sense and make decisions that you're willing to stand by. You can check out more information in my post on an introduction to water bath canning and this post on canning 101.
And that's it for this first post in my series of must-have kitchen tools for the homestead kitchen! Be sure to check out some of our other posts and sign up for our newsletter so you don't miss the next installment of this series!
