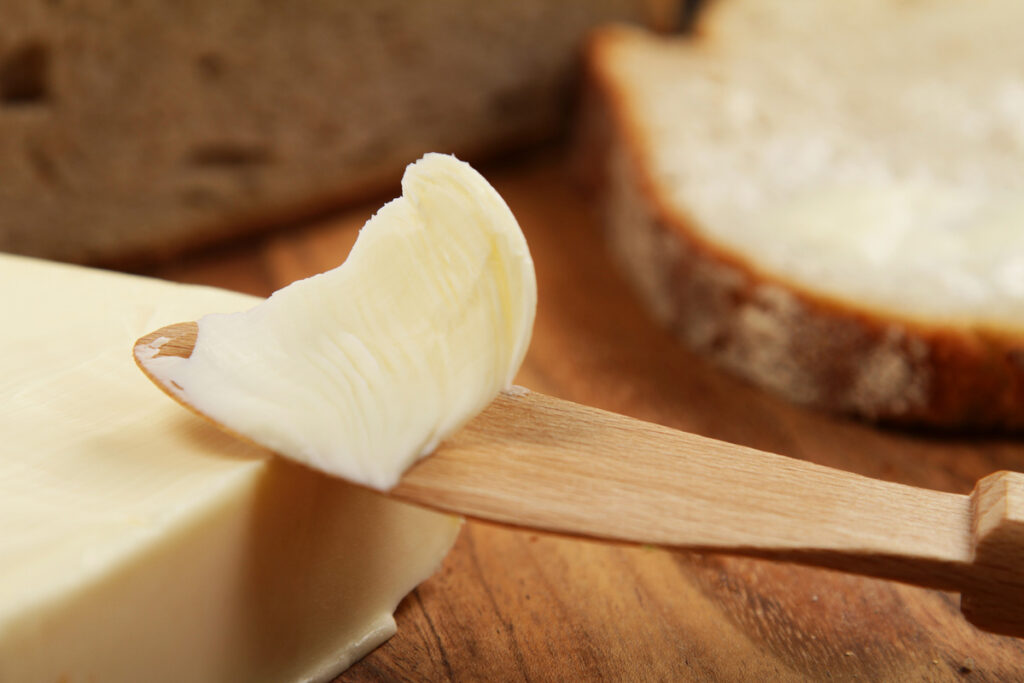
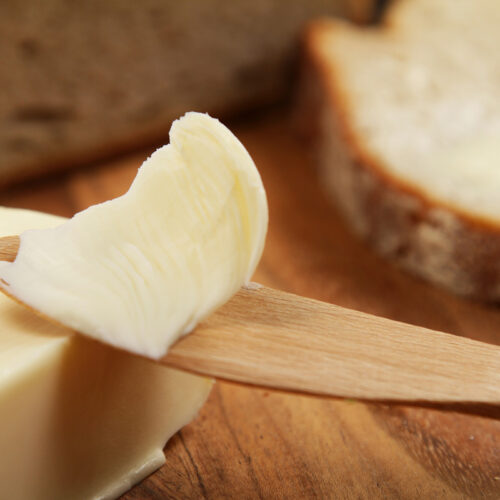
Learn how to make homemade butter using raw milk from your dairy cow or cream from the store, without a butter churn!
Butter is among the top skills suggested for homesteaders to learn. For a beginner, it may seem insurmountable (as it did for me), but I have since realized how simple it really is and now make butter on a weekly basis.
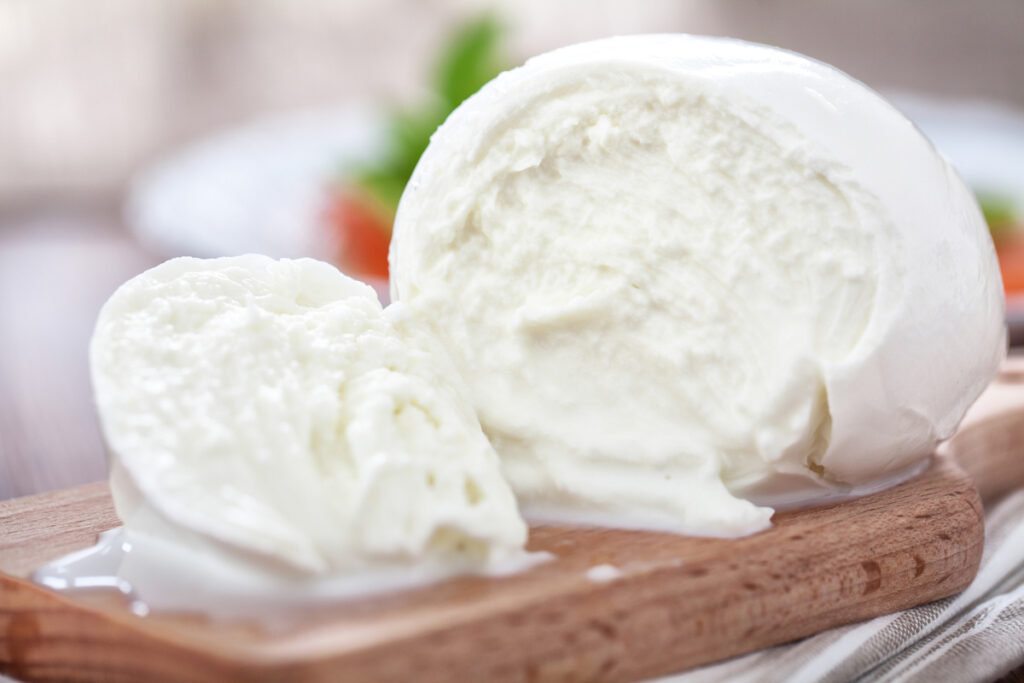
Homemade butter has become a task I regularly accomplish alongside a few others in the kitchen. I love to whip up this butter along with homemade mozzarella cheese and ice cream all in one day.
Why I Love Making Butter at Home (& Owning Dairy Cows)
We love the security that comes from sustainably producing our food on our own farm.
Owning dairy cows opened up a whole new world of possibilities for us. I usually do not need to buy dairy products at the store anymore now that we own a dairy cow.
On our homestead, we can produce quality, chemical-free, fresh dairy products from cows that we know are healthy. Learning how to make homemade butter adds an additional peace of mind that is worth a lot!
What Is The Difference Between Cow’s Milk & Goat’s Milk
The main difference between dairy cow’s milk and dairy goat’s milk is the volume produced. Additionally, dairy goat’s milk is naturally homogenized while cow’s milk is not.
What I mean by goat’s milk being naturally homogenized is the cream molecules (solids) are mixed into the milk and do not easily separate from the liquids.
If you leave the milk in the fridge long enough or use a cream separator, it is possible to separate.
Still, you are not getting the same volume of milk that you get from a cow. Consequently, you won’t get much cream.
Because of this, we mainly use our dairy goat’s milk for making soft cheeses like homemade mozzarella. This recipe can be made with goat’s or cow’s milk.
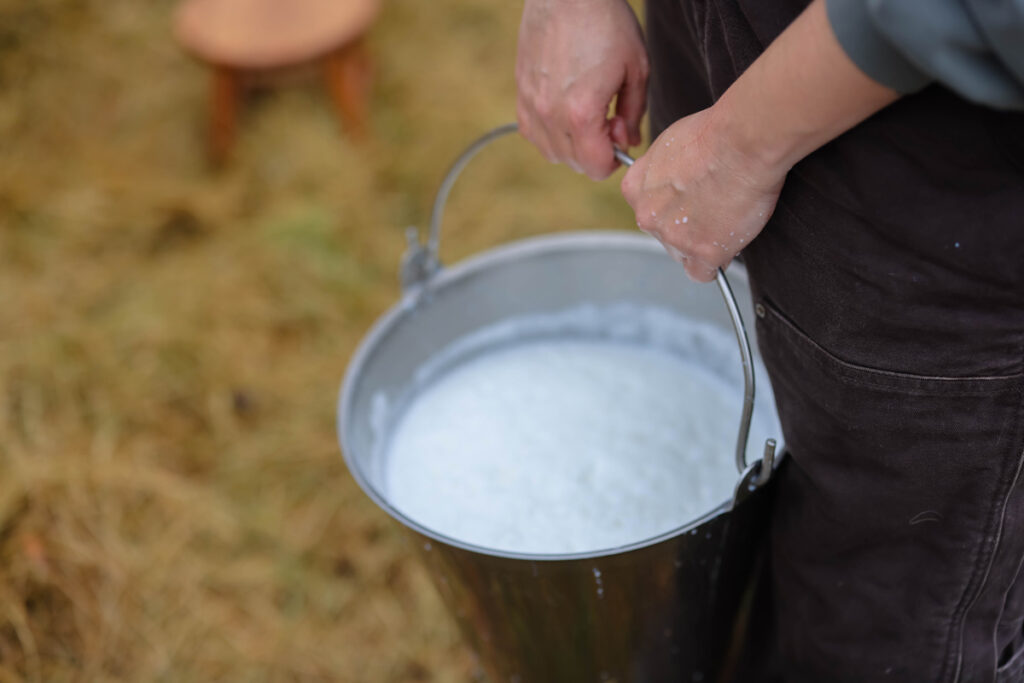
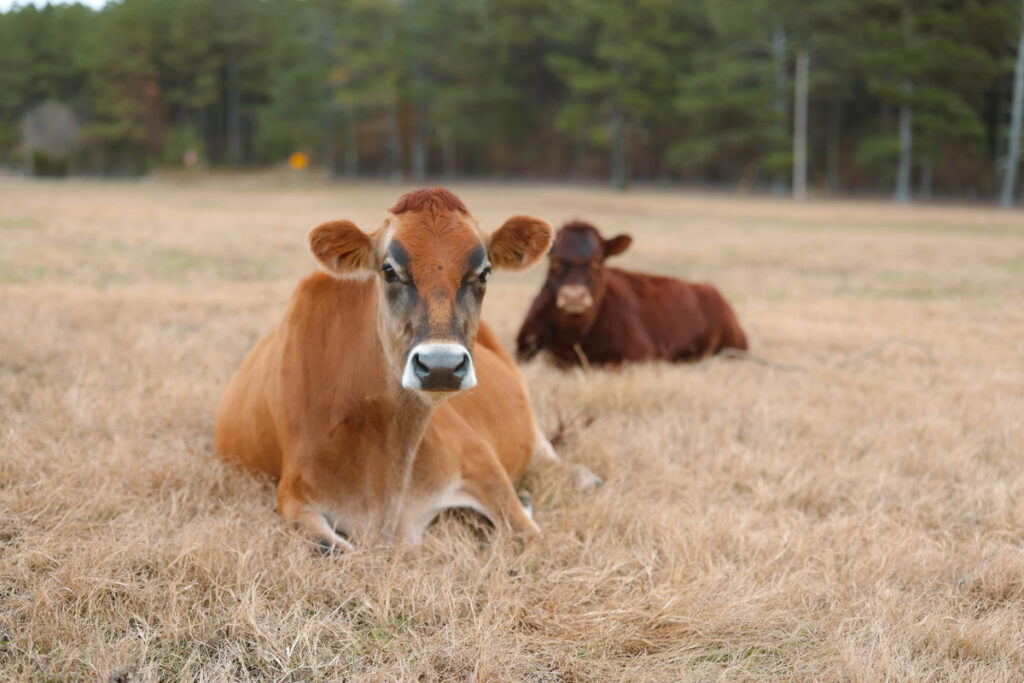
We get about 4 ½ gallons of milk from both dairy cows at each morning milking. The milk from our Jersey cows is about 6 to 7% butterfat. (For comparison, store-bought whole milk is about 3.2% butterfat.)
The milk we have left after using the cream separator has a butterfat content that is close to 2% milk. The volume of milk and cream we get from our cows allows us to make a variety of dairy products for our family.
Learning how to make homemade butter has become a standard task in the variety of products we make.
Supplies Needed for Homemade Butter
- Cream separator – If using milk from your own cows, you will want a cream separator. It is possible to skim the cream by hand, but when we’re talking about the volume I’m doing each week, the cream separator is worth it. If using cream from the store or a farmer that has already separated the cream for you, the cream separator is not necessary.
- Stand mixer with whisk attachment – A hand mixer also works, but be prepared to count that as your arm workout for the day!
- Tea towel – This helps contain the cream from splattering all over the kitchen counter while the mixer is on high.
- Spatula – A wooden spoon could also work to scrape down the sides of the bowl during the whipping process.
- Colander/Bowl – Many recommend using cheesecloth to strain the buttermilk, but I have found that a colander works much better.
- Water – It is important to fully rinse the buttermilk out of the butter. Ice cold water will harden the butter making it difficult to remove all the buttermilk. Lukewarm running tap water works best.
- Airtight container – Butter stores best at cool temperatures in an airtight container.
Ingredients Needed for Homemade Butter
- Heavy Cream – ½ gallon of heavy cream will yield approximately 12 ounces of delicious butter. If you do not have raw milk with the cream in it, heavy whipping cream from the store will work. When using store-bought cream, the first step of separating the cream is not necessary.
- Salt – Use approximately ½ teaspoon of salt. However, I personally do not measure the salt, and recommend adding to your taste.

How to Make Homemade Butter
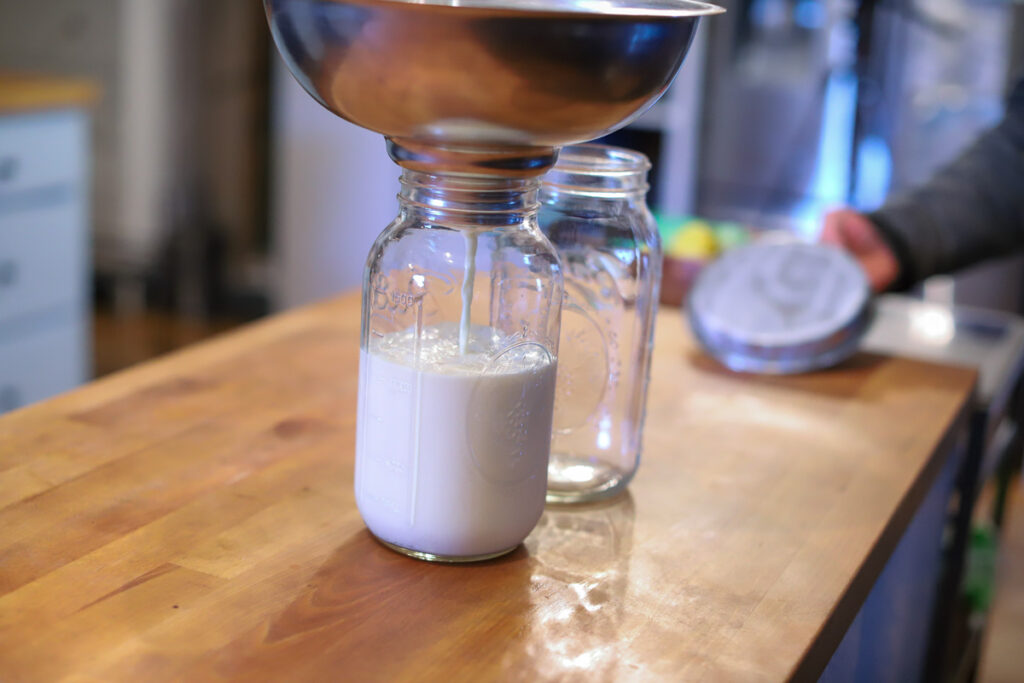
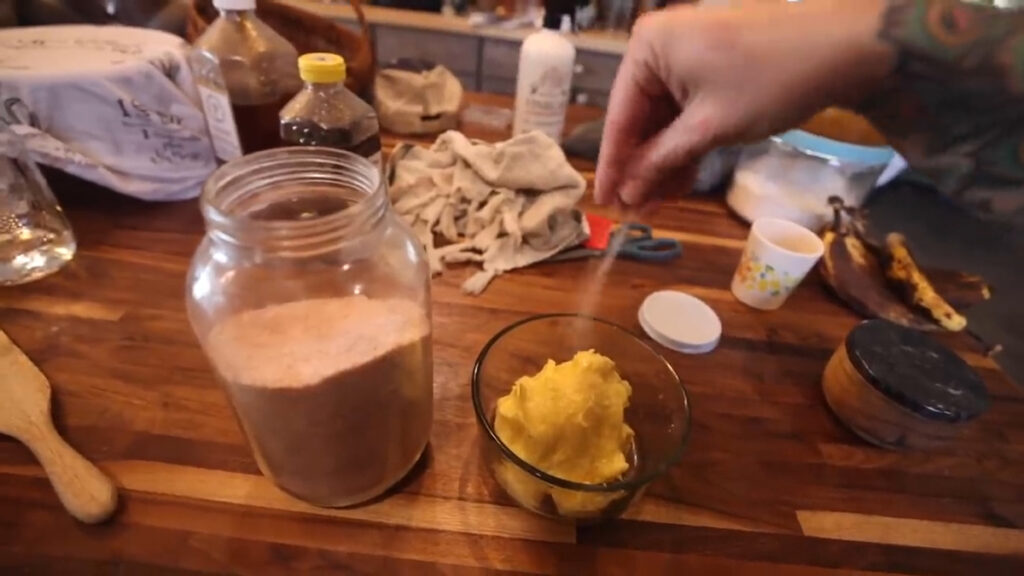
- When using farm-fresh milk, run the milk through the cream separator. Put the cream into a container (I like to use Mason jars), and allow it to settle for at least 4 hours.
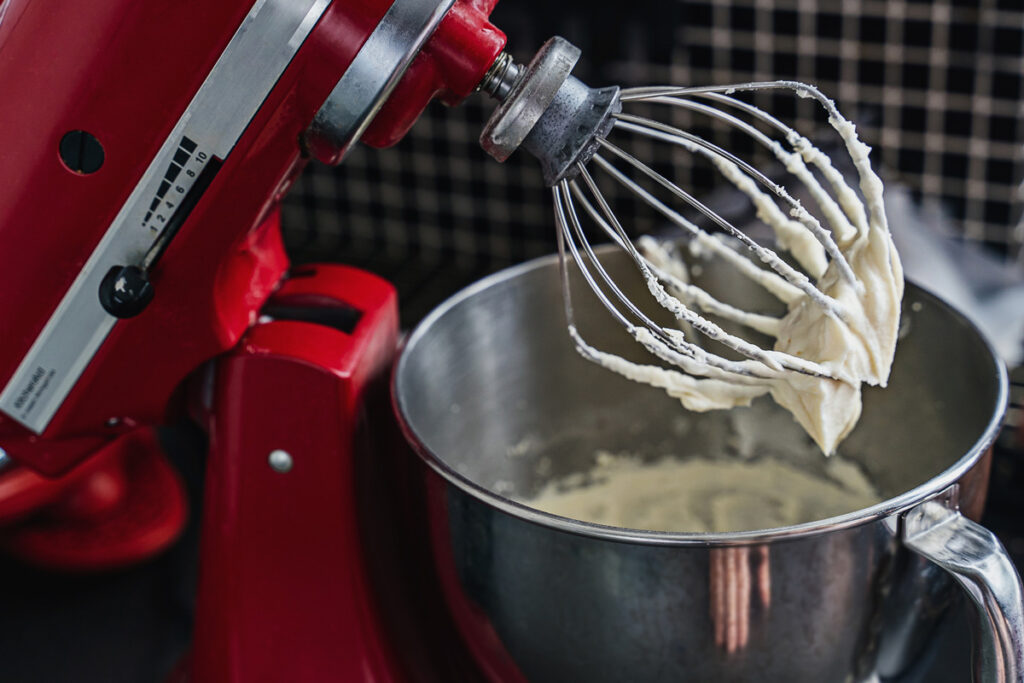
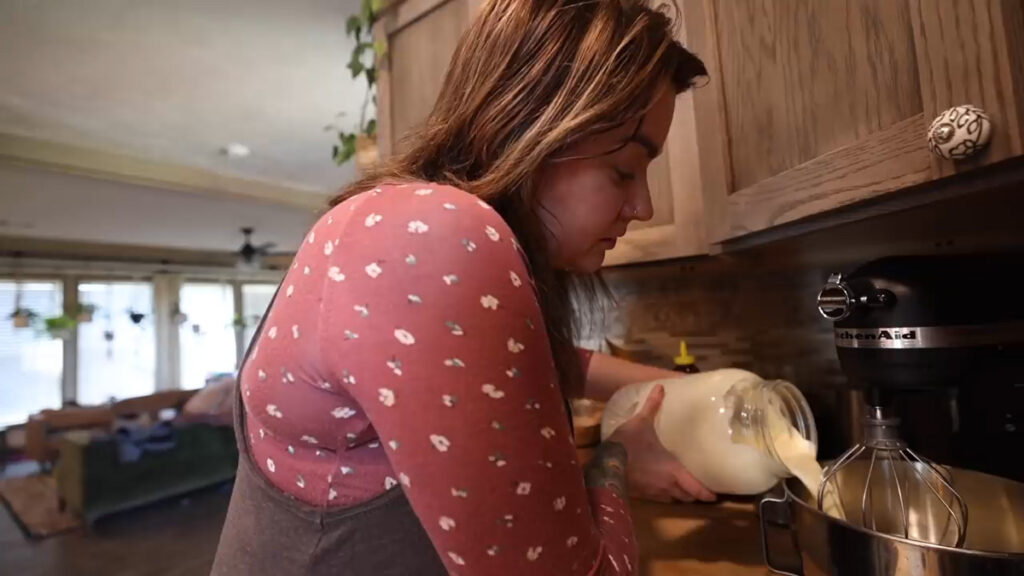
- Remove the heavy cream from the refrigerator, and pour it into the bowl of the stand mixer.
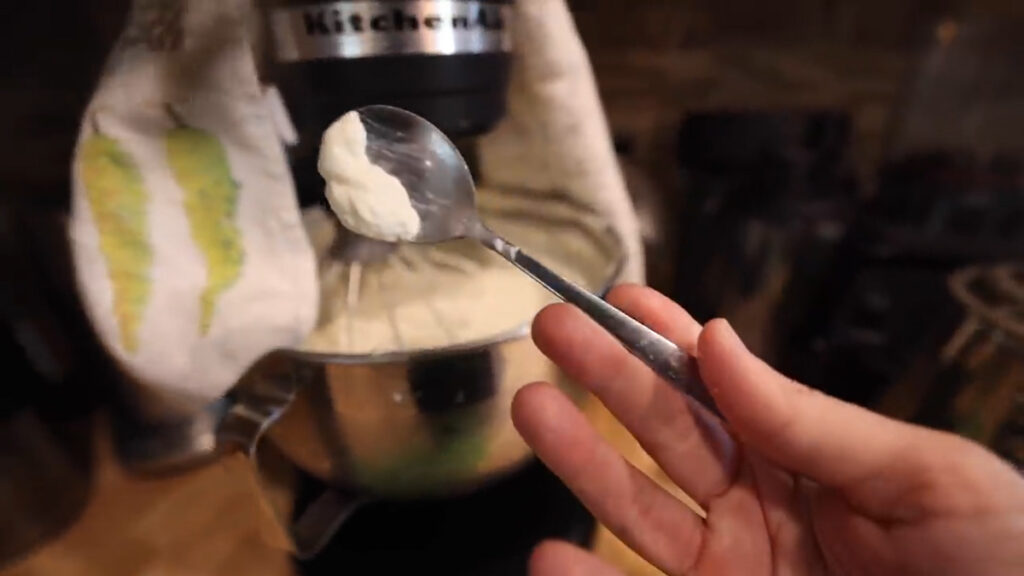
- Using the whisk attachment (or hand mixer), mix on high until whipping the cream forms stiff peaks. Continue mixing through the whipped cream stage until solids appear. You will notice as the solids (which is the butterfat) begins to form, the cream volume will seem to fall. Pro Tip: To keep the cream from splashing outside of the bowl, drape a tea towel over the top of the stand mixer.
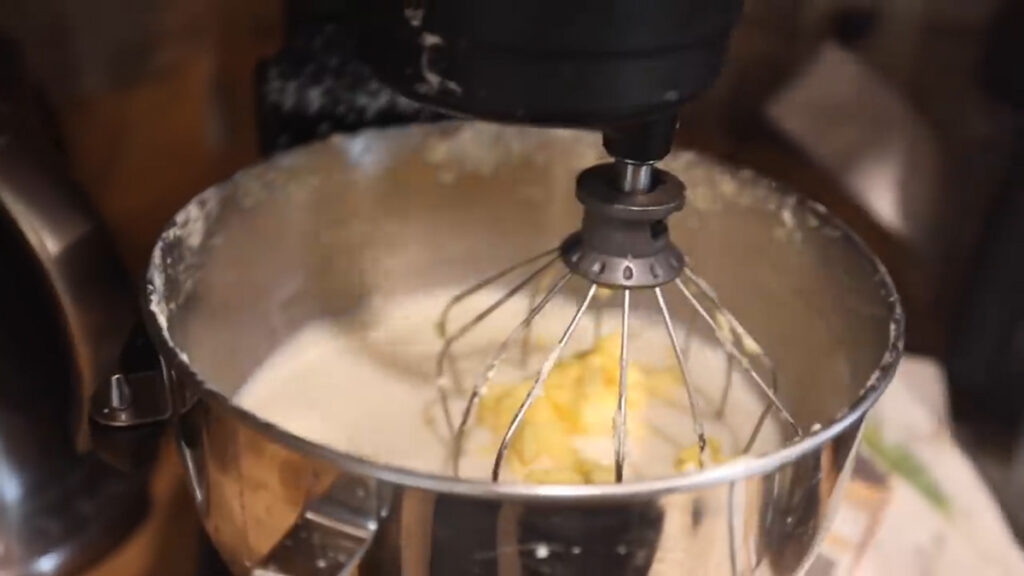
- Stop and scrape the solids off the sides of the bowl to equally incorporate. You may have been mixing for 20 minutes by now. Start mixing the cream again at medium speed.
- Paying close attention, stop the mixer and remove the whisk, as soon as the solids start to all come together. When this happens, you should have lumps of butter and thin liquid buttermilk in your bowl. Pro Tip: You can save the buttermilk and use it in recipes that call for buttermilk. Just keep in mind that it will not have the same tang as store-bought buttermilk because it is not cultured.
- Pour the butter and buttermilk through a colander (or strainer) to separate the butter from the buttermilk.
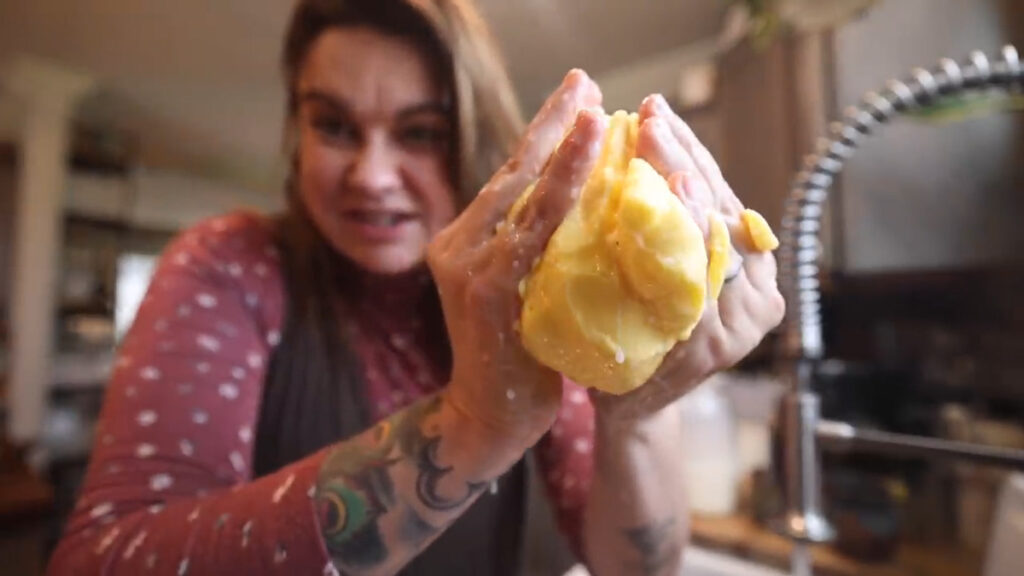
- Take the lump of butter in your hands and begin rinsing it under room temperature water, squeezing out all of the excess buttermilk as you rinse. Keep working and squeezing the butter and alternately rinsing it under cool water until you are satisfied that all of the buttermilk is rinsed out. Pro Tip: Make sure ALL of the buttermilk comes out of the butter. Any buttermilk that remains in the butter will go rancid quicker than the butter and spoil it all. If your butter starts to smell cheesy in a few days, you know that you have buttermilk left in it. In that case, use it quickly because it will not last much longer before spoiling.
- If you prefer to have salted butter, sprinkle some salt on and mix it in. I recommend adding salt in small increments and taste testing it until you get it how you like it. Pro Tip: In addition to flavor, salt also helps remove moisture from the butter, which will aid in preserving it longer.
- Store homemade butter in an airtight container in the refrigerator, or wrap tightly in plastic wrap and freeze it for up to a year.
How Much Time Does Owning a Dairy Cow Take
A lot of people dream of having a dairy cow on their homestead, but the idea of dealing with the daily chores and the volume of milk can be overwhelming. That is a legitimate concern.
Before you take the leap of buying a dairy cow, really consider if you have the time to devote to it.
A cow needs milking twice a day on a regular schedule to prevent injury and keep up milk production. It also takes time weekly to process that much milk and cream.
If we are busy for even a few days and I don’t have the time to process milk, we simply do not have the refrigerator space to store 5+ gallons of milk a day.
My solution is to spend a couple of hours processing two or three times a week to make sure that I don’t get behind. It is a commitment, but well worth it for us.
If owning a cow sounds like too much of a commitment for you, don’t give up on your dream of making your own butter quite yet. You might just be able to find a creative solution.
Look for a local farmer who sells raw milk with the cream still in it. Or you might be able to find a friend or neighbor who will share a milk cow with you. Then, you can divide the work and milk between your families.
While it’s not cost-effective to do so on a regular basis, you can at least buy some heavy whipping cream from the store. Practice how to make homemade butter from time to time while waiting for farm-fresh milk to become a reality for you too!
Related Posts:
- Five Steps to Sustainable Food Security
- Homemade Mozzarella Cheese – Step-by-Step Tutorial (Goat’s or Cow’s Milk)
- The Best & Easiest Method of Bottle Feeding Goats
- How to Milk a Goat
- Raising Meat On the Homestead (Answers to Frequently Asked Questions)
- Heritage Breeds For The Homestead
How to Make Homemade Butter
Equipment
- Cream Separator If using cream from the store or a farmer that has already separated the cream for you, the cream separator is not necessary.
- Stand Mixer w/Whisk Attachment a hand mixer may also be used
- Tea Towel
- Spatula or wooden spoon
- Colander or strainer
- Bowl
- Water lukewarm is best
- Airtight Container
Ingredients
- 1/2 Gallon Fresh Cream Store bought whipping cream can also be used.
- 1/2 Teaspoon Salt or to taste
Instructions
- Run farm fresh milk through the cream separator. Put the cream into a container (I like to use Mason jars), and allow it to settle for at least 4 hours.
- Remove the heavy cream from the refrigerator, and pour into the bowl of the stand mixer.
- Using the whisk attachment (or hand mixer), mix on high until whipping the cream forms stiff peaks. Continue mixing through the whipped cream stage until solids appear. You will notice as the solids (which is the butter fat) begins to form, the cream volume will seem to fall. Pro Tip: To keep the cream from splashing outside of the bowl, drape a tea towel over the top of the stand mixer.
- Stop and scrape the solids off the sides of the bowl to make sure everything is being equally incorporated. You may have been mixing for 20 minutes by now. Start mixing the cream again on medium speed.
- Paying close attention, stop the mixer and remove the whisk, as soon as the solids start to all come together. When this happens, you should have lumps of butter and thin liquid buttermilk in your bowl. Pro Tip: You can save the buttermilk and use it in recipes that call for buttermilk. Just keep in mind that it will not have the same tang as store bought buttermilk because it is not cultured.
- Pour the butter and buttermilk through a colander (or strainer) to separate the butter from the buttermilk.
- Take the lump of butter in your hands and begin rinsing it under room temperature water, squeezing out all of the excess buttermilk as you rinse. Keep working and squeezing the butter and alternately rinsing it under cool water until you are satisfied that all of the buttermilk is rinsed out. Pro Tip: Make sure ALL of the buttermilk comes out of the butter. Any buttermilk that remains in the butter will go rancid quicker than the butter and spoil it all. If your butter starts to smell cheesy in a few days, you know that you have buttermilk left in it. In that case, use it quickly because it will not last much longer before spoiling.
- If you prefer not to have unsalted butter, sprinkle some salt on and mix it in. I recommend adding salt in small increments and taste testing it until you get it how you like it. Pro Tip: In addition to flavor, salt also helps remove moisture from the butter, which will aid in preserving it longer.
- Store butter in an airtight container in the refrigerator, or wrap in plastic wrap and freeze it for up to a year.