In this post on home canning 101, I want to encourage you to turn your waiting room into a classroom and teach you the basics of home canning. These skills will come in handy whether you have a large garden, or simply buy your produce in bulk when it’s in season and preserve it for the year.
One of the biggest steps to self-reliance is learning how to preserve food at home. Even if you are still in the homestead dreaming stage, you can learn how to preserve food and become less reliant on the grocery store!
We’ve shared other methods of becoming more self-reliant such as how to make homemade butter, homemade cheese, homemade bone broth, and more!
Let’s focus on how you can preserve food in your kitchen and learn about the different equipment parts needed.
Getting Started – The History of Home Canning
Why is it called canning and not jarring? In the early 1800s, tin cans were invented along with the water bath method of preserving food.
Glass jars weren’t used in canning until John Mason invented the first screw-top Mason jar in 1858. By this time, food preserved in tin cans was called canning, and that term stayed with glass jars.
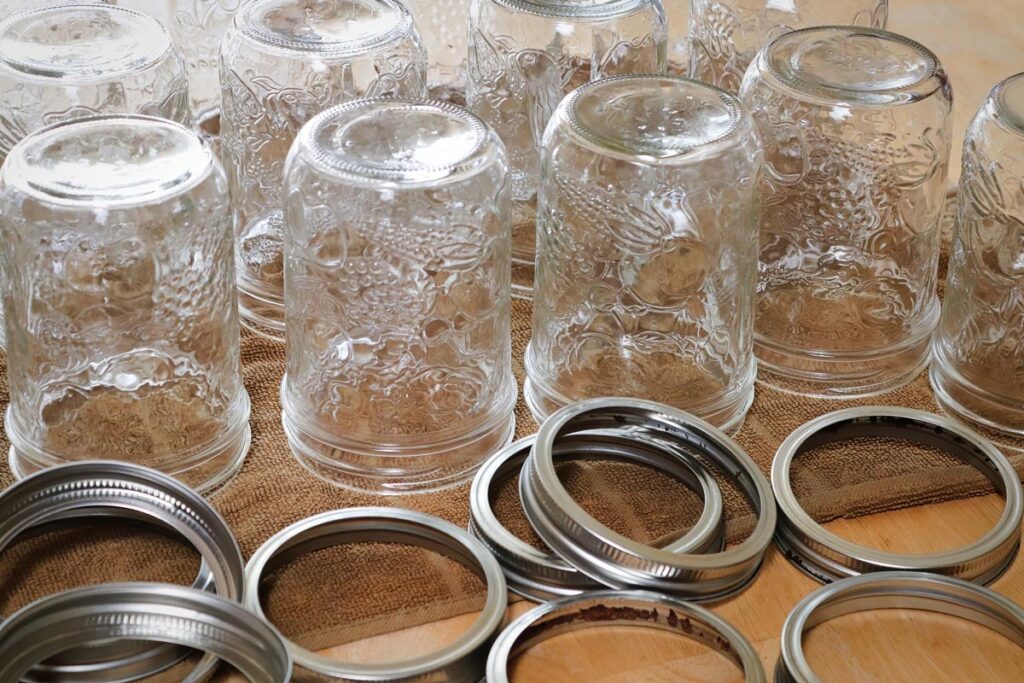
What are Mason Jars and Lids?
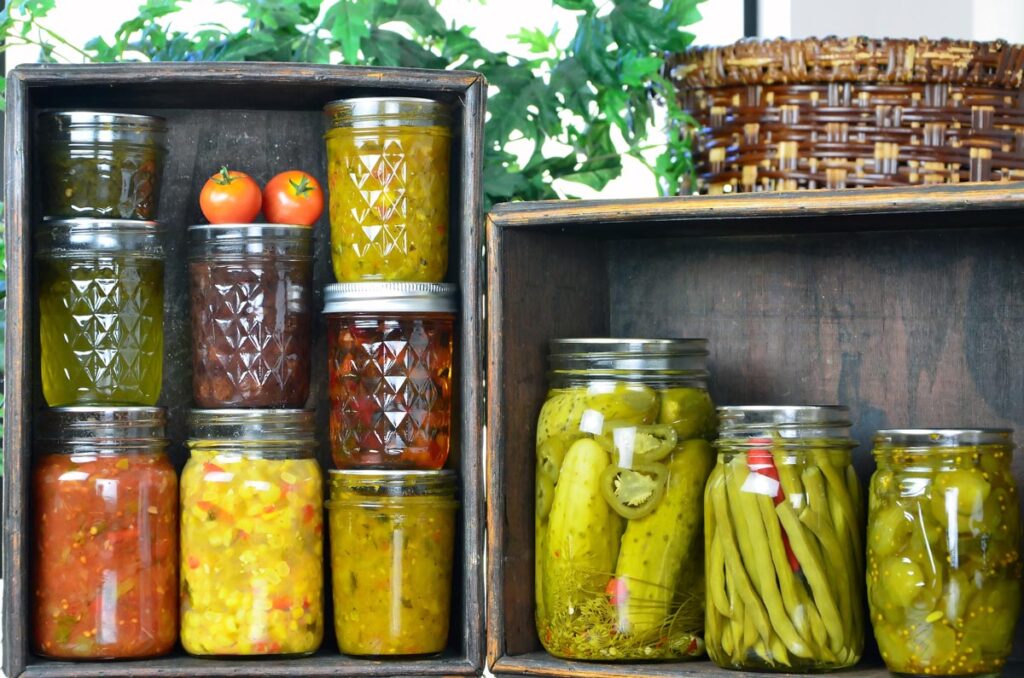
Mason jars are the most common glass jar used in America. However, all jars are not created equally!
Don’t use cheap canning jars. You will risk the jars breaking and losing all of the time and work you put into it.
The most commonly known jars are Ball or Kerr. They are made of tempered glass and are very durable to withstand high temperatures. Weck jars are German-made jars and add a unique option to canning with an all-glass lid.
Mason Jars Come in Different Sizes
If you feed a lot of people at your dinner table, you will like the large sizes available for canning!
- Half Pint – These are most commonly used to can jams and jellies.
- Pint – This is a good size to can vegetables such as pickles, green beans, or corn.
- Quart – This is the size I use most for my large family. I feed a lot of big eaters!
- Half Gallon – I rarely use this size for canning, but I do use it for storing our raw milk.
- Pint and a Half – Here again, I don’t use this size very often for canning purposes, but it’s a great size for drinks!
- Jam and Jelly Jars -These are cute little squatty jars that work well to can jams and jellies to give away as gifts, but they don’t always store efficiently in large quantities in the pantry.
Mason Jar Lids and Rings
Mason jars come with two different sizes of mouth openings.
- Regular Mouth – This is a smaller opening, but still very useful to can most of your fruits and vegetables.
- Wide Mouth – The wide mouth is larger and makes it slightly easier when it comes to filling jars.
The lids and rings are a two-part system. The flat lid has a compound on the inside that embeds itself into the jar top during the canning process.
When the heat is released from the jar, it creates a vacuum seal as it pulls the lid down. This accomplishes the whole purpose of food preservation by making an oxygen-less environment where food will not spoil.
However, you can’t reuse the lids. After that compound has been heated and embedded into the jar, it can only be used for storage after opening the preserved food.
All mason jars are universal meaning the threads match up and all rings fit all jars. You can find plastic or cute decorative lids, but those are only for storage purposes. Do not use them for canning.
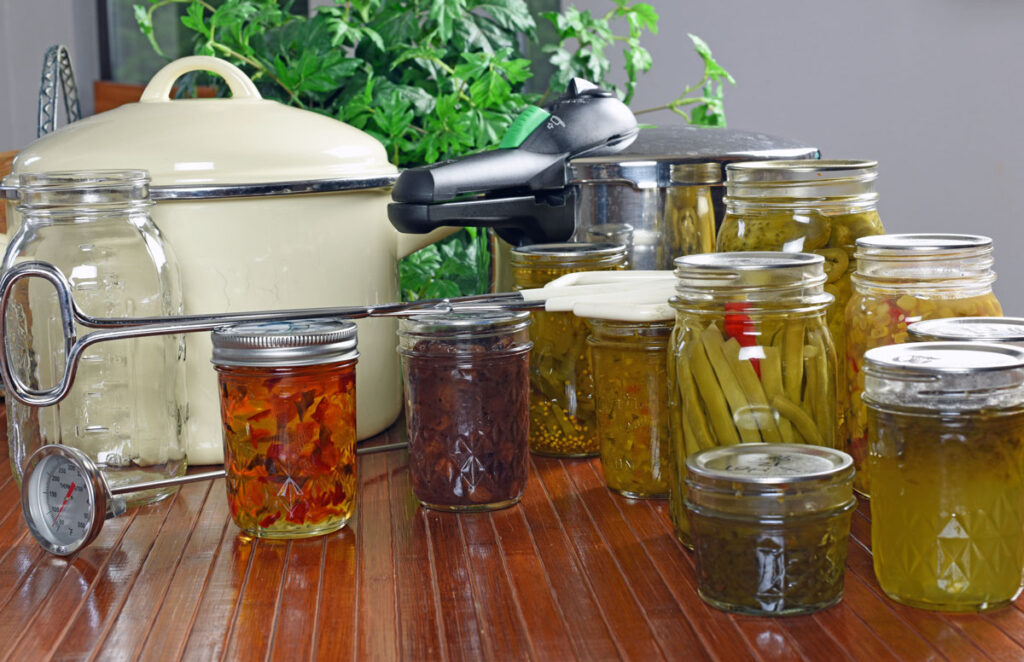
Canning Methods
There are two main ways to preserve food, but both methods include the jars, rings, and lids mentioned above.
Whether you are using a pressure canner or a water bath canner, you will need to follow a few basic guidelines to ensure your food is safely processed.
- Pressure Canner – In pressure canning, the jars are placed into the canner and carefully monitored. As the heat rises inside the canner, the steam creates an atmosphere that is much hotter than water. For foods such as meat and green beans, this is the safest way to preserve them.
- Water Bath Canner – This method is used for high acidity foods such as tomatoes or pickles. It involves using a large pot and immersing the jars in a boiling water bath for the processing times recommended on the canning recipe you are following.
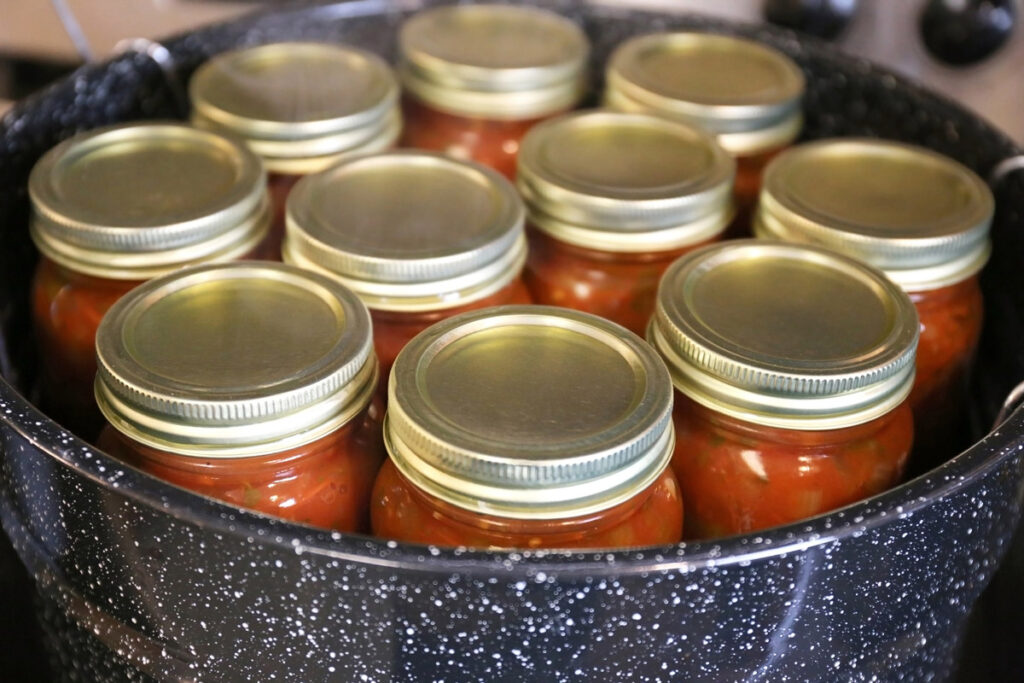
Storing and Use of Canned Goods
After the food is processed for the recommended time, remove the jars from the canner and don’t touch them for 12-24 hours. When all of those beautiful jars have sealed, you can remove the ring before storing on your pantry shelf.
Press down on the center of the lid to make sure the seal is tight. If it makes a popping sound, it isn’t sealed properly. You will need to eat the food immediately or store it in the fridge for a short time.
There is a two-part reason for removing the ring. You can now see more easily if the lid loses its seal.
If the food starts to discolor or grow mold, don’t eat it! You can also use the same rings to can the next batch of produce you bring in from the garden.
To remove the lid and eat the goods within, use the little attachment on the side of your can opener. Fingernails are not recommended!
Additional Facts about Canning 101
How do You Start Canning?
Start small and build up as you gain confidence.
Even if you don’t have a garden, you can try preserving foods from the local farmer’s market or grocery store. Water bath canning doesn’t require as much of an investment and is known as the gateway to canning.
What do I Need to Get Started Canning?
A large pot, jars, lids and rings, and fresh, clean produce. That’s it!
There is more helpful equipment such as jar lifters, funnels, and canning mitts, but you can improvise without these.

What is the Easiest Thing to Can for a Beginner?
My suggestion would be to start with tomato products or pickles.
Tomatoes are one of the first things people grow in the garden. They are high in acid which helps dispel the fear of botulism.
How Long do Canned Goods Last?
Most sources will tell you to use the food within one year. If I have a bountiful harvest, I like to preserve enough for 1 1/2 years in case the following year doesn’t yield as much.
The food will not necessarily be spoiled after one year, but it may lose some of its flavor and nutritional value.
What is Botulism?
Botulism is a bacteria that thrives in high moisture, low acid, low salt, and low oxygen environments. It has been known as the boogeyman of home preservation.
The annual cases of botulism are extremely low and if you adhere to the following safety precautions, you have nothing to fear:
- Sterilization – Always sterilize all of your equipment!
- Adding Acid – Some recipes call for lemon juice to reach a higher acidity level, be sure you’re always following approved and tested canning recipes.
- Pressure Can/Water Bath – Follow the recommended method for canning the food you are preserving.
When we buy canned food from large manufacturers, we are placing our trust in them to follow all safety procedures. If we practice safety at home, we can know what is in our food and trust that we are feeding our families good nutrition!