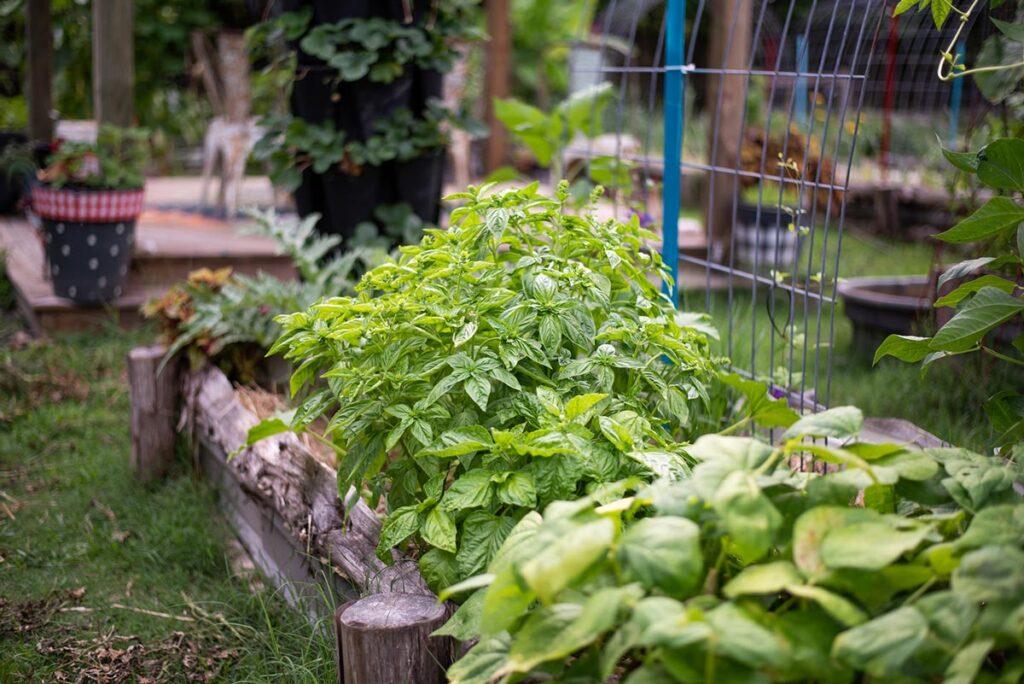
Growing herbs is a great way to start growing your food. They are fast and easy to grow, and fresh herbs make food taste much better!
However, most growing zones don't allow for year-round growing, or your harvest may be surprisingly large, and you can't keep up with your herb supply. Learning how to dry herbs is the answer to keeping you in homegrown herbs all year.
Why I Love Dried Herbs
Growing herbs and using them to season food adds unbeatable flavor and nutritional value. If you don't have a garden area, do not feel disqualified. Herbs can easily be grown on a windowsill, you can use one of these ideas for container gardening, or you can even plant directly in soil bags.
Dried herbs are also fantastic for making herb infused oils both for skin and culinary uses.
Greenstalks are one of my favorite ways to plant and grow herbs. Here I share my review of Greenstalk Vertical Planters, and you can get your own Greenstalk planter here (use the code ROOTS10 to get $10 off your first order)!
We tend to think of herbs as an ingredient in cooking savory dishes, but you can use them for much more. One of my new favorite ways to use fresh basil in the summer is to make this simple basil tea served hot or cold.
It would be nice if we could all live in growing zones that allow for year-round herb gardens, but we know that just isn't realistic. That's why learning how to dry herbs was one of many skills included in my new book, The First Time Homesteader, so that you can enjoy their flavor and value all year.
What Herbs are Best for Drying
You can dry all herbs, but due to leaf fragility, water content and natural essential oils, some herbs are more labor-intensive and don't dry as well as others.
Here are some examples of various herbs, listing some aspects of drying related to size and method.
Easier Drying Herbs – Large Leaf
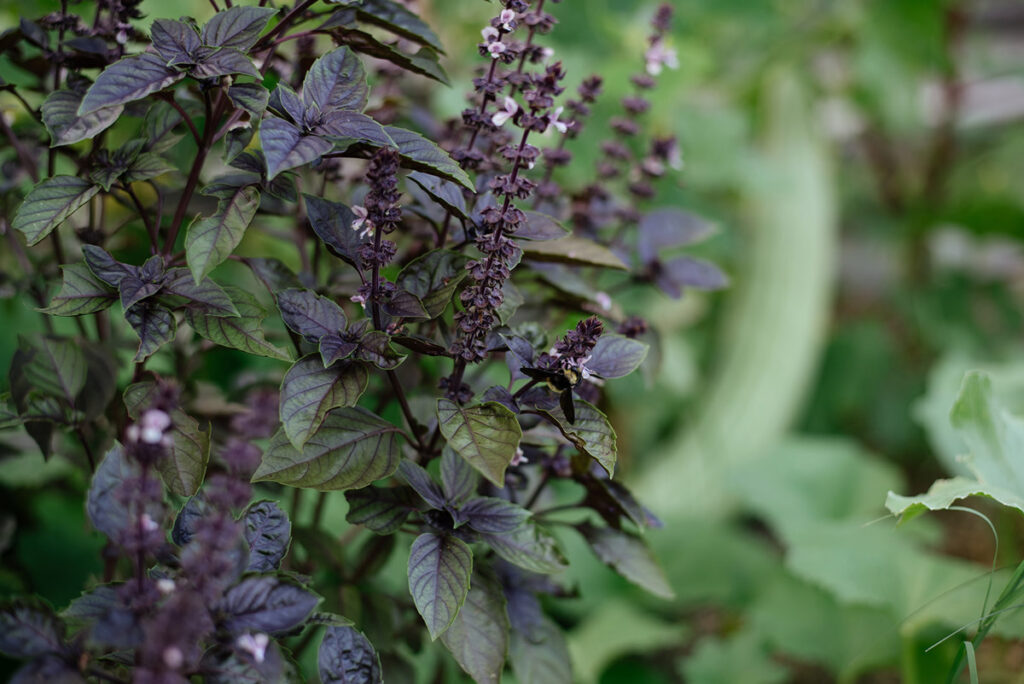
- Basil – Basil is one of the easiest herbs to dry because of its large leaf circumference. Whole, dried leaves add an incredible flavor depth to roasted meats.
- Sage – Sage can be dried using various methods but is a great herb to air-dry. Sage is one of the rare herbs that may increase its flavor as a dried version versus fresh.
Small Leaved Herbs for Drying
- Rosemary – Rosemary doesn't have a large leaf, but it can be dried as a whole bundle making it an easy herb to gather and air-dry.
- Thyme – Thyme is also an herb with smaller leaves, but you can choose to either dry the entire stems or strip down the tiny leaves.
- Tarragon – Tarragon is best dried on the stem and stripped after completely drying.
- Dill – Dill is an herb that will produce copious amounts, and if you don't want to throw it out, you'll want to learn how to dry it! Try adding some dried dill to my homemade mayo recipe for a homemade version of ranch dressing!
- Cilantro – If you like Mexican foods, you will want to learn how to dry cilantro. It is a more petite leaf herb, but with the proper drying method, you can use it to add flavor to your dishes all year.
Ways to Use Dried Herbs
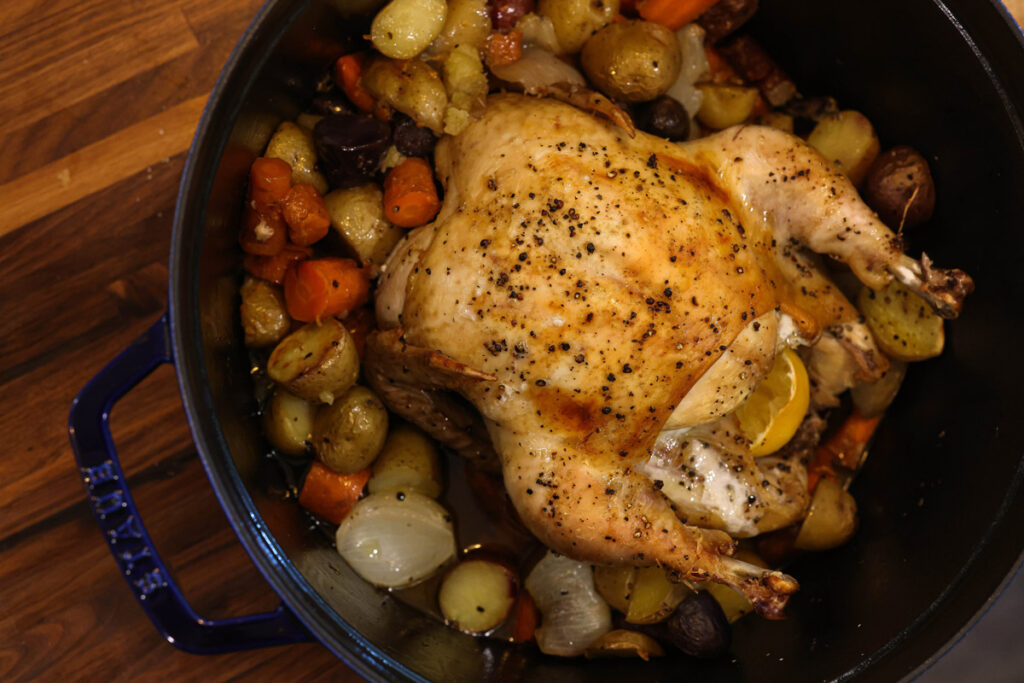
You can use dried herbs to flavor foods that you typically add fresh herbs too. Add some dried bay leaves and a pinch of thyme to Miah’s Dutch oven pot roast for an extra savory dish this winter.
The best way to release the flavor in dried herbs is to rehydrate them. Mixing the herbs with a small amount of oil for a few minutes will open the flavor profiles.
Pro-Tip: Another quick way to release the flavors is to rub the herbs between your fingers briefly before sprinkling them into your foods.
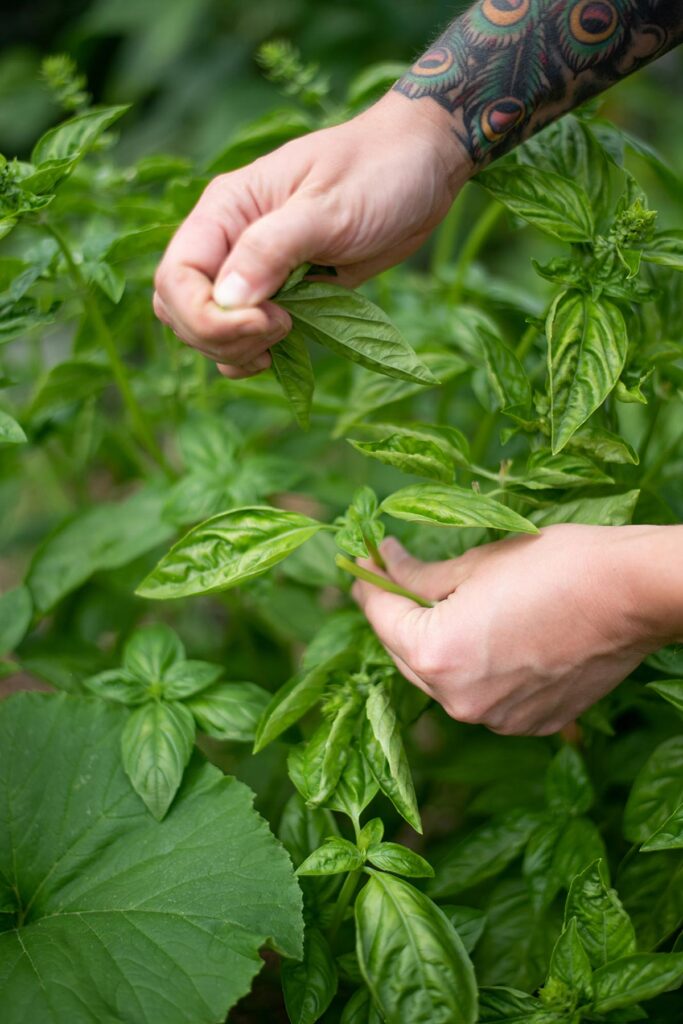
When and How to Harvest Herbs for Drying
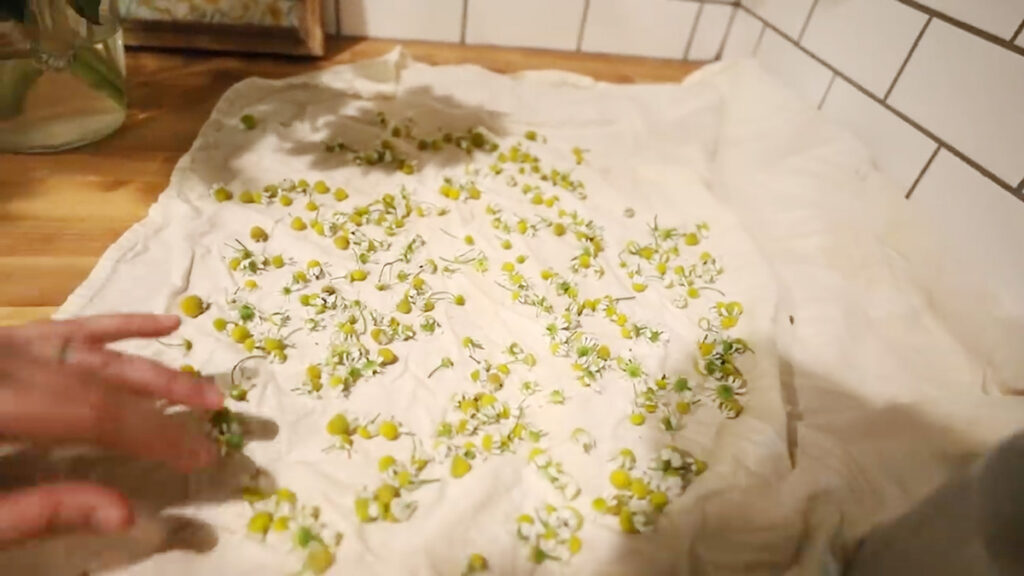
An herb will have its most intense flavor in the leaves just before the flowers develop. Harvest your herbs early in the morning, after the morning dew is dry, but before the heat of the day.
If you rinse your herbs before drying, use cool water and gently shake off excess moisture. Remove any damaged leaves or debris and lay the herbs in a single layer on either kitchen towels or paper towels. Throughout the day, turn the herbs to dry off all surface moisture thoroughly.
Methods for Drying Herbs
There is more than one effective method to use when drying herbs.
Air Drying Method
Air Drying is my favorite method for drying herbs, as it is the least damaging to naturally occurring oils and preserves the highest flavor and health benefits.
Supplies Needed
- Fresh Herbs – Freshly harvested and cleaned herbs are best.
- String – Rubber bands can also be used.
- Dry Location – If an area is too humid, the herbs will not fully dry and will mold.
- Hook – A nail also works well.
Instructions
- Tie the herbs into small bundles with string or a rubber band. Keep the bundles no thicker than one inch to avoid mildew forming in the center.
- Hang upside down on a hook or nail out of direct sunlight in an area with good airflow. Depending on the moisture content of the herbs, they may be fully dry within a week but can take up to a few weeks.
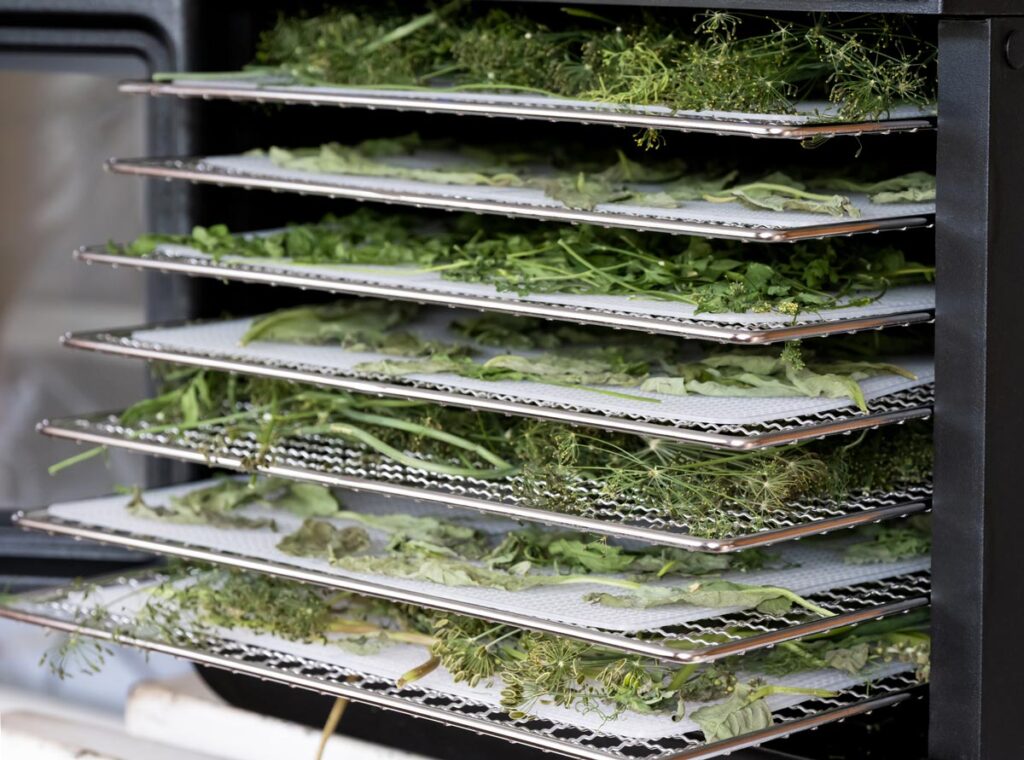
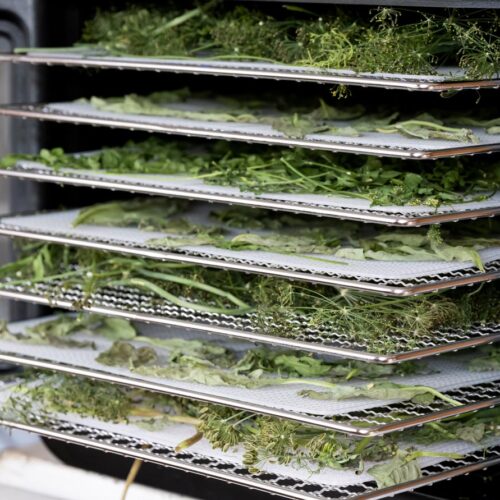
Dehydrator Method
You can use a dehydrator to dry herbs. Use care as overheating herbs can significantly detract from their flavor and medicinal properties. You might prefer this method during damp or cool times of the year when air drying will take longer.
Supplies Needed
- Fresh Herbs – Remember to use freshly harvested and clean herbs.
- Food Dehydrator – I use the Excalibur Dehydrator for herbs and for when I dehydrate cherry tomatoes.
Instructions
- Lay herbs in a single layer on the dehydrator drying rack.
- Dry on the lowest setting of your dehydrator.
- Start with 3 hours of drying and check for doneness. Continue in 1-hour intervals until fully dry.
Oven Drying Method
Supplies Needed
- Fresh Herbs – Recently harvested and cleaned.
- Baking Trays – I have a special affinity for cast iron cookware, but when it comes to baking trays, I use stoneware.
- Oven – Your oven should be lower than 200°F (95°C). The “keep warm” setting is preferable if your oven has one.
Instructions
- Set the oven to the lowest setting. Remove larger herb leaves from the stems or keep them intact if the leaves are smaller.
- Lay herbs in a single layer on a baking sheet.
- Bake for 30 minutes with the oven door cracked open to let moisture escape. Pro-Tip: If your oven cooks unevenly, rotate the trays.
- After the first 30 minutes, check dryness. Continue in 10-minute intervals until fully dry.
- Cool completely before storing.
How to Know When Herbs Are Dried and Ready for Storage
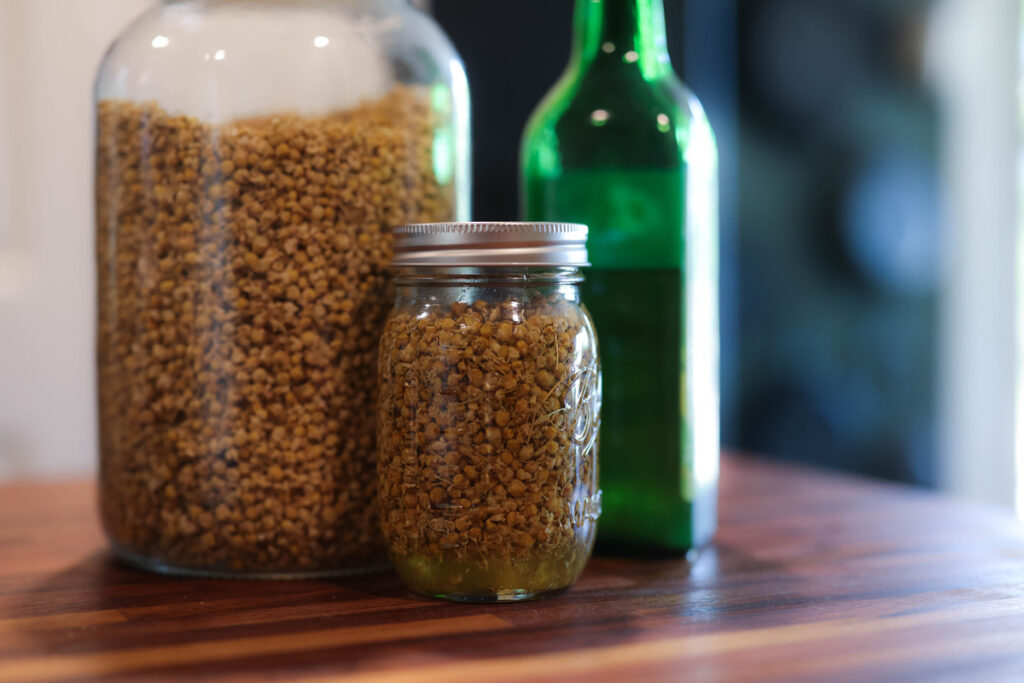
Herbs are fully dry when they crumble easily between your thumb and forefinger. If any part of the leaf still rolls or feels gummy, it's not dry enough for storage.
Herbs lose potency with air exposure. Store your dried herbs in airtight containers out of direct sunlight. Canning jars with a screw-on lid work well for this. Avoid crumbling them finely or grinding until ready to use them. They have their best flavor when used within one year.
Other Posts You May Enjoy
- How to Make Herb Infused Oil
- Simple Lemon Balm Syrup Recipe
- How to Harvest Chamomile + Chamomile Tea Recipe
- When & How to Harvest Vegetables
- How To Plant Garlic (And Elephant Garlic)
- Dehydrating Cherry Tomatoes the Easy Way
- How to Plant Onions & General Growing Tips
- How to Start a Compost Pile
- Juicing 101: A Basic Introduction to Juicing (+ Recipe)
- A Natural Cough Remedy – Onion Poultice (Holistic Medicine)
How to Dry Herbs
Equipment
- String for air drying method
- Hook for air drying method
- Dehydrator for dehydrator method
- oven for oven drying method
- Baking Tray for oven drying method
Ingredients
- fresh herbs cleaned
Instructions
Air Drying Method
- Tie the herbs into small bundles with string or a rubber band. Keep the bundles no thicker than one inch to avoid mildew forming in the center.
- Hang upside down on a hook or nail out of direct sunlight in an area with good airflow. Depending on the moisture content of the herbs, they may be fully dry within a week but can take up to a few weeks.
Dehydrator Method
- Lay herbs in a single layer on the dehydrator drying rack.
- Dry on the lowest setting of your dehydrator.
- Start with 3 hours of drying and check for doneness. Continue in 1-hour intervals until fully dry.
Oven Drying Method
- Set the oven to the lowest setting. Remove larger herb leaves from the stems or keep them intact if the leaves are smaller.
- Lay herbs in a single layer on a baking sheet.
- Bake for 30 minutes with the oven door cracked open to let moisture escape. Pro-Tip: If your oven cooks unevenly, rotate the trays.
- After the first 30 minutes, check dryness. Continue in 10-minute intervals until fully dry.
- Cool completely before storing.
Notes
- Herbs are fully dry when they crumble easily between your thumb and forefinger. If any part of the leaf still rolls or feels gummy, it's not dry enough for storage.
- Herbs lose potency with air exposure. Store your dried herbs in airtight containers out of direct sunlight. Canning jars with a screw-on lid work well for this.
- Avoid crumbling herbs finely or grinding them until ready to use. They have their best flavor when used within one year.