Even if you’re a beginner, you too can learn the thermophilic method and start a compost pile right in your own backyard! No need to buy an expensive container, bin, or buckets. Come along with us as we learn composting 101, and step by step how to start a compost pile using the Berkeley 18-day method.
Why I Love Composting
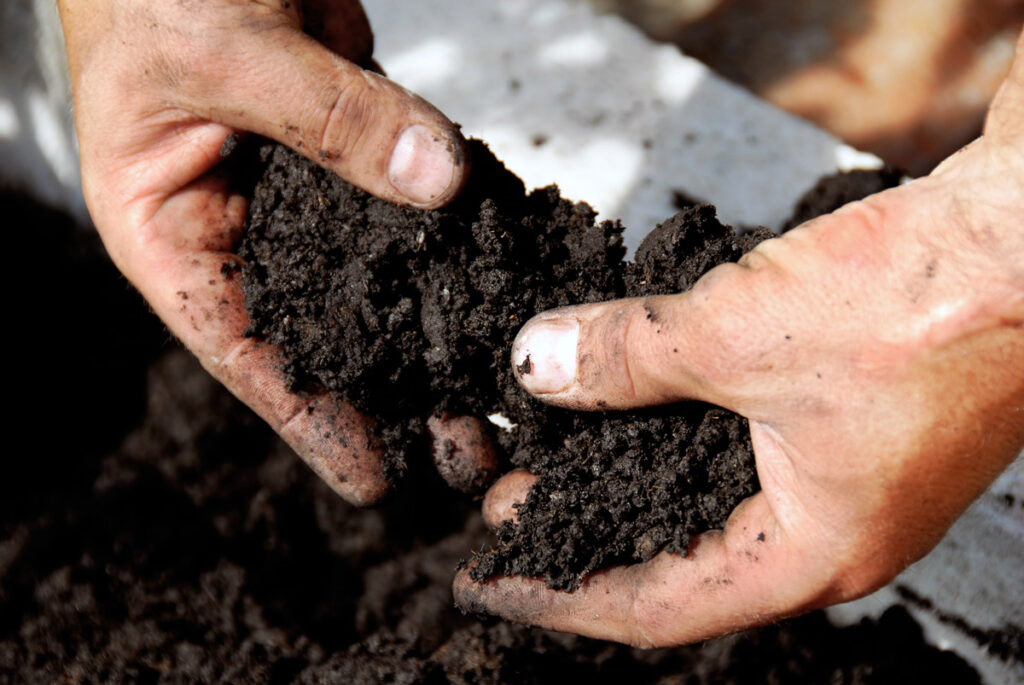
Composting is an amazing natural method in which organic material (such as kitchen waste, lawn clippings, and animal bedding) is turned into rich, healthy soil full of essential microbes.
Did you know that there are 12 million microbes in one teaspoon of soil?! Scientists have only identified about 15-20% of those, which means that most of the biology of soil is still a mystery to us. What they do know is that those microbes are absolutely essential to overall soil health.
When you start a compost pile on your homestead, it provides the ability to add biology back to geology in order to improve soil health. Consequently, the plants in our gardens utilize those essential microbes and produce an abundant harvest.
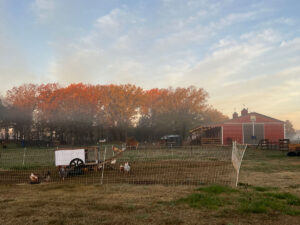
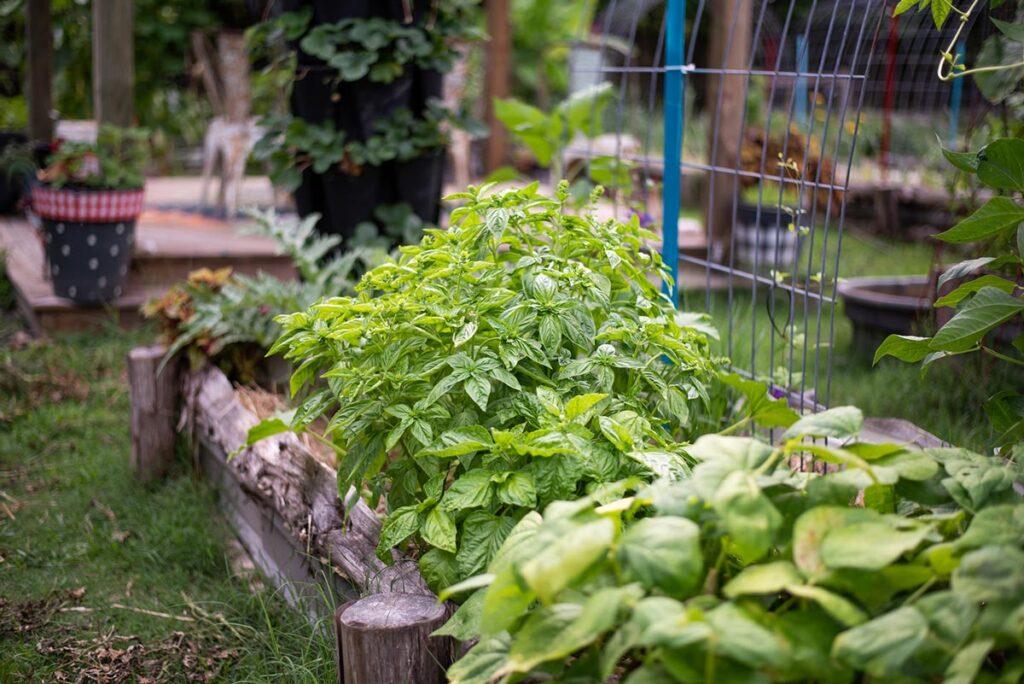
Because we’re growing new gardens here at Roots and Refuge Farm where there was just bare land, we have a goal of adding as much organic material to our soil as we can.
Our top soil is actually quite healthy, but if you dig down more than 6 or so inches, you’ll reach clay. So our goal is to build back up the soil for maximum garden health.
What Is Thermophilic Composting
Thermophilic composting is a method of composting that uses heat to create large quantities of good quality compost.
Before our introduction to thermophilic composting, we had always done very passive forms of composting that consisted of skipping the expensive composting bins, and simply piling up used livestock bedding with other plants in a corner of our property somewhere.
We rarely turned it and, over a long period of time, it produced compost. This is perfectly fine and does get the job done, but if you’re in need of compost in a hurry, the thermophilic method is the one to follow.
Phil and Becky Burton from Generations Farm are friends of ours who teach permaculture. They came to visit and taught us the 18-Day Berkeley Compost Pile System.
Phil did warn us that it usually takes longer than 18 days, but it is possible under perfect conditions. However, it almost always takes longer. This method more commonly takes closer to 30 days to have a ready-to-use compost pile at home. But in my opinion, 30 days is still very fast.
A word of caution! This type of compost pile is not something to pile up and leave unmonitored in a field or near a building. It takes intentional effort, and you will need to control the moisture and closely monitor the temperature.
The pile will get hot in the center, so it is important to keep it mixed regularly. As a warning, people have burned down fields, barns, trucks, and other structures before. To avoid that danger, the pile has to be kept moist and turned regularly.
The Benefits of Hot Composting
As mentioned before, thermophilic composting has a much faster turnaround time and can produce ready-to-use compost in as little as 18 days.
Thermophilic composting kills any existing seeds. This allows for a sterile seedbed for planting and makes for less weeding throughout the growing season.
Finally, pathogenic microorganisms and the eggs of parasites and fruit flies can survive throughout the process of the more passive composting approach. In thermophilic composting, these organisms are destroyed.
Supplies Needed to Start a Compost Pile
- Space – An area at least 10 feet by 7 feet is ideal to start a compost pile. More space will make turning the pile easier. The pile will be 5 feet tall and 3 feet in diameter. You will need room to walk around it AND you need enough space to move the pile to a nearby location and rebuild it when you turn it.
- Time – Plan on about 2 or 3 additional hours to turn the pile and check the temperature of the pile daily after it is built.
- Muscle – This process to start a compost pile is good exercise, and requires someone physically fit enough to turn the compost.
- Shovel – More than one is ideal. Many hands make light work!
- Bucket – This will be used as a measuring tool. If you do not have a bucket, anything that will allow you to keep track of ratios works fine.
- Pitchfork – Or a similar tool to stir and turn the pile.
- Compost Thermometer – Compost thermometers come in a variety of lengths. 36″ is recommended for this project.
- 10 to 12 Long Sticks or Branches – These will build the base of your pile, and should create a measurement of about 36″ in diameter.
- Used Livestock Bedding – We used about a cubic yard of two-day-old straw bedding with some cow urine and manure in it.
- Wood Mulch – We used a little less than half of a cubic yard.
- Green Matter – Kitchen scraps, fresh-cut grass, and/or manure from the chickens work well.
- Hose w/Spray Nozzle – This allows for the water to be added more evenly promoting success.
Anatomy of Compost Material
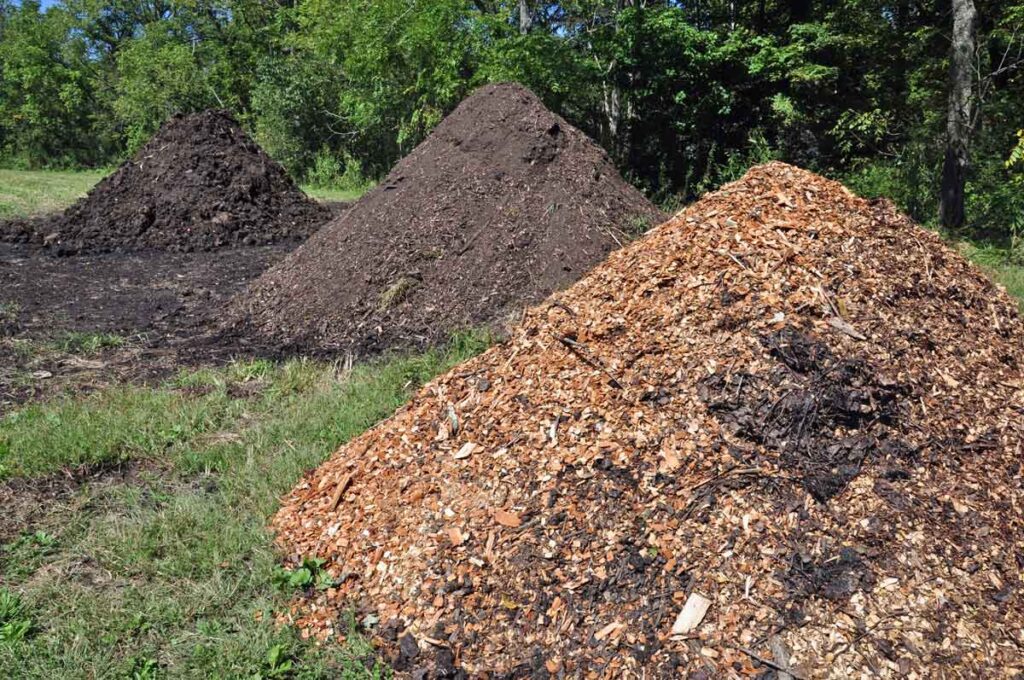
The key to starting a compost pile using the 18-Day Berkeley Compost Pile System is alternately layering nitrogen-rich and carbon-rich matter (greens and browns). The total ratio of the completed pile should be 6 parts carbon source, 3 parts nitrogen source, and 1 part high nitrogen source.
Volume is the easiest way to calculate the correct amounts. If I put on 6 buckets of carbon-rich matter, then I will need 3 buckets of nitrogen-rich matter and 1 bucket of high nitrogen matter to keep the correct ratio. Keep this in mind as you build your pile.
Carbon-Rich Materials or “Browns”
Carbon-rich matter examples (or “browns”) are:
- Wood chips
- Shredded cardboard
- Sawdust
- Corn stalks
- Straw
- Some types of dry leaves
Nitrogen-Rich Materials or “Greens”
Nitrogen-rich matter examples (or “greens”) are:
- Animal urine
- Grass clippings
- Alfalfa
- Horse, cow, or chicken manure
High-Nitrogen Matter
High nitrogen matter includes:
- Garden waste
- Weeds
- Green hay
- Food scraps
- Used coffee grounds
Pro Tips:
- The smaller the particles, the faster they will decompose into compost.
- The greater the diversity in the compost pile, the greater resistance the plants will have to disease and pests.
- It is not recommended to use rhizomes or noxious weeds in your compost pile.
How to Start a Compost Pile Step by Step
This process can seem intimidating, but I recommend watching the videos because it’s actually quite simple.
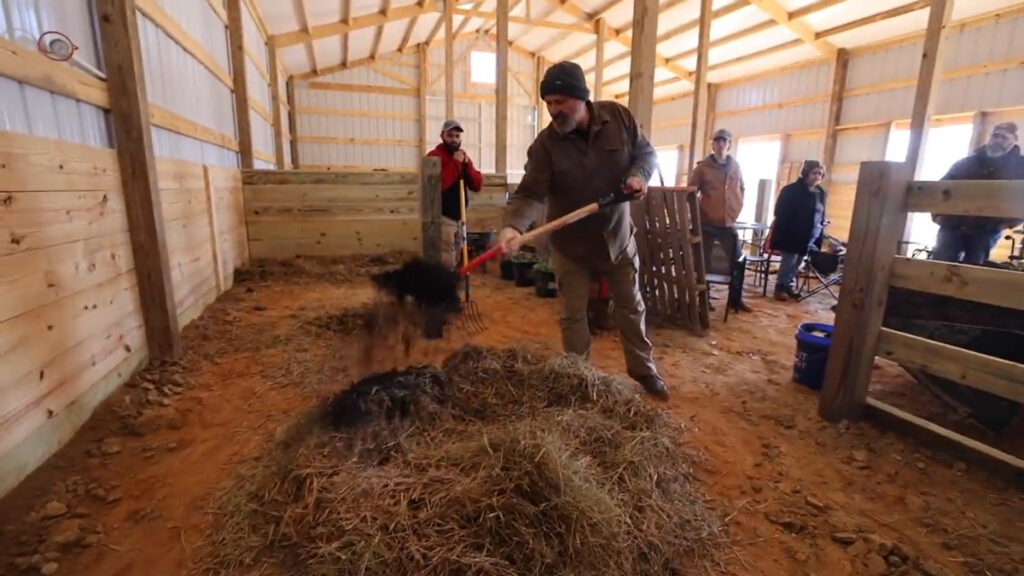
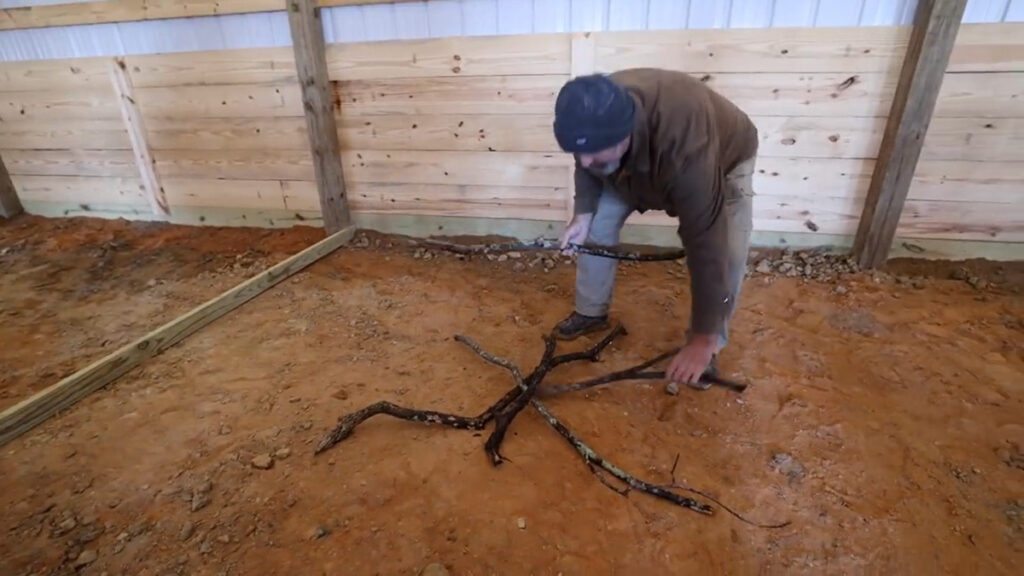
- When asking what the first layer of your compost pile should be, you must first start a compost pile with about 5 or 6 long sticks or branches arranged in a circular pile. This provides critical aeration and oxygen.
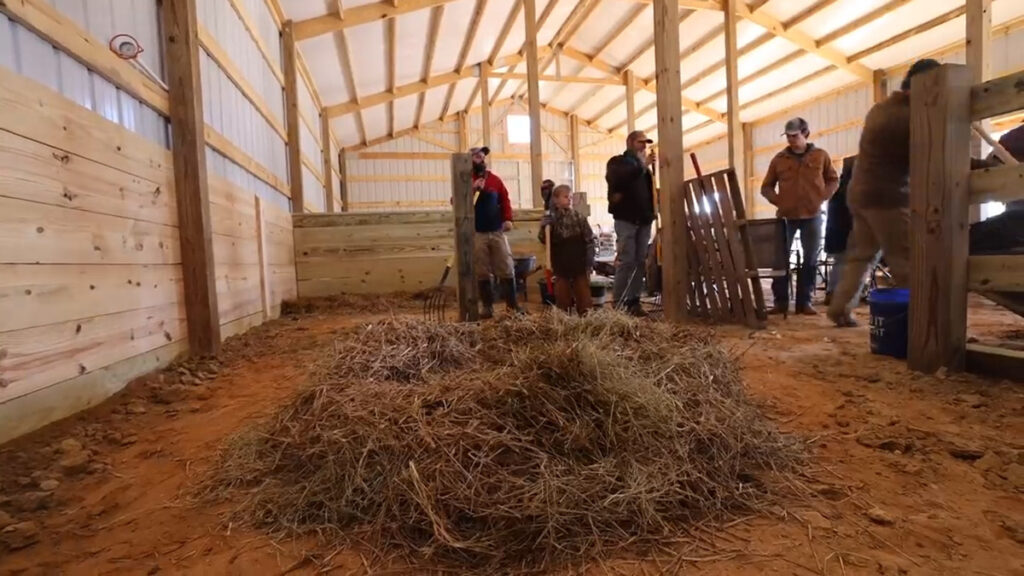
- Add brown (carbon) matter in a 3 feet circle on top of the sticks about 12 to 15 inches deep. When stacking the hay, shake it to loosen it and break it up. The urine and cow manure do add some nitrogen, so factor that into your ratio. Pro Tip: You can use hay bedding instead of straw bedding if the hay was not cut green; it needs to have died in the field before it was cut and baled. Green hay is nitrogen-rich, not carbon-rich.
- Sprinkle on a layer of wood mulch such as wood chips or sawdust. Sprinkle it evenly across the top of the pile about 6 inches deep. We added approximately 15 shovel scoops to the pile.
- Add another carbon layer about 12 inches deep. Try to keep the sides of the pile steep instead of sloping in.
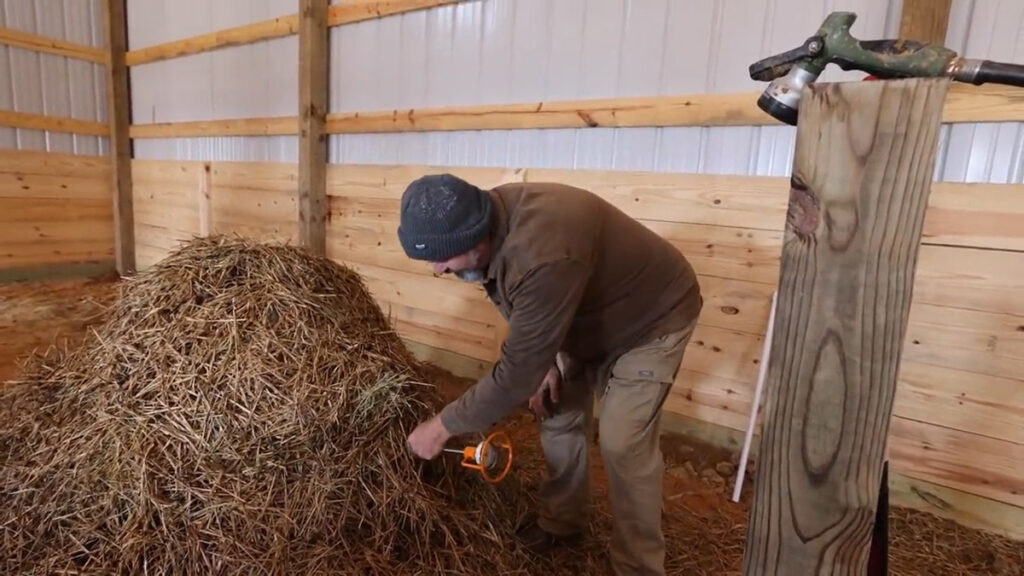
- Spray the pile with water until soaked. Use a nozzle with a shower setting instead of buckets or a direct hose that will displace the pile.
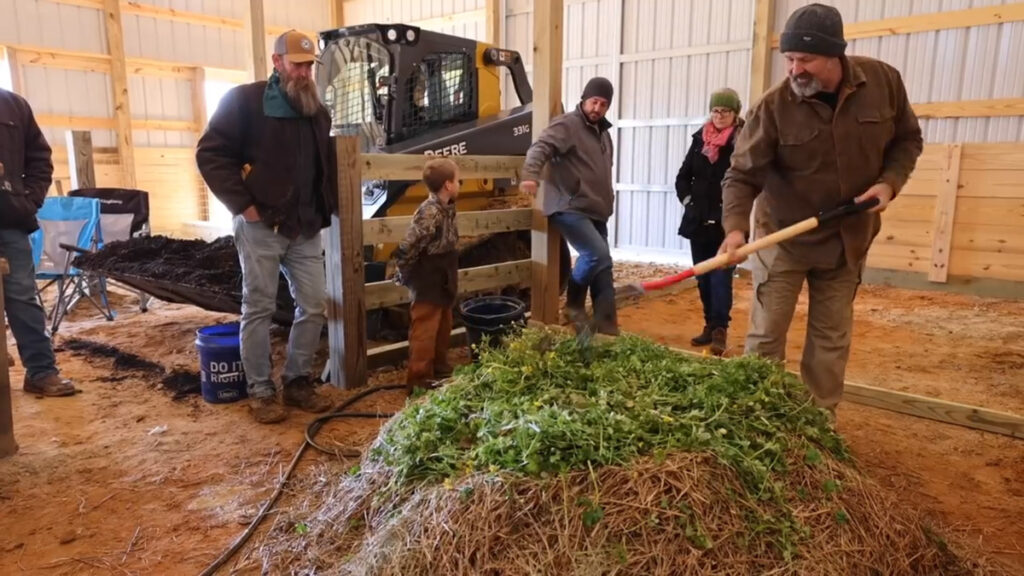
- Next, layer on some higher nitrogen items like greens. Concentrate the high nitrogen items in the center of your pile. We used 3 buckets of green plants and a little chicken manure. Separate any clumps and spread it evenly over the pile.
- Another 6 inches of wood mulch goes on top to make our next layer and water it again.
- Add 3 more layers consisting of bedding, mulch, and bedding again.
- Water and repeat steps 2, 3, 4, and 5.
- The pile should now be about 5 feet tall.
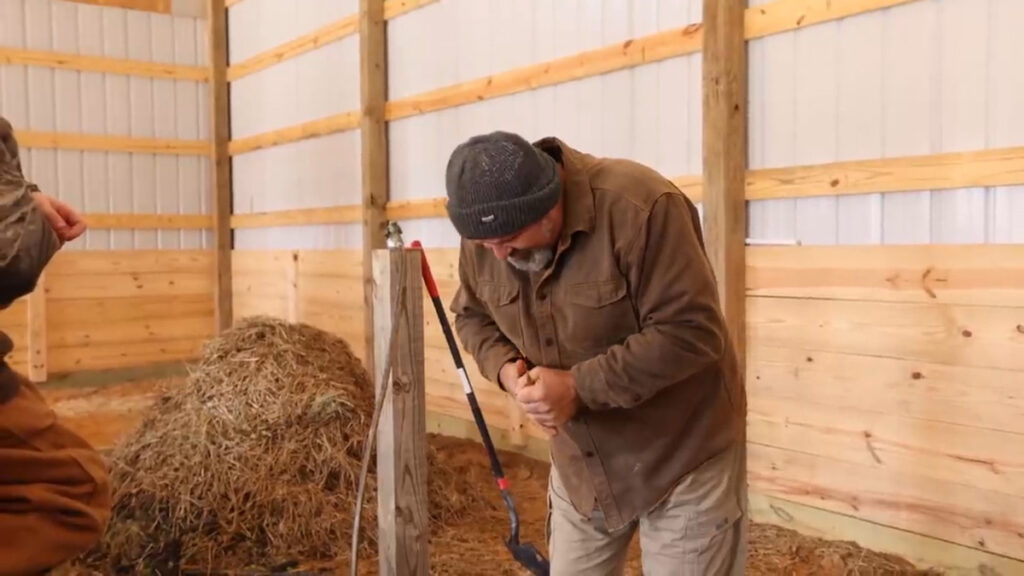
- Now that the pile is built, check the temperature daily. Push the probe into the center of the pile and wait for 4 minutes. Take 3 temperature checks at a time from different sides. By day 4, the temperature should read between 100° and 120° F. If it doesn’t, see composting troubleshooting below.
- Starting on day 4 and every day after that, check the moisture. The matter in your compost pile should be at 40% to 50% moisture. To check the moisture level, reach into the center of the pile and pull a small handful of matter. Squeeze the matter tightly in your fist using both hands. If you have the correct moisture level, there should be just a small trickle of water seeping between the last two knuckles of your fist. It should have about the same moisture as a wet sponge AFTER it is wrung out.
- On day 4, if your pile has reached temperature, you will need to turn your pile. If it has not reached 100° F, see composting troubleshooting below. To turn the pile, you will need 5 to 7 new sticks.
- Arrange the new sticks as you did in step 1.
- Using a pitchfork, peel the pile like an onion by taking the outside 9 to 12 inches of the original pile and stacking it on the new sticks. This becomes the inside of the new pile. Take the inside of the old pile and spread it evenly over the entire outside of the new pile.
- Take the temperature and check the moisture of the new pile daily.
- On day 6 and every second day after that, the temperature should be 130° F or more, but below 160°. If it is above or below temperature, see composting troubleshooting below.
- On the sixth day and every second day, you will need to turn the pile again, moving it back and forth between the two piles of sticks in the manner described in steps 13-15.
Troubleshooting How to Start a Compost Pile
How to Know When Compost is Ready
The initial indicator that composting is complete will be a dramatic drop in the temperature of your pile. It should have an earthy smell of soil, and should be a rich dark color that gardeners refer to as “black gold”.
Correct Moisture Level
The matter in your compost pile should be at 40% to 50% moisture. If it is too dry, add water as described in Step #5. If your compost is too wet, do not add more materials. Stop watering until it dries out to the correct level, then reduce the amount of water you’re adding.
Temperature is Too Low
If you do not see the temperature of your pile rise to at least 120° F within the first four days, there is either not enough nitrogen in the pile or not enough moisture. Check the moisture level first. If that seems good then add more high nitrogen matter by digging down into the center of the pile, add chicken manure there, and recover it. If the moisture level is low, then thoroughly water the pile.
On day six, and every second day after that, the pile should be at or above 130° and stay below 160° F. It will need to be turned on those days. If it does not reach temperature, there is either not enough nitrogen in the pile or not enough moisture. Add water and nitrogen as described above.
Temperature is Too Hot
If the temperature starts to climb close to 160° F, turn it immediately. Getting the pile too hot will kill the beneficial microbes in the compost and could potentially combust at those temperatures.
To avoid high temperatures, make sure that you are checking the temperature and moisture daily. Turning the pile regularly (as described above) and keeping the pile at the correct moisture level should keep the temperature from getting too hot.
If that is not working, it could also have too much nitrogen. Add more carbon matter to correct the ratio.
More Posts You May Enjoy
- Garden Planning Basics (How to Plan Your Garden)
- My Seed Shopping Method
- A Complete Guide to Seed Saving
- Growing A Garden From Grocery Store Food
- How to Build a Raised Garden Bed (On a Budget)
- $7 Kiddie Pool Raised Garden Bed (& Other Cheap Container Garden Ideas)
- How to Build a Garden Arch Trellis or Garden Arbor (for $30!)