How do you know when to harvest potatoes? The plant will tell you. Harvest early for new potatoes or allow more time for full-grown potatoes to be ready.

Harvesting potatoes is one of my favorite jobs on the farm. These unassuming plants grow tubers right under our feet, providing a bounty of food for our consumption.
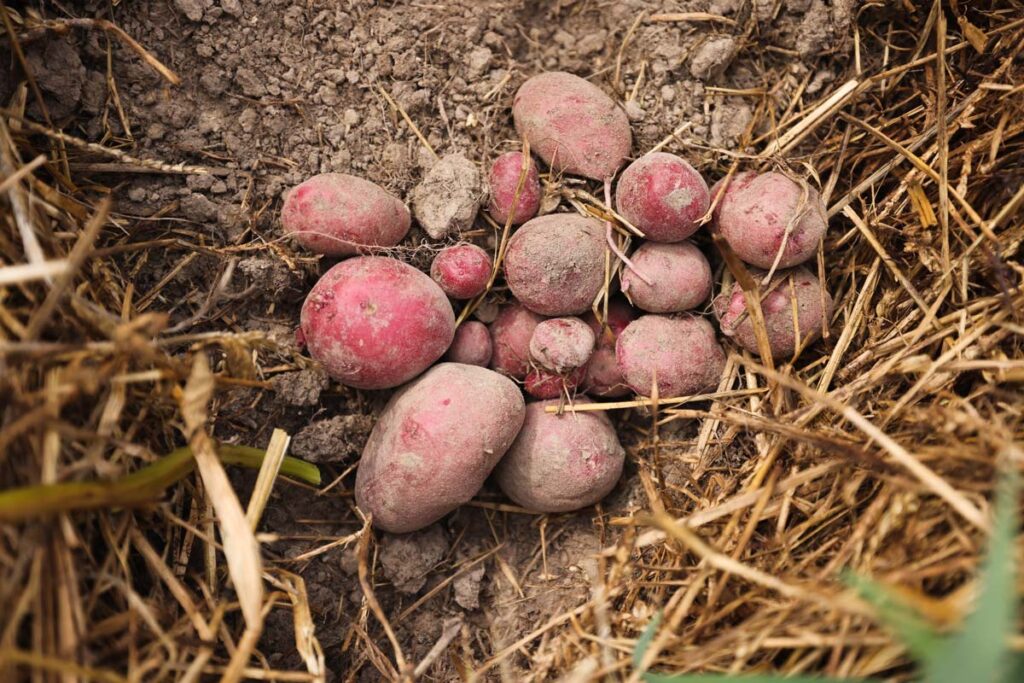
There are so many great potato varieties, red, purple, sweet, fingerlings, or Yukon golds, that can be planted and harvested in much the same way.
But knowing when to harvest potatoes is an essential part of this process. So, how do you know when to harvest potatoes? The plant will tell you. Read on to learn how to harvest early for new potatoes or allow more time for full-grown potatoes to be ready.
The Importance of Knowing When to Harvest Potatoes
I grow potatoes because it is such a wonderful way to grow food. You put a single seed potato in the ground, then two and a half or three months later, you have several new potatoes to harvest from just one plant.
It takes very little work to plant and grow potatoes. I always plant a few different varieties, meaning they don’t all reach maturity simultaneously.
As harvest time comes near, knowing when to harvest each variety helps me better plan and prepare for the process of harvesting. My favorite varieties are heirlooms. If you have difficulty finding heirloom potatoes, check out my guide on where to find heirloom seeds.
However, planting something is always better than planting nothing. If you don’t have access to heirloom varieties, do not let that leave you feeling excluded. It’s perfectly acceptable to grow a garden with grocery store food too!
Pro Tip: If you are using sprouted potatoes from the grocery store, I recommend using organic potatoes that haven’t been sprayed with growth-retardant chemicals.
With my process of planting and growing potatoes, I have found that harvesting potatoes are one of my favorite tasks here on the farm. Harvesting potatoes is fun for the whole family and provides a staple for our table. This brings me a step closer to having sustainable food security and gives me peace of mind.
Planting With the End in Mind
I can’t help but sing the praises of my planting method when it comes time to harvest. When I plant, I begin with the no-till gardening method and build up loose soil or compost in mounds in long rows, even as long as 40 feet.
I plant potatoes by nestling the seed potatoes right down into the soil at a shallow depth of one or two inches. Then, I cover my mounds with straw. I continue to add straw three or four times as the potato plants grow up.
This method allows for the potatoes to grow right on the surface of the loose soil, allowing for a much more pleasant experience digging up the potatoes.
The straw mulch helps to keep the soil loose by maintaining the structure of the soil. It keeps the potatoes from growing into the compacted part of the ground, preventing odd misshapen tubers.
If you mulch this way, you will not need to use tools to dig up the ground, which often damages potatoes. You will be able to pluck your potatoes easily with your hands.

How to Tell When to Harvest
Keep an eye on your potato plants as they grow. Watch for the plant to flower. After flowering, you have about two weeks until time to harvest.
I know that my potatoes are ready to harvest when the leaves on the plant have turned yellow or brown, and the plant has started to wilt or die back. The photo above shows potato plants that have died back in the foreground, and plants that are not quite ready for harvesting the background.
Depending on your growing season, this will be about 10 or 12 weeks after planting. When I see the plants shrinking in this way, I check my potatoes.
Remember that timing in the garden is such an important factor, and knowing the estimated dates of your growing season will play an important role in planting and harvesting.
Potatoes can withstand a short period of light frost (or temperatures between 28°F and 32°F). If a light frost continues (or temperatures drop lower), potatoes can be left in the ground but must be protected with row covers, cloches, or extensive mulch.
Otherwise, they will need to be harvested right away regardless if the plant has started to die back.
As a side note, I have a known problem with voles. I don’t want to let the voles or other rodents get to my potatoes first, so I keep a close eye on them. If you have a home garden with pest issues, regularly check your potatoes as it is nearing harvest time.
If you have other pest issues in your garden, check out my guide for organic pest control.
Supplies Needed
- Bucket – Or another container of your choice to collect the potatoes in.
- Storage Area – Your potatoes will need to be kept in an enclosed area safe from pests and a cool dark area for preservation. Places like a garage, a basement, or a greenhouse (if you have shade cloth) work well.
- Rake – This will come in handy to gather the leftover straw for the next planting.
- Rack – A wire rack or shelf works well to allow proper airflow for curing.
How to Harvest Potatoes Step-by-Step
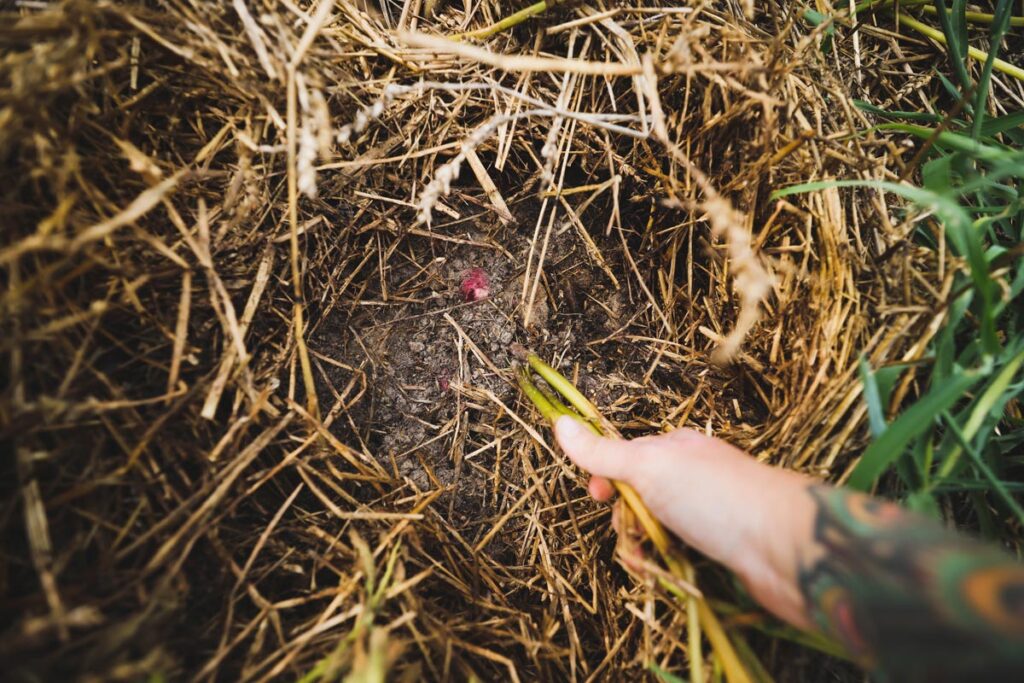
Before you begin your harvest, you’ll want to check to ensure your potatoes are ready. Simply loosen and pull back the straw around the plant.
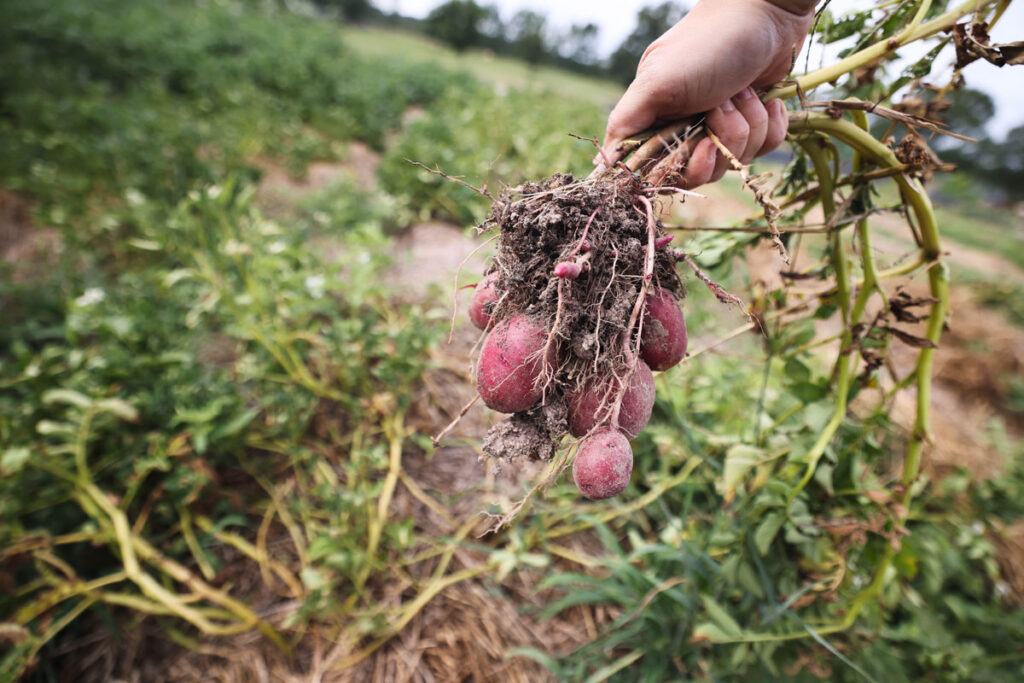
Gently pull up the potato plant. You should see a treasure trove of potatoes just under the surface. You will not need to dig down to find the potatoes because, with mulching, the potatoes grow right on the surface of the soil.
I enjoy an early potato or what we often call baby potatoes. Small potatoes are wonderfully flavorful and have thin, soft skin. This is my preference.
If you want a more mature potato, just cover them back up with the straw, and leave them in the ground for another week to allow for more growth. You may even want to start digging some up just to eat right away, but leave the others to grow a margin more. This may yield more volume.
- Once you have determined the harvest is ready, begin loosening the straw and gently pulling up each potato plant.
- Dig through the loose rows of soil and mulch by hand to do a thorough sweep of the harvest. You will not need to use a pitchfork or other tools that risk spearing your potatoes, causing damage to your harvest.
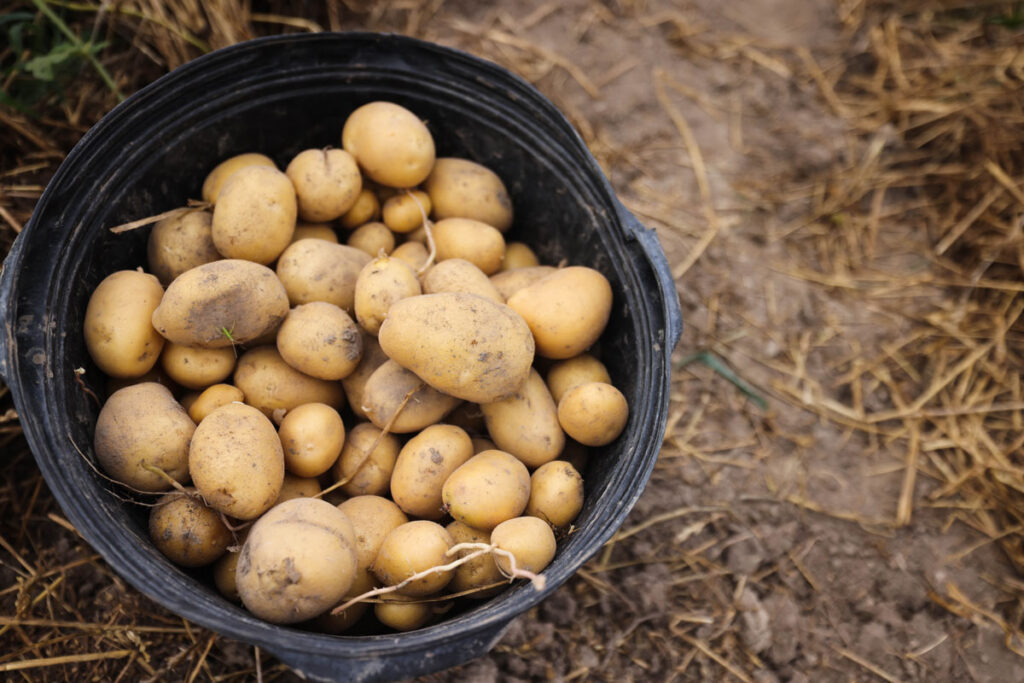
- As the potatoes are plucked, put them into a bucket or other container as you work down the rows.
- When you are done, you can rake up your straw and save it to reuse as mulch for your next round of potatoes.
- You can eat your potatoes right away. Otherwise, they need to be cured for long-term storage. This helps them to dry out and the skin to toughen up to prevent them from rotting while in storage.
How to Cure Potatoes
- Cure potatoes by putting them on a shelf that allows for airflow. Pro-Tip: Don’t wash your potatoes as it encourages mold growth. Just brush off any large clumps of dirt. You can wash them just before preparing to cook.
- Store potatoes in a root cellar or a dry, dark space with adequate airflow. Ensure you store your potatoes in a location without sunlight and temperatures between 42°F and 55°F.