Join me in preparing a garden bed for future planting using only recycled cardboard. This method for preparing beds works in the fall or winter. It is an inexpensive way to create a sterile seedbed ready to plant a flower or vegetable garden. This method works great for existing or new garden beds to improve your soil structure and grow fewer weeds.
Steps to Take Before Preparing a Garden Bed
If you are new to gardening, it can be tempting to begin planting right away. It’s important to research first and learn about growing seasons, zones, sourcing seeds, and what and how much to plant.
It’s for this reason I have put together the following posts for you on how to plan your garden, my seed shopping method, my must-grow garden list of heirloom seeds, and where I like to buy heirloom seeds to help you get started.
Is Preparing a Garden Bed with Cardboard Good for the Soil
Garden spaces are ideal when they’re cleared of anything else that grows to eliminate competition with other plants. Preparing a garden bed with cardboard makes that ideal environment for the plants you intend to grow.
The cardboard traps warmth and retains moisture in the soil, and forces any existing seeds to germinate. At the same time, the cardboard blocks out any light to the sprouted seeds causing them to die. This creates a sterile environment for planting.
The decomposing sprouted seeds add organic matter back into the soil and as the cardboard breaks down, it also adds structure. Consequently, the soil is improved at the same time.

Cardboard vs. Silage Tarps
Silage tarps are large sheets of plastic that also block the sunlight. The black color adds an additional benefit because it absorbs more warmth speeding up the seed germination process.
Silage tarps prevent weeds and usually create a sterile seedbed in about 3 weeks in hot weather, but can take up to 6 weeks in the cooler weather. They are a bit less time-consuming, and I have used them before in our pasture or other large spaces that I just don’t have enough cardboard to cover.
The major downside of silage tarps is the expense, and they eat up a lot of cost savings in growing your own food. Additionally, silage tarps need to be removed prior to planting, so they are not appropriate to use for a no-till method, and they require a place for storage as well.
Alternately preparing a garden bed for planting with cardboard is generally free (assuming you have as many boxes lying around as I do), doesn’t need to be removed before planting, and doesn’t require off-season storage.
Supplies Needed
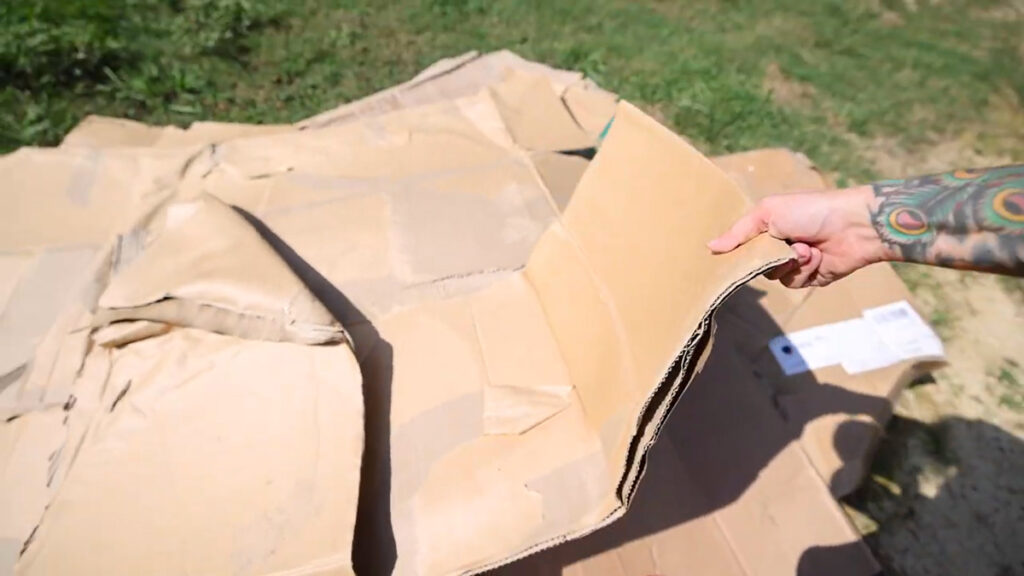
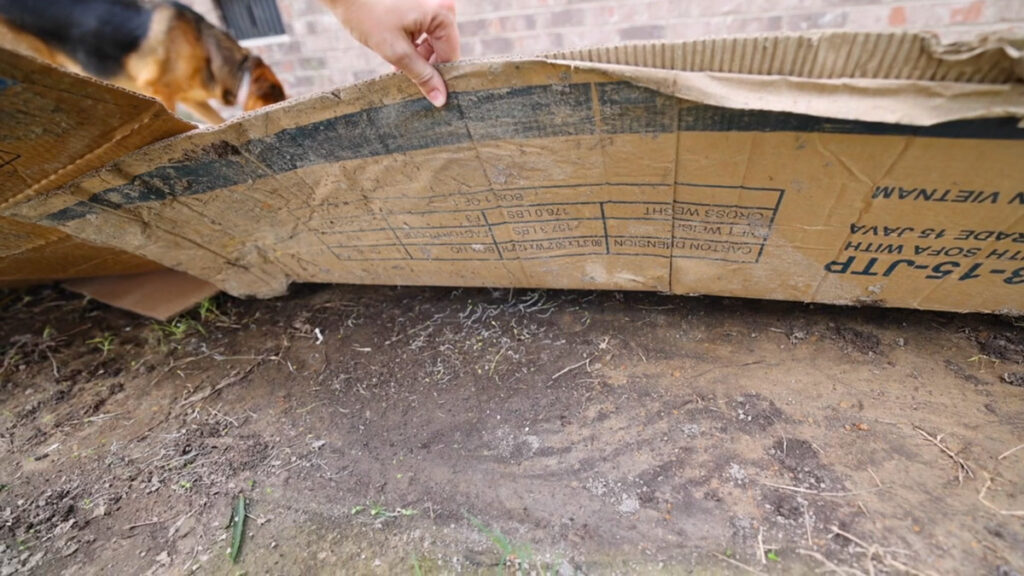
- Cardboard – Plain brown cardboard is best. Avoid using heavily printed or coated cardboard (with a slick surface). Strip away any tape or labels, and break the cardboard down flat. I really underestimated how much cardboard I would need the first time, and recommend collecting boxes from deliveries, neighbors who have recently moved, or even asking local furniture, appliance, or grocery stores for their waste cardboard.
- Garden Hose – This is the most efficient way to wet the cardboard, but a watering can or buckets of water would work just fine too.
- Garden Fork or Shovel – A tractor is recommended for large-scale gardens, but a hand tool for smaller spaces works just fine.
- Soil and Compost – You can alternately remove the cardboard after the seeds have all died out, till the garden area, and plant. However, as you turn the soil, this will potentially till up any seeds that were deeper in the soil, bringing them to the surface, and allowing them to then germinate. It is for this reason we recommend using the no-till gardening method which is building your soil upon the initial cardboard layer. You will need 6-8 inches of soil and compost to cover the cardboard.
Pro Tip: To make the most out of your rich compost, concentrate it in the areas where you intend to plant, and fill the walkways with dirt, mulch, gravel, or whatever is handy.
Steps for Preparing a Garden Bed with Cardboard
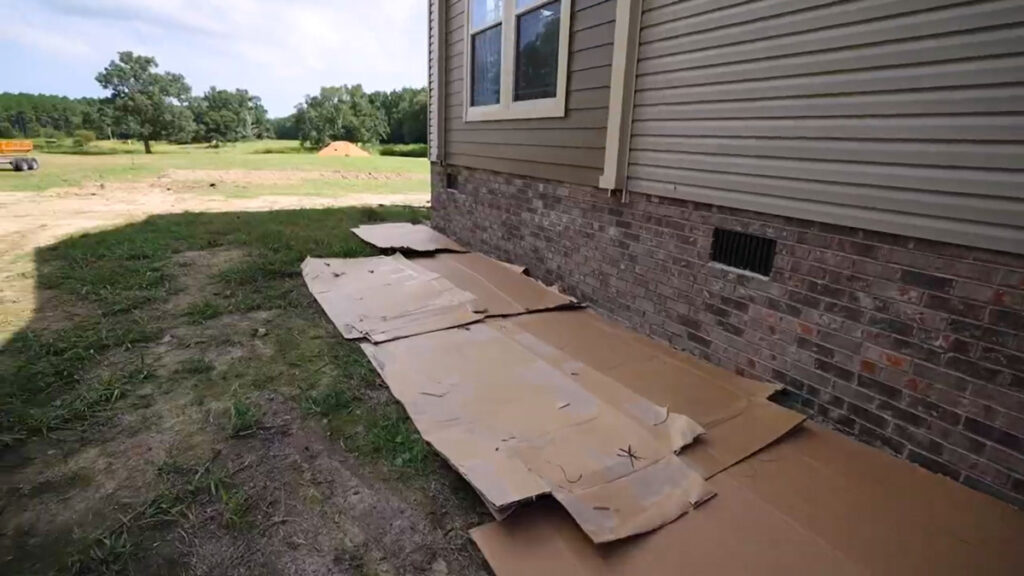
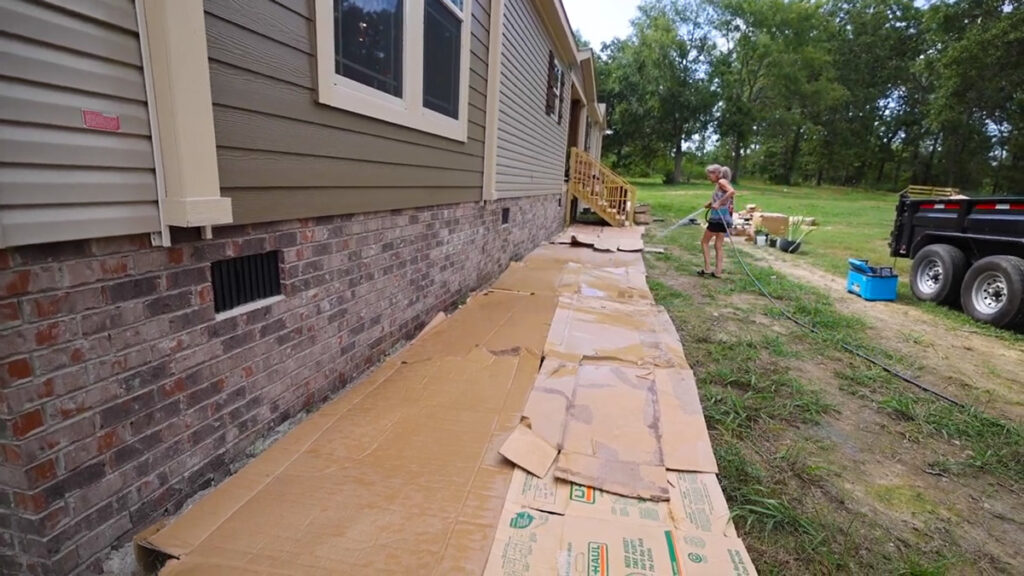
- Cover the entire garden area with cardboard overlapping the edges so that weeds and grass cannot grow up in between the cardboard. If you are not putting soil on right away, weigh down the cardboard with something heavy like boards or rocks to keep it in place. When following the till method, simply weigh down the cardboard so it will not blow away, wait at least 6-8 weeks, remove the cardboard, and till/plant seeds as usual. When using the no-till method, continue to follow the steps below.
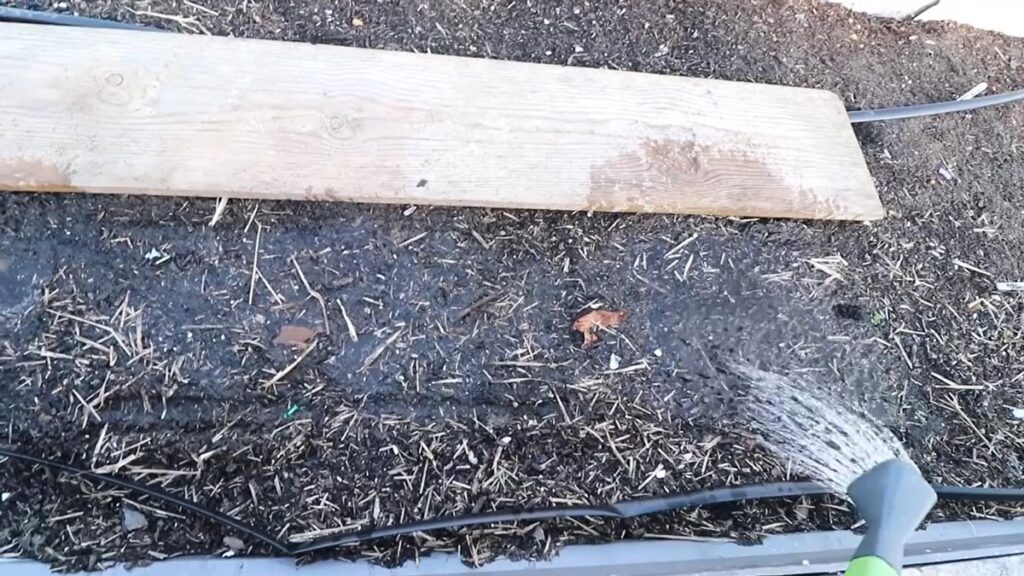
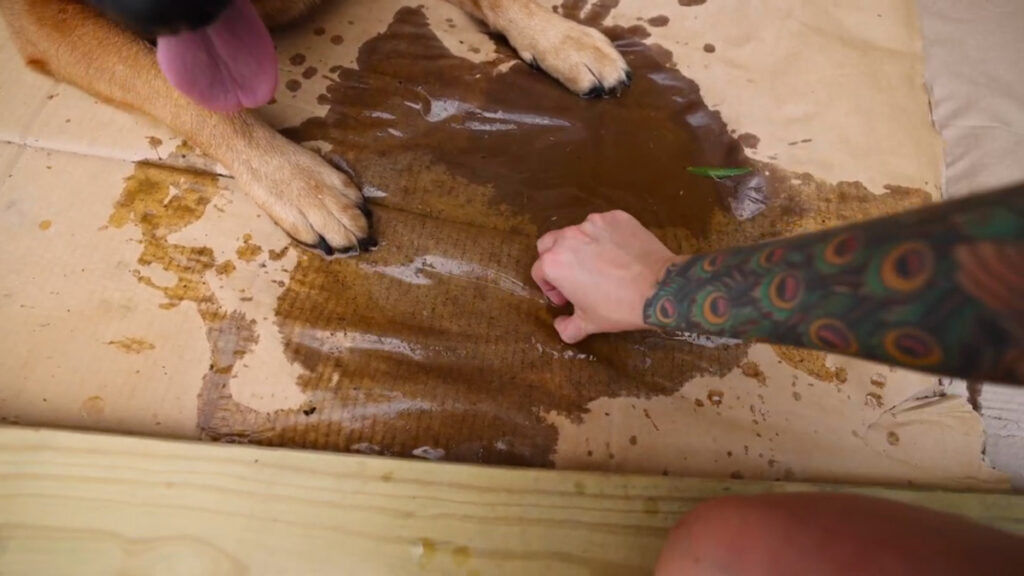
- Using the garden hose, completely saturate the cardboard with water. Watering the cardboard begins the breakdown process. Ideally, you will put the soil on top of it the same day. If you can’t do that, water the cardboard every day until you are ready to put the soil down.
- With the garden fork or shovel, add a thick layer of compost (about 6 to 8 inches) to the top of the cardboard. I like to measure out where the rows and walkways will be in my garden so that I am only adding compost in the planting areas to avoid wasting it in the walkways. If you want an edge, now is a good time to edge up around it as well.
- Preparing the soil with a layer of mulch is an added step for good measure. Adding a layer of mulch should keep any seeds that could be in the soil and compost from growing.
- Continue to water for the next few weeks to help everything continue to break down.
- In just a few weeks, you should be able to dig right through the cardboard to start planting. Eventually, the cardboard will break down and be great organic matter in your soil.
FAQ’s
When should I put cardboard in my garden?
The ideal time for preparing a garden bed is at least 6-8 weeks before planting. However, the longer the cardboard, compost, and mulch have the opportunity to break down, the better results you will have. It is for this reason that this process is ideal to begin right after the fall harvest.
Covering your garden with soil or mulch can actually help protect your garden through the winter months as well.
How long does cardboard take to decompose in a garden?
If adding the soil and watering are not neglected, you can expect the cardboard to begin to decompose within a matter of a few weeks.
Will roots grow through cardboard?
Yes! Unlike silage tarps, cardboard decomposes into the soil making it the perfect element to use in the no-till method.
Is cardboard good for raised garden beds?
Since the no-till approach builds upwards, preparing a garden bed with cardboard works great in raised beds. The same steps can be used when first beginning your raised beds as well as replanting from year to year.
For more information on building raised garden beds check out this post on how to build raised garden beds and this $7 kiddie pool raised garden bed.
More Gardening Tips & Tutorials
- Garden Planning Basics (How to Plan Your Garden)
- How to Build a Garden Arch Trellis or Garden Arbor for $30!
- Vegetable Garden Trellis: How to Plant & GROW
- A Complete Guide to Vertical Gardening (On a Budget!)
- Growing Determinate and Indeterminate Tomatoes
- How To Plant Carrot Seeds (For Best Germination Rate)
- How To Get Rid of Flea Beetles In Your Garden