We get a lot of questions about our garden, specifically about how to build a raised garden bed, like the beds on our former property. When just getting started, we needed DIY raised garden bed plans that would get us a lot of growing space without a lot of costs. So here is our tutorial on how to build a raised garden bed on a budget!
When it comes to gardening, there’s nothing I love more. I dream of garden planning all throughout the winter months, I grow salad greens all winter long, and can’t wait to get my hands on those seed catalogs to buy my must-grow heirloom varieties.
But you have to have the right space to grow your food, and many times the soil we’re working with isn’t always the most ideal for growing vegetables. This is where raised garden beds can come in handy!
Why Build Raised Garden Beds?
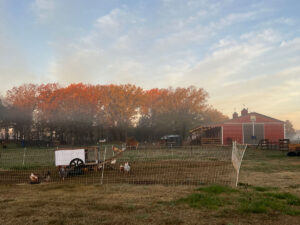
In Arkansas, we dealt with very compacted clay soil which led us to explore raised garden beds. In our research, we discovered just how expensive raised garden beds can be to buy.
That led us to get creative with repurposed materials which cut our costs significantly. We also happen to love the “rustic” look!
DIY Raised Garden Bed – Rustic And Built To Last
In this video, Sweet Miah walks through the process of how we build these metal raised garden beds and explains the materials used and how to assemble the beds.
I’m excited to share this information and hope you find it helpful!
Budget vs. Cheap
I don’t want to lead you to believe that saying we did this on a budget means we did it for “cheap”. We researched many different ways of building raised garden beds and came to realize all methods will cost some money.
We landed on this particular method because by using repurposed materials we saved a significant amount of money.
These beds are very durable, and although the materials didn’t cost us a lot, the beds are solid and will last a very long time!
I recommend repurposing as many materials as possible, however, don’t cheap out on things like fasteners and soil! If you buy cheap fasteners, they may rust out, fall out, or break. This will lead to rebuilding and cost you more money in the long run.
With the soil, you definitely want to get a good quality composted top-soil so that your vegetables can actually grow in it!
Where to Find Materials
If you don’t already have extra materials laying around your property, get creative! Ask around to friends, neighbors, or relatives who might be looking to get rid of some extra materials.
We purchased all of our materials either on craigslist or Facebook Marketplace. Many times, if you watch places like this, you will find someone who has the materials you need.
People don’t often like to throw good materials away, but they might be willing to give them away for free, especially if you’re willing to come to pick them up.
Also, if you can’t complete all of your garden dreams in one year, do it in phases!
Materials Needed
- Posts – old fence posts or something similar to anchor the bed.
- Concrete mix – to set the posts that will hold the frame of the raised garden bed.
- String – to square off the corners and sides.
- Cedar trimmings – to connect the frame and attach the metal to.
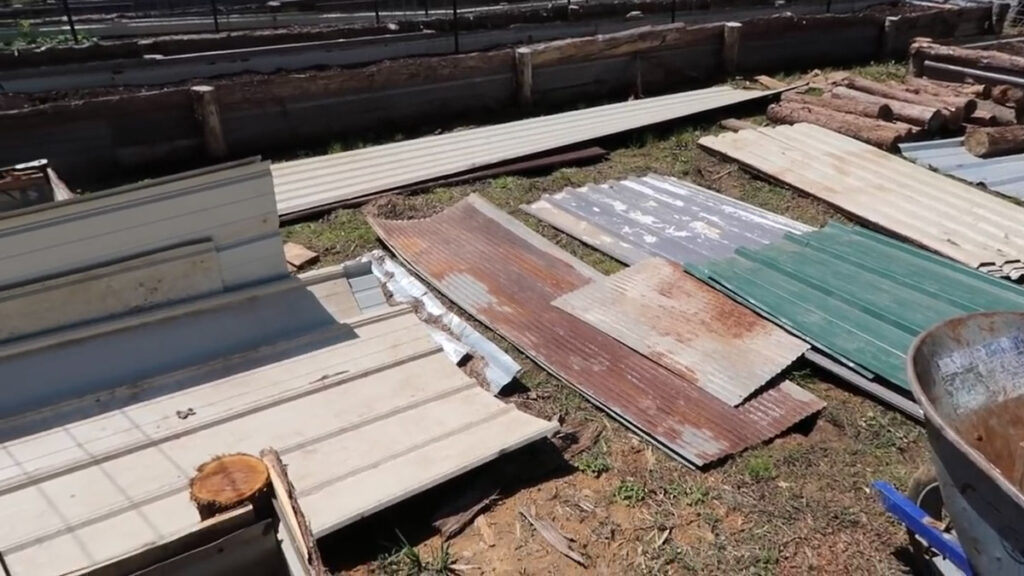
- Metal – corrugated or non corrugated/barn or roofing tin, if you’re not picky about the colors matching, you can usually find scraps pretty easily.
- Tin Cutters – hand held cutters will work, but we’re dealing with a lot of tin, so a circular saw with the appropriate blade would be faster and more efficient.
- Screws – metal screws are ideal, we used 3 ½ inch to 4 inch deck mate star headed screws.
- Garden fabric to line the bottom and prevent grasses and pesky weeds from growing up.
- Soil – a good quality soil will be best. You don’t have to break the bank here. If you have decent soil to fill in the bottom half, then good quality composted soil for the top 12 inches that’s a good start.
Size And Shape Of Raised Beds
The good news is that you can design your garden bed to your liking and what will fit best on your property! Get creative and use your imagination. Just make sure to do some research to ensure the plants you want to grow will thrive in your design.
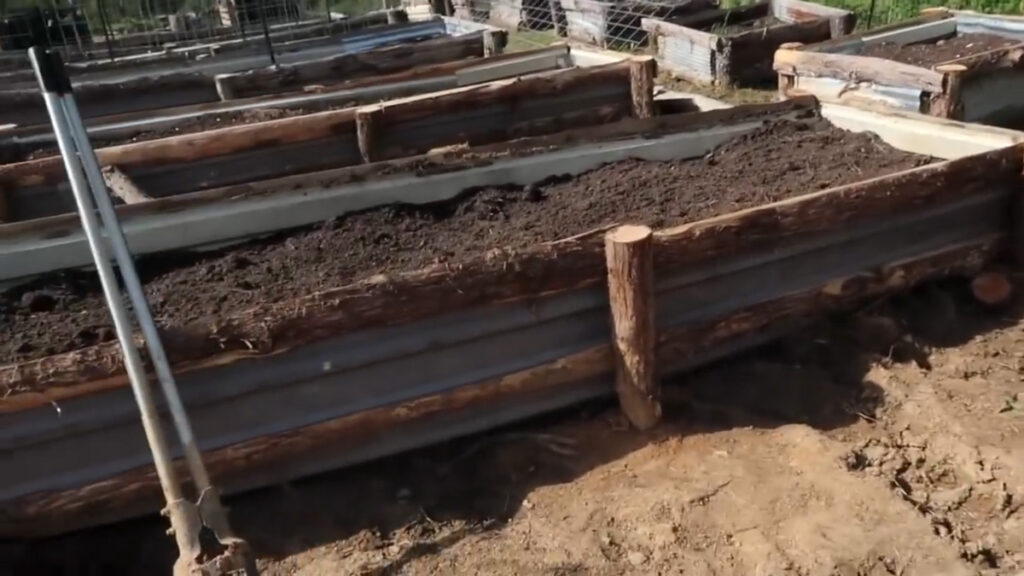
We built ours four feet wide by 48 feet long and 18 inches deep. This width means we can reach the center of the beds with ease but allows for adding vertical trellises for growing, adding vertical arches between the beds, and still having a good amount of space for other items to grow.
If you are building multiple beds, make sure to allow walking space between them. Four feet between beds is a good distance to not only give you space to walk, but also to use small equipment like pushing a wheelbarrow through during harvest or getting a lawnmower through if you have grass.
Step-By-Step Instructions
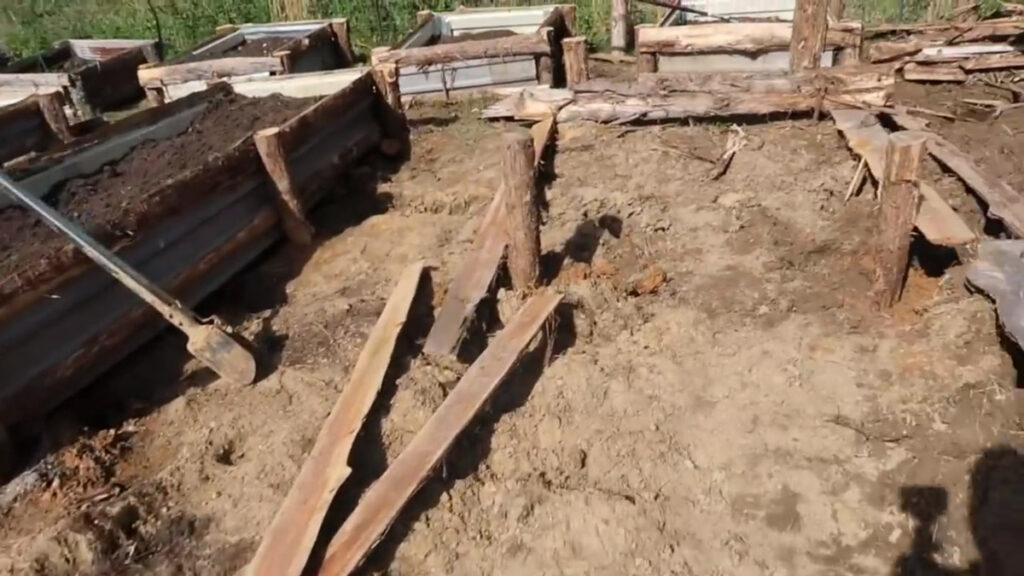
1. Installing The Corner Posts
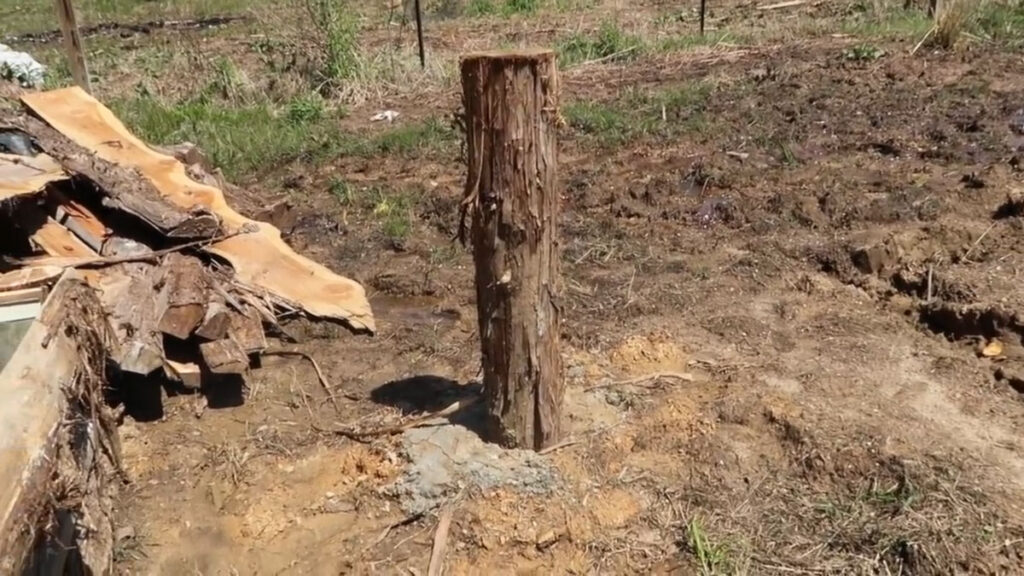
The very first step is setting the end posts. We used shorter cedar posts that are about 4 feet tall. Space them 4 feet apart and measure down the length of your garden 48 feet and place two more posts 4 feet apart.
For these corner posts, I concrete them in to anchor the bed. It takes about half a bag of concrete mix per post. If you don’t concrete them in, you might want to do some type of cross brace to prevent the bed from collapsing from the weight of the dirt. The cost of the concrete was less expensive in this case.
Digging the holes for these posts can be done by hand with a post-hole digger or shovel. If you have access to a tractor, that can obviously save you some time and a sore back as well!
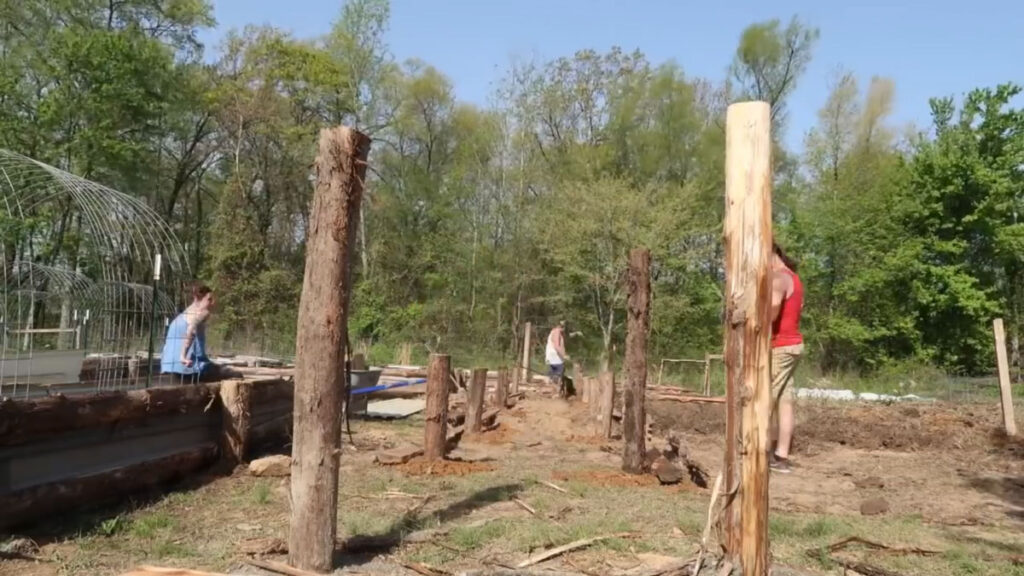
Setting The Remaining Posts
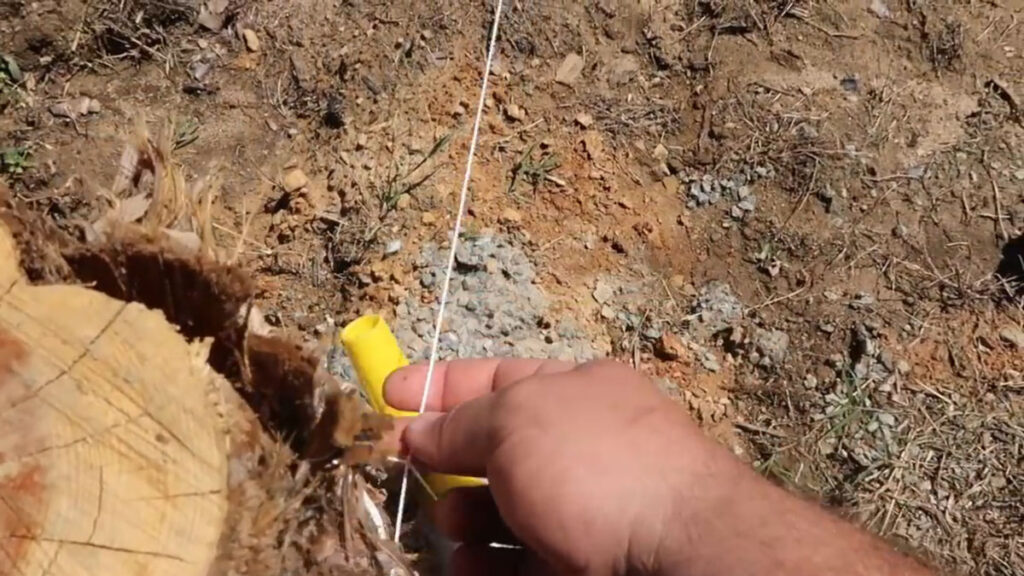
After the corner posts are installed, run a string from one end to the other on the outside of the corner posts. Mark the posts between the corners on the inside of the string.
Measure every 8 feet and mark the spot for the next post with some spray paint or marker of some type. Do this on both sides of the bed.
Dig the holes with whatever method you used above. For these posts, simply backfilling with dirt to secure them in place works well. The corner posts anchor it well enough.
Using the string and squaring off is not super important but helpful in achieving a symmetrical garden. We, of course, like the appeal of a rustic look, but don’t want the garden to look like we were seasick! Eyeball it, but don’t let your attention to detail come into play too much, or you will be out there all day trying to line it all up.
The raised garden beds will still grow vegetables even if it’s not perfectly square!
Cedar Trimming
The cedar trimming is screwed to each post to secure the metal you will attach in the next step.
You will need two cedar trimmings per installment of the garden bed. One for the top and one for the bottom. We run these on the inside of the posts except for the very end posts. Run those on the outside.
This allows the tin corners which will be screwed to the inside of the cedar to be sealed together better and prevents dirt wash out. We use 3 ½-inch to 4-inch deck mate star-headed screws. The star head gives a good grip while securing it to the post, and the length of the screw is needed because of the width of the material you are securing.
Screws are obviously more expensive than nails. In my opinion, screws are more cost-effective in the long run. The nails will not last as long and will need to be replaced over time.
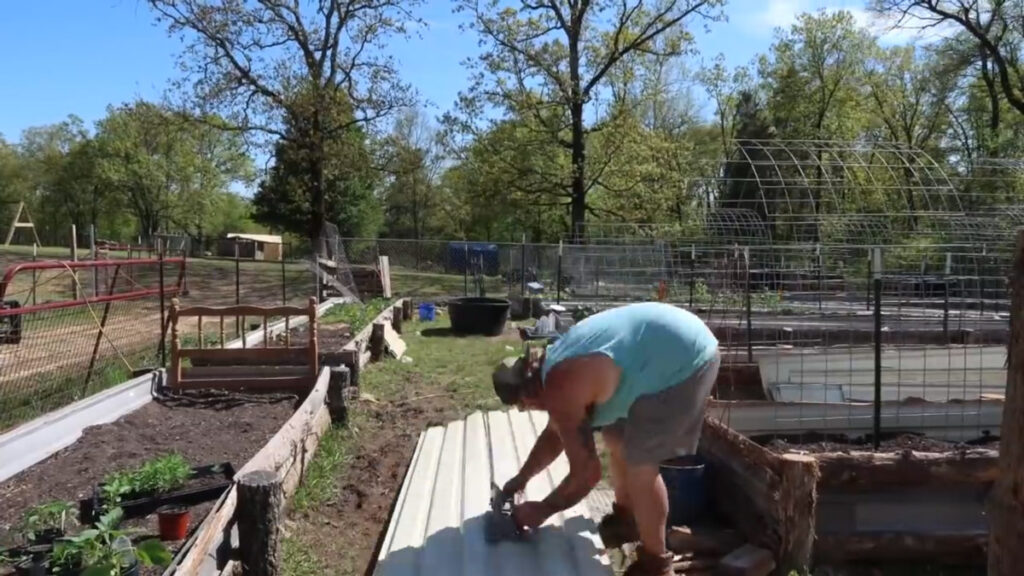
Cutting And Securing The Tin
There are two different types of tin, roofing tin, and barn tin. Roofing tin is three feet in width and is ideal for raised beds since, when cut in half, it gives you two 18” widths, the exact depth we build our beds.
NOTE: If we have access to barn tin, we use that for areas where we need extra support or end pieces. It is helpful if the ridges in the tin match up.
There are three different ways to cut tin that I know of…
- Hand Snips – a scissors-like tool that you can use to cut the metal by hand.
- Tin cutting attachment for drill – this saves your hands a bit of cramping, especially if you’re building as many beds as we did.
- Rigid skill saw with a diamond tooth blade – our preferred method for both speed and accuracy.
Cut the tin to fit the size you need and attach it to the inside of the cedar trim with the same screws used above.
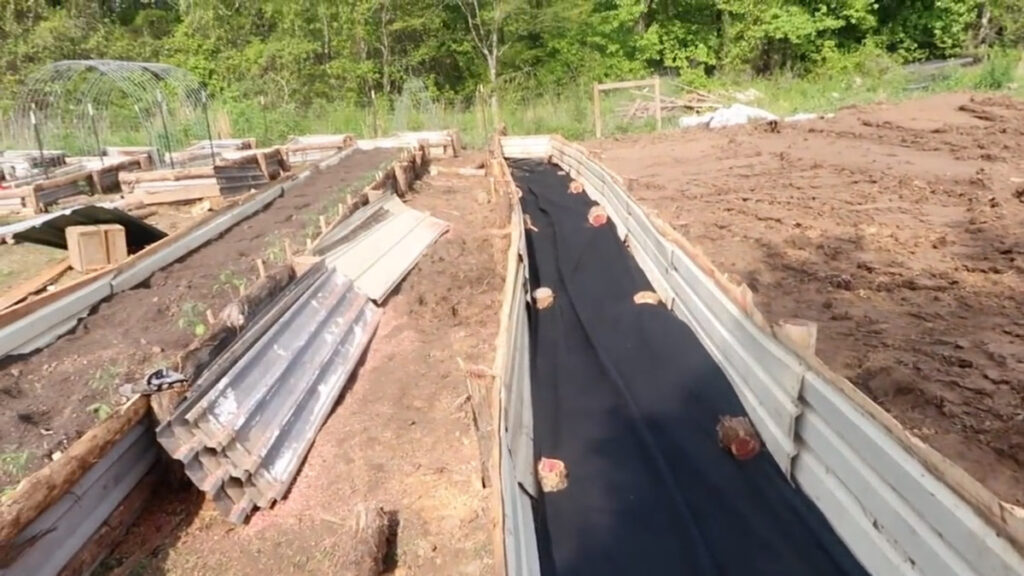
Lining The Garden Beds
To prevent weeds from taking over your garden, line the bottom with garden fabric. Make sure to use a material that has drainage. We purchased ours from Sam’s Club and paid $30 for a 300-foot roll.
After you line the bottom, weigh it down with something heavy to keep it from moving as you put the dirt in. We used the cut-off pieces of our posts, but bricks, large rocks, even heavy branches will work.
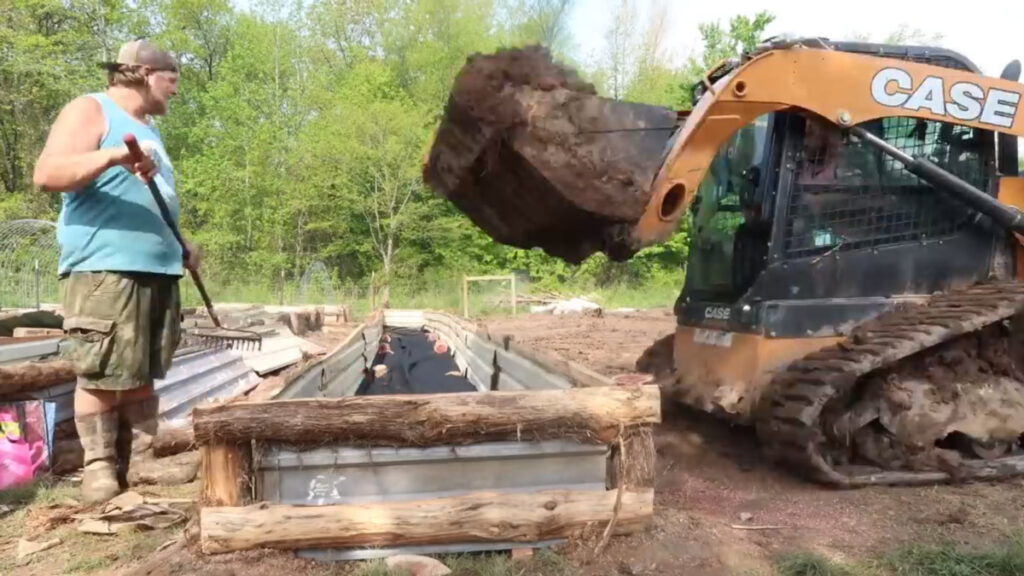
Fill With Soil
The final step (other than planting!) is to fill the beds with good quality dirt and top it off with composted topsoil. As stated above, don’t try to save money on this step. After all this work, you really need your plants to grow!
If you want to burn a few extra calories shovel it in, but I recommend using a tractor!
NOTE: Not everyone will have access to all of the equipment and manpower we had. Don’t let that discourage you! It might take longer, but you can still finish the project. Yes, it will take more time and more work, but it can be done. Invite your family and friends to help and reward them with a basket of vegetables at harvest time!
More Gardening Posts You May Enjoy
- Gardening For Beginners
- Growing In Soil Bags-Container Gardening Made Easy
- How to Build an Arched Trellis (for $30!)
- A Complete Guide to Vertical Gardening on a Budget
- A Complete Guide to Seed Saving
- All About Pollination For Seed Saving
- Garden Planning Basics (How to Plan Your Garden)
- Determinant vs. Indeterminant Tomatoes & My Top 10 Must-Grow Varieties