Learn the difference between early and late blight disease on a plant, and how to make the best natural tomato blight treatment to protect your organic soil.
After spending numerous hours learning the difference between determinate and indeterminate tomatoes, choosing the perfect heirloom seeds, learning how to start those seeds indoors, planting your tomatoes the best way, and even properly pruning tomatoes for the best harvest, it can be devastating to find fungus on your tomato plants.
Preventative organic pest control methods make a notable difference in pests and disease, but sometimes specific treatments are still necessary.
Read on to learn the difference between early and late blight disease on a plant, and how to make the best natural tomato blight treatment to protect organic soil.
What is Tomato Blight?
Tomato blight is a fungus that can infect anyone’s tomato garden.
A fungus spreads its spores by wind, water, insects and animals. Spores that land on the soil can eventually infect the tomato leaves first and then the fruit.
Tomato blight loves wet conditions. Water-soaked plants from excessive watering or rain could create prime conditions for tomato blight to develop, increase, and spread.
Once tomato blight sets in, it attacks the plant tissue and breaks it down until the plant dies, resulting in rotten fruit.
Types of Tomato Blight
There are three types of tomato blight: early, late and septoria leaf spot.
Early Blight
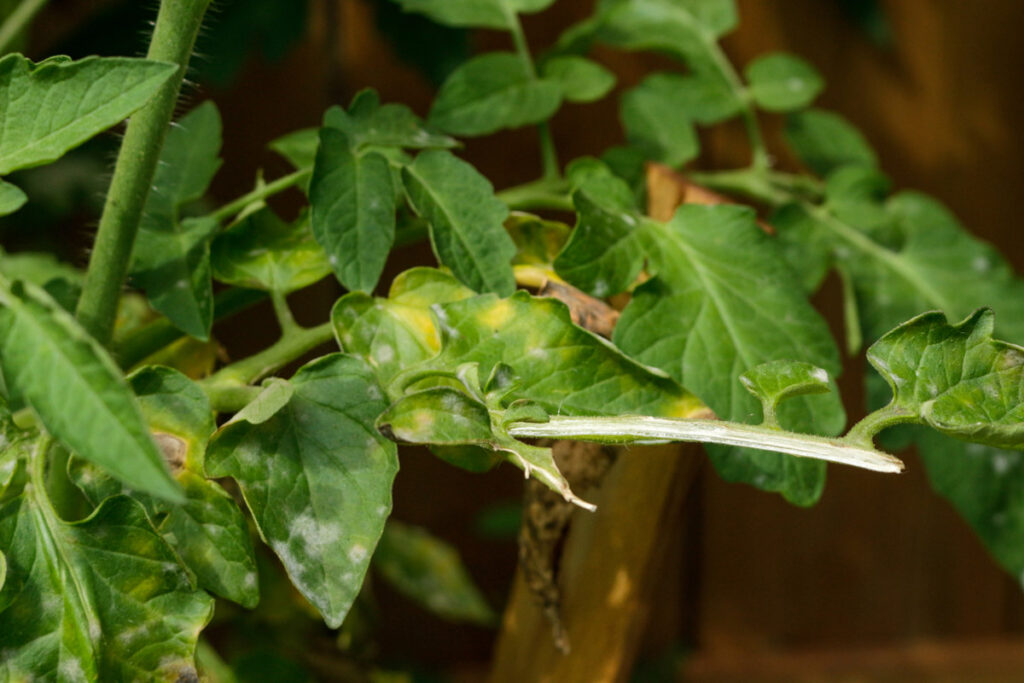
Early blight is also known as Alternaria solani fungus. Leaves can start to show signs of early blight when lower leaves produce yellow and brown spots.
If not managed, the early blight will spread to the tomato’s fruit and make black or brown spots on the fruit.
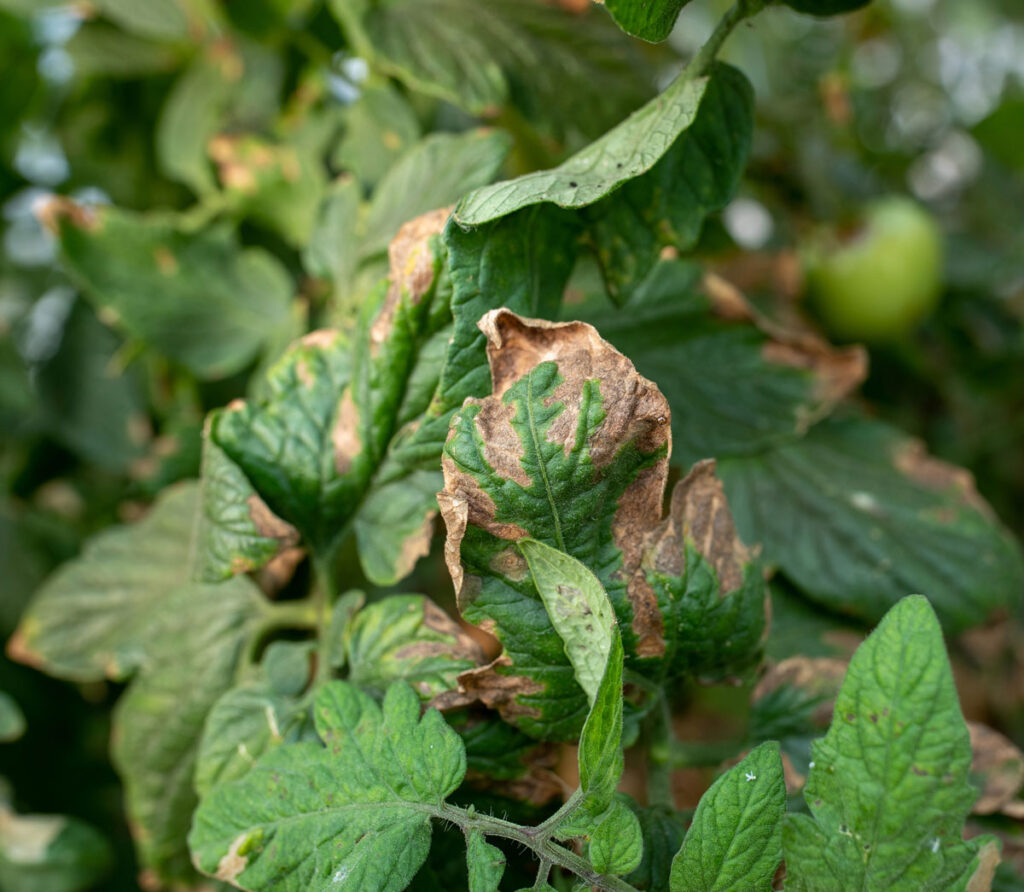
Late Blight
This type of blight is the most devastating. It is also known as the potato blight or Phytophthora infestans fungus.
Late blight is what caused the potato famine in the 1800s.
Symptoms of late blight include brown discoloration of the leaves and stems and will spread to the fruit. It spreads aggressively and will develop mold rings on the tomato fruit. If late blight is not managed, it can wipe out the entire crop.
Septoria Leaf Spot
Septoria blight will infect the leaves similar to early blight, but it will not affect the fruit and is the least harmful type of blight.
The infected leaves will produce brown spots which will break down the leaf tissue and then die.
Spotting Tomato Blight
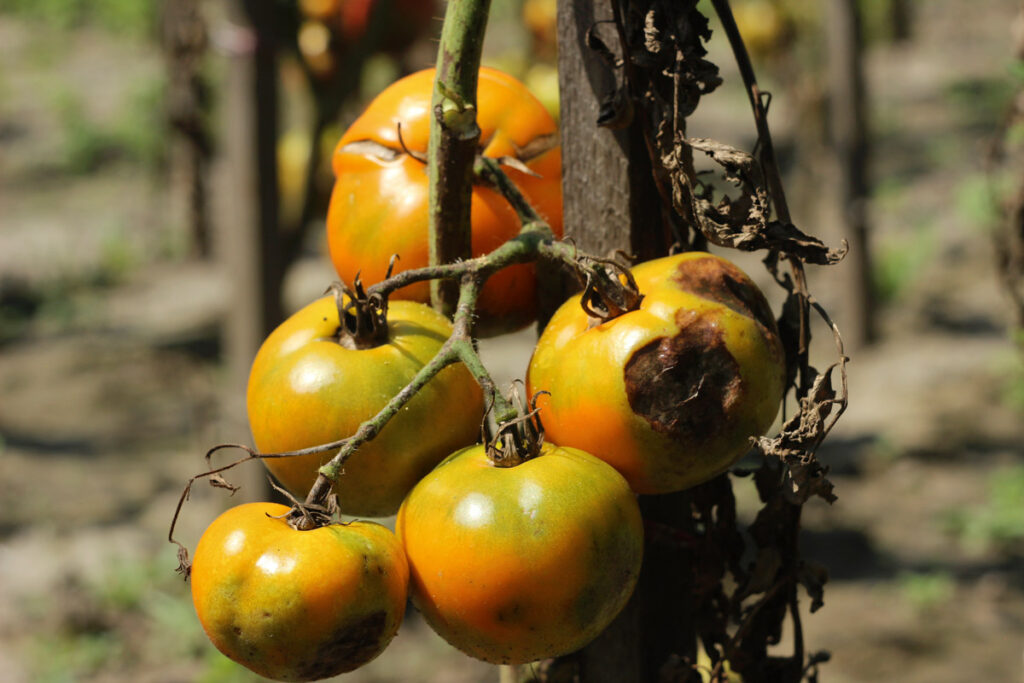
How do you know when you have tomato blight? Tomato blight is easy to spot once it starts to attack your tomato plants.
One obvious sign that you have tomato blight is that the lower leaves will start to have yellow, brown, or even black spots on the leaves. The tomato fruit will also show black or brown spots.
How To Prevent Tomato Blight
Preventing tomato blight is next to impossible, but there are a few things you can do to help manage it.
First, try to look for varieties of heirloom tomatoes that have a higher resistance to blight. I have tried over 85 different varieties, and some do way better than others.
I use a peroxide mixture to keep the fungus from spreading. I learned this method from Gary at Rusted Garden. Gary is a great resource for gardening tips and strategies.
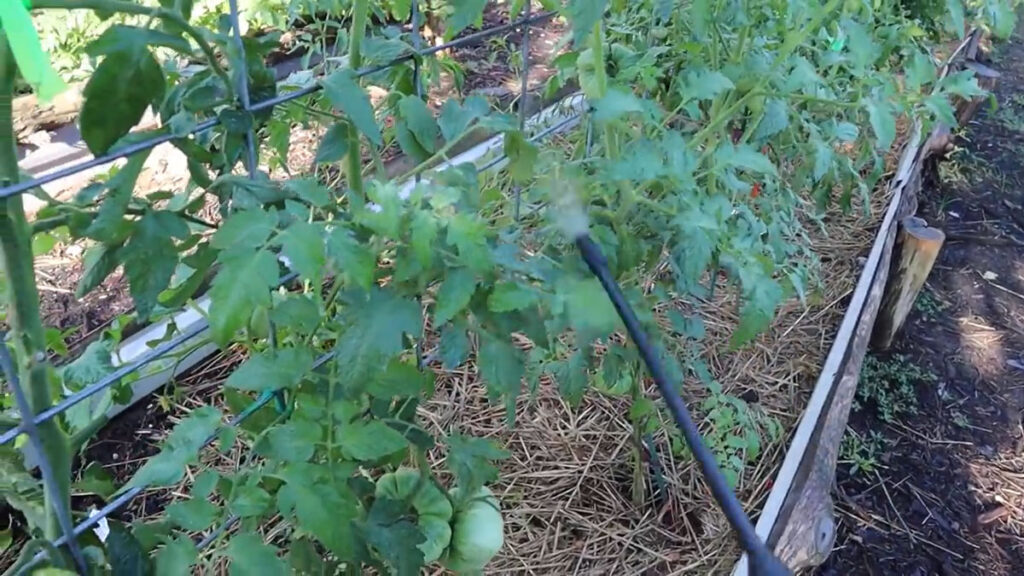
Mulching the soil around the tomato plant also helps with keeping the fungus spores from reaching the tomato leaves.
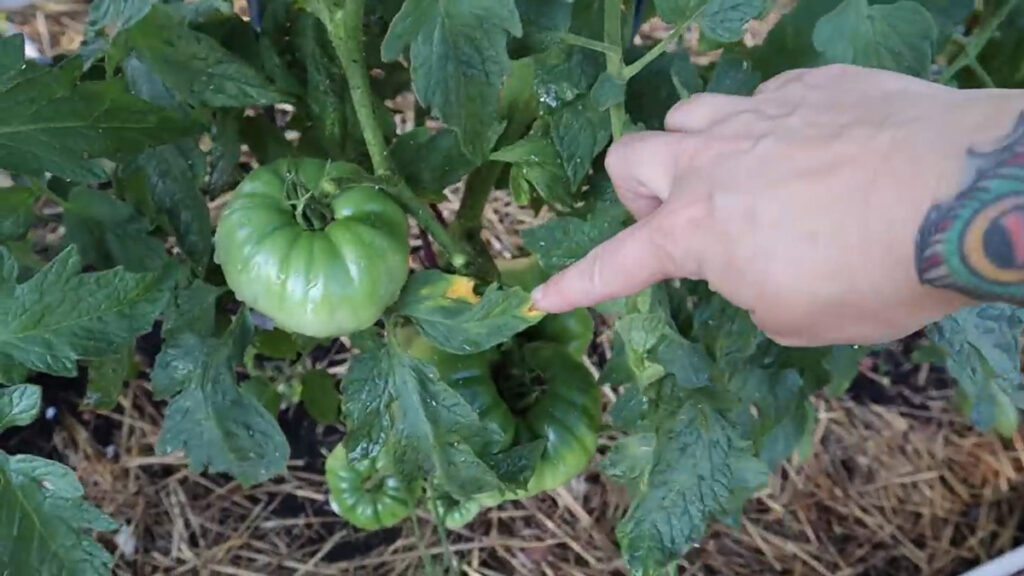
When you do get leaf spot or blight and you see it on your lower leaves, you should pick those off and throw them away. This is the easiest and most natural way of dealing with this fungus.
Be sure to remove the infected leaves from the garden, and do not leave them near your plants or in your compost pile. The spores are still alive and you want to prevent the spread of tomato blight to other areas.
Why Hydrogen Peroxide?
There are many natural tomato blight treatment options such as baking soda and essential oil treatments. However, they are not very effective. While organic copper fungicides are effective, they are expensive and cost-prohibitive to growing your own food.
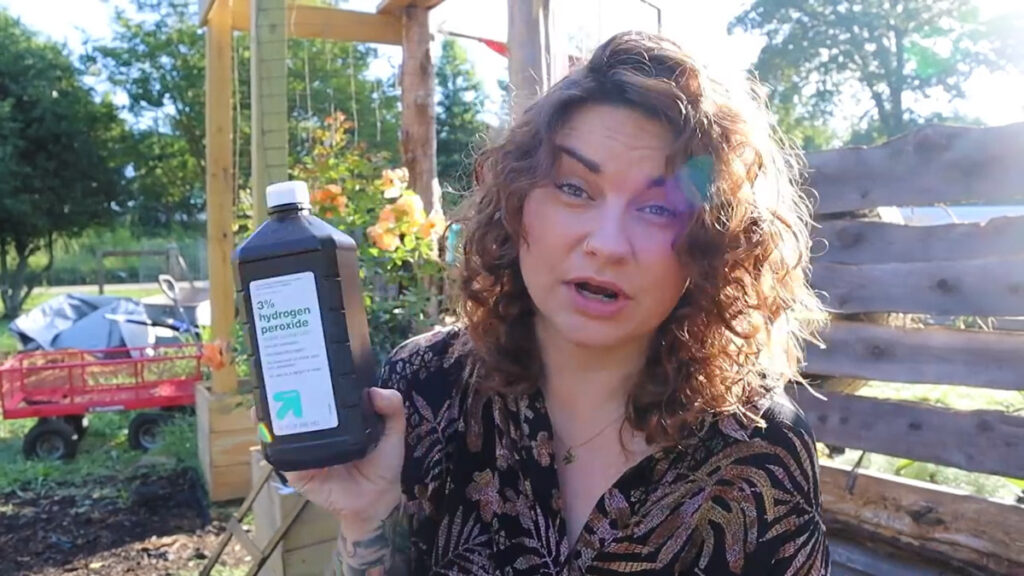
I use hydrogen peroxide because it is a cheap way to kill bacteria and fungus. Plants naturally produce hydrogen peroxide to fight funguses on their own, so giving them a boost is always a good idea.
When peroxide spray is released onto a tomato plant it will oxidize the fungus growing on it. The sun will activate the hydrogen peroxide and kill the blight.

Eating Tomatoes With Tomato Blight
If your tomato plants have blight the fruit can still be eaten, however, the blight could affect the acid levels and the taste of the tomato.
When you see that a plant has been infected, pick the fruit right away and cut out the brown or black spots. Then, enjoy as usual in a tasty tomato sandwich, or perhaps in my favorite roasted tomato salsa recipe.
How To Treat Tomato Blight
This natural treatment for tomato blight involves minimal equipment and supplies.
Supplies Needed
- 3% Hydrogen Peroxide – Hydrogen peroxide is cheap and can be found in most grocery stores and pharmacies.
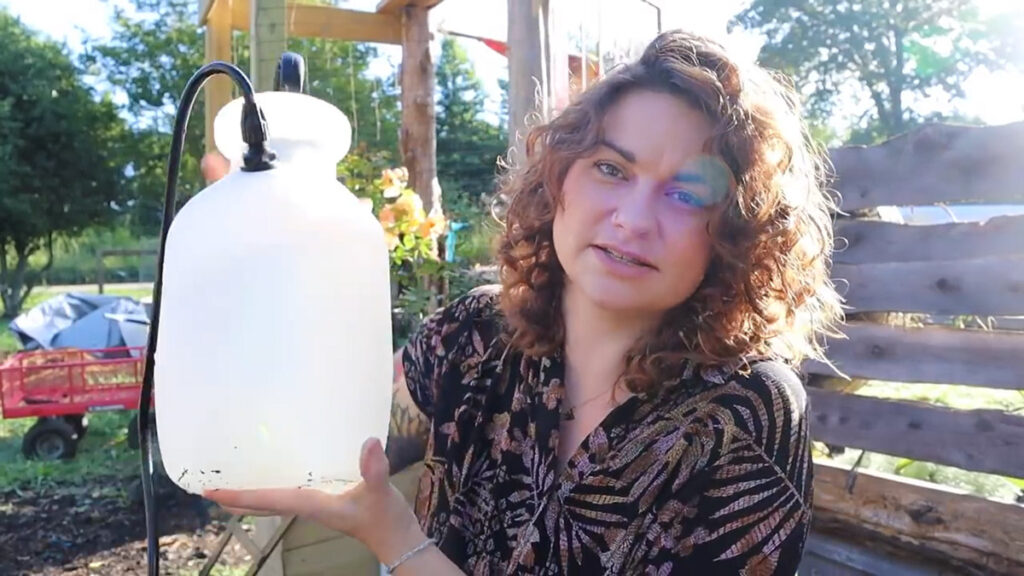
- One-Gallon Spray Container – A one-gallon spray container makes applying peroxide easier and more efficient.
- Water – Mix in 1 gallon of water to further dilute the hydrogen peroxide.
Tomato Blight Treatment Step by Step
Peroxide spray will help keep tomato blight at bay.
- Take 8 -12 tablespoons of hydrogen peroxide and mix it with one gallon of water in the spray container.
- Start the mixture with 8 tablespoons and do a test spray and watch how your tomato plants react. Wait 24 hours and check your plants again. Some tomato plants might need less hydrogen peroxide and some might require a higher dose. Too much hydrogen peroxide can burn the plant so starting with a lower concentration is recommended.
- Once you’ve determined the best mixture, be sure to spray all sides of the leaves, stems, and fruit.
- Let the peroxide solution dry before watering.
- Spraying every two weeks is a good idea, but if you have an outbreak of blight you may want to spray a couple of days in a row.