There are a few aspects of owning goats for which very little information is available online. I’d like to help you by sharing some of the research I’ve collected along with steps I’ve taken in learning how to milk a goat by hand and chilling the milk for best flavor and shelf life. A little bit of knowledge can turn what seems like a daunting task into a great experience!
Choosing A Breed Of Goat
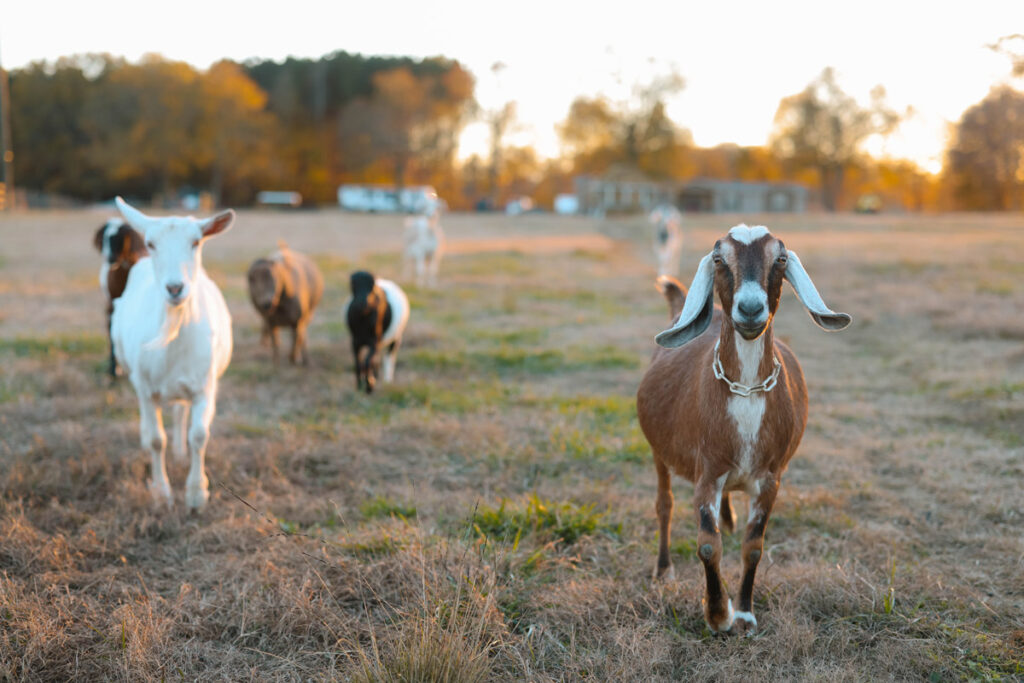
There are many different breeds of goats, and they all have different perks and drawbacks. When you are preparing to purchase goats, make sure to do your research and figure out what is important to you.
We’ve discussed choosing heritage breeds for your homestead here, but we’ll give a quick overview of goat breeds below.
Lamancha
I own this breed, so I’m slightly partial to them. They are mild tempered and very dependable. They produce a good quality milk that is high in butterfat and mildly sweet. They also make good pets as they are gentle and calm natured.
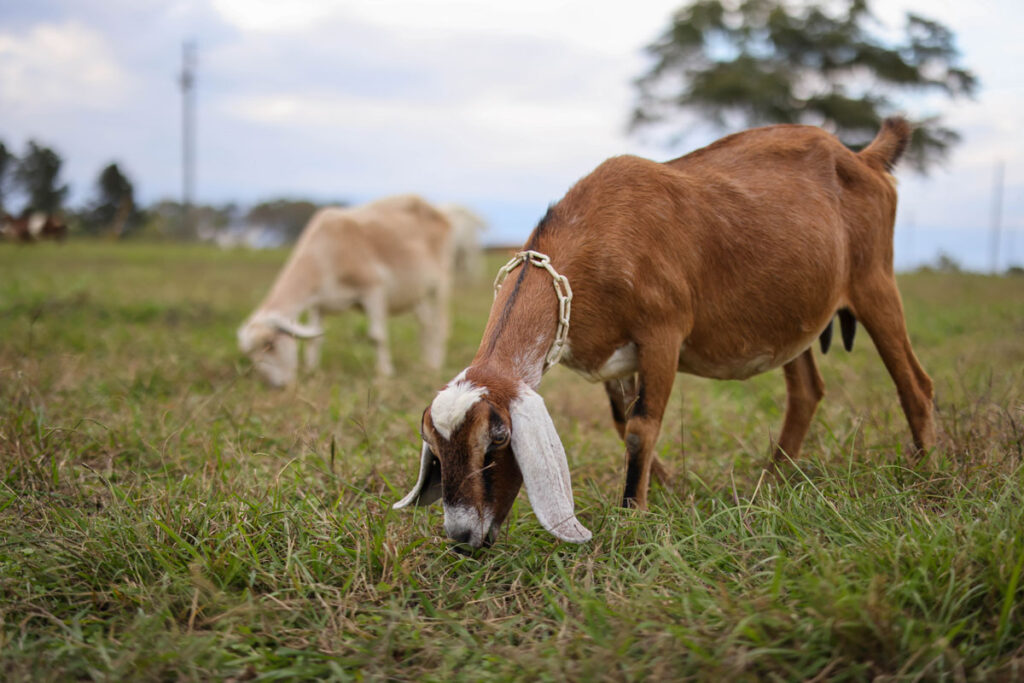
Nubian
Nubians are large in size and produce a high quality milk that is rich in butterfat.
Saanen
This is the largest breed of Swiss goat. These are one of the most popular goats for milking. They have a high milk production averaging between two to three gallons a day.
Alpine
Alpines are a medium-sized goat with horns and one of the most common goat breeds. They are not only good dairy goats but also known for their meat. If you’re looking for a dual-purpose breed, they would be a good option.
Nigerian Dwarf
These are often raised as pets because of their manageable size. However, they also produce a high quality milk rich in butterfat. They do have a lower production of milk, upwards of about 2 quarts per day.
Training A Goat
Goats can be known to be cantankerous and difficult to milk. If you are purchasing a milking goat who’s already been milked, make sure to ask the previous owner what the goat’s milking routine is.
If you end up with a goat that is difficult, don’t give up hope! With patience and diligence, you can likely still train the goat to be a more compliant milker.
If you have young goats who have never been milked, start training them early. Establish a routine of bringing them into the milking stall and feeding them treats, feeling, talking, and familiarizing yourself to the goat. Especially if the goat is about to kid, having a routine started before she delivers is very helpful.
Goats are definitely creatures of habit. Establishing a sequence of events that the goat is familiar with is important. This can include everything from the time of day you milk to the type of gloves you wear.
Equipment Needed
- A goat
- A milk stand
- Something to clean teats such as baby wipes or soapy water
- Seamless container for catching milk. It needs to be seamless as anything with seams or rivets is prone to collect bacteria. A large mason jar works well for this if you don’t have a bucket!
- Milking stool (optional)
- Filtering/straining system

Preparing To Milk
Bring the goat into the milk stand and secure her. If you have established a routine of feeding the goat while you have her on the stand, continue to do that. We feed our goats a mixture of grain, alfalfa pellets, and sunflower seeds.
- 1 quart of grain
- 1 quart of alfalfa pellets
- 1 handful of sunflower seeds
The next step in the milking process starts with washing the teats of the goat. Since they are farm animals, there will likely be manure, dirt, germs, and/or hair on the teats.
To prevent this from getting into the milk, you will want to clean them well before you start. In the past, I have used baby wipes to clean them. This works well, but I now prefer fixing a bucket of hot, soapy water and washing them down with a rag.
This works just as well and is more economical, plus the sudsy water is more efficient at scrubbing off dried on dirt or poop.
How To Milk The Goat
If your goat is familiar with you, it should let down it’s milk right away. However, it will sometimes not do this without a little encouragement. If you watch a kid begin to eat, it will head butt it’s mama’s udder slightly to begin with. Mimic this movement by slightly bumping and massaging the udder between the back legs.
A mama goat will also sometimes not want to let down all of her milk if she is still feeding her kid.
For this portion, it’s much easier to watch, so if you haven’t watched the video above be sure to scroll back up and watch starting at minute 7:30.
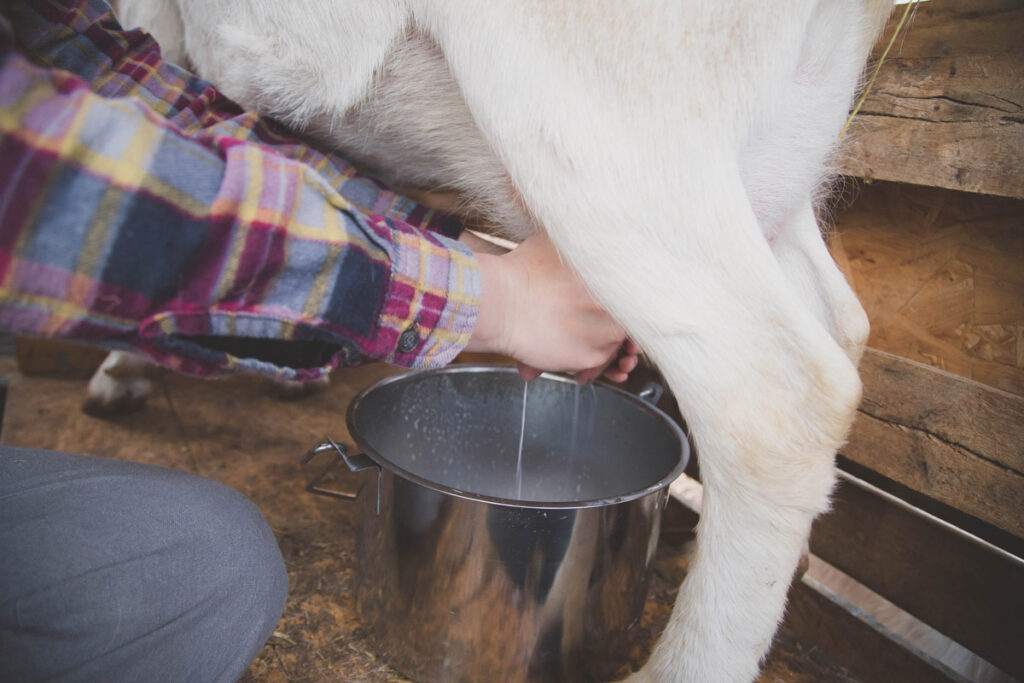
To begin milking, grab the teat and part of the udder where the two meet. Wrap your hand around it and squeeze. Do not pull on the teat! The movement you want is more of a pinch and squeeze.
As you squeeze, you should feel the milk releasing into the teat. For the first squeeze and release, make sure to squirt some milk into a test cup before milking into the big container. This releases the plug and allows you to check for anything unusual in the milk.
If there is anything like blood or chunks, it can indicate an infection. Go ahead and still milk the goat, but don’t keep it for drinking.
If everything looks good and normal, continue the rhythmic movement of squeeze and release into your larger container until the milk stops coming.
The teats should hang empty and soft, and the udder should have a slightly wrinkly look when she is empty.
Your goat will need to be milked two times a day, once in the morning and once in the evening.
Cleaning Up The Milk Stand
To prevent bacteria, it’s best to clean off your milk stand when finished. If you cleaned the teats with soapy water, splash that water onto the floor and sweep off. By keeping the area clean, you not only prevent bacteria growth, but also keep the fly population from multiplying.
If you live on a farm, you know how quickly this becomes a problem!
Straining And Chilling The Milk
It’s impossible to keep all dirt and hair out of the milk as you’re milking. Unfortunately, it’s a part of farm animals that can’t be entirely prevented.
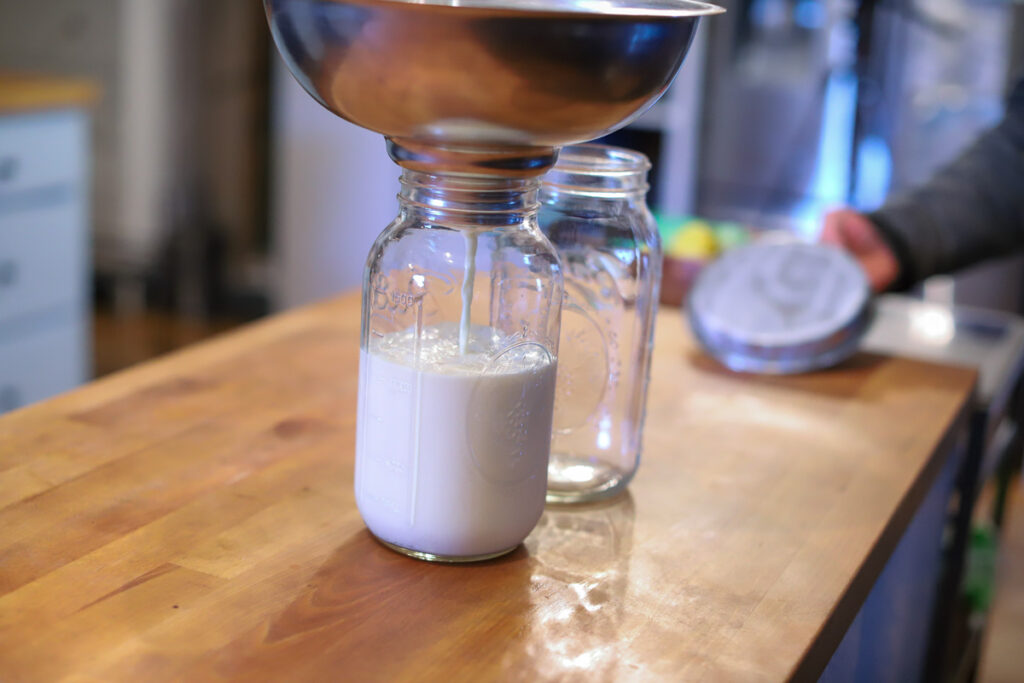
There are different ways of straining the milk, but I have a strainer/ filter system that fits over my mason jars. I like this because once it’s in the jar, it’s ready to be chilled.
Whatever you use to strain your milk needs to be tight enough to catch all of the hair and debris.
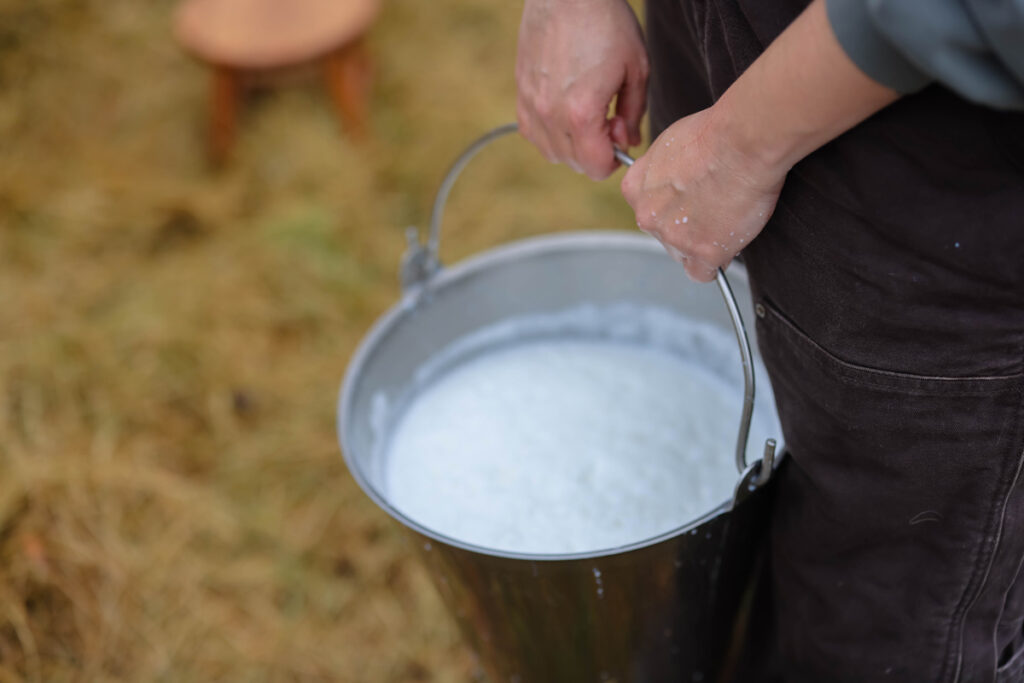
Strain it into a clean container and cover it to chill.
Getting the milk as cold as possible as quickly as you can helps with the flavor. I put mine into the freezer and set a timer for one hour. After that, I continue to cool it in the refrigerator.
If you put it in the freezer, don’t forget about it! The milk will expand as it freezes and break the jar. I learned that the hard way!