Learn how to make elderberry syrup with just a few ingredients. Elderberries are packed with antioxidants and very beneficial for the immune system, this is a great elderberry syrup for kids, too.
As cold and flu season tends to rear its ugly head multiple times throughout the year, this is a good recipe to always have the ingredients on hand so you can whip up a batch as soon as those first symptoms appear. Let’s all do whatever we can to boost our immunity and stay healthy!
I first found out about elderberry syrup about ten years ago and started making it long before it was such a popular item. Back then, if you didn’t make it yourself, you didn’t have it!
As people have become more aware of the benefits, elderberry syrups are an easier item to find in many stores and online.
It’s important to note that I am not a certified medical practitioner, and this post is not intended to diagnose or treat but is for informational purposes only. Please contact your medical care professional before introducing new herbal remedies into your wellness routine.
The Benefits of Elderberries
Elderberries come from the Sambucus tree. It is a tree with clusters of white flowers and blackberries. These berries have been used for different purposes for hundreds of years, and the benefits are many!
- Boost the immune system
- Anti-inflammatory properties
- High in vitamin A
- Helps fight off the common cold and flu
- Eases sore throats
- Fights against bacterial and viral infections
- Helpful in easing allergy symptoms
Holistic Remedies and Food Medicine
Herbs and food are so important in the health care of our bodies! However, we need to approach it with a reasonable mindset. It is a lifestyle that requires balance.
You can’t eat garbage for a week and then take elderberry syrup when you feel a scratchy throat starting, and expect not to get sick. Your lifestyle needs to include:
- Hydration
- Exercise
- Fuel your body well
- Get lots of rest
THEN you use food and herbal medicine, and the elderberry syrup benefits will make a big difference.
However, if you know that your lifestyle is not where you want it to be, start by taking small steps. Don’t do nothing! It’s not a magic pill, but it will help. Everybody can benefit from it.
Why Make Elderberry Syrup
First of all, if you have ever seen the price tag on brands such as Sambucol Black Elderberry products, you know you can save money by making it yourself. The initial cost upfront to get all of your ingredients is approximately $50-$60, but that can make multiple batches.
If you feel it is too expensive to begin with, I encourage you to find a friend in your community who is also interested in making the elderberry syrup. You can split the cost and share the product.
Second, by making it yourself you can control the ingredients and adjust it to your liking.
Commercially made syrups generally use ingredients such as glucose syrup, purified water, citric acid, potassium sorbate (to retard spoilage), etc., but when making yourself, none of these ingredients are necessary.
Natural remedies are such a simple thing, and elderberry syrup is a great place to start.
Ingredients Needed
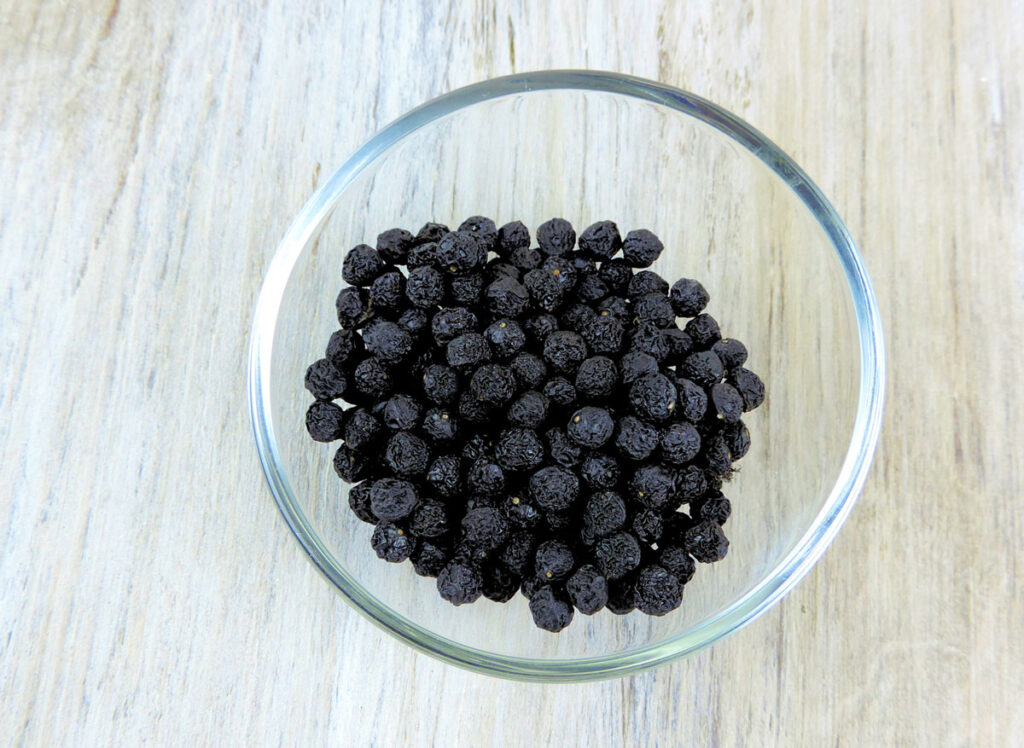
- Elderberries – I buy dried elderberries on Amazon. A one pound bag of organic elderberries costs between $20 and $25 and contains 5 cups of dried berries. It comes in a bag, and I always take mine out of the bag, and put them in a Mason jar with a lid to keep them sealed and fresh (you can even toss in an oxygen absorber for good measure).
- Raw Local Honey – Only raw honey provides anti-bacterial and anti-fungal properties. Regular honey will not provide these same benefits. Additionally, local honey can provide protection against seasonal allergies by exposing small amounts of local pollens to build up your tolerance. **One thing I do want to note here is that if you have a baby under one year old, you will want to substitute maple syrup for the honey. Due to their undeveloped digestive systems, babies are more susceptible to clostridium botulinum (a natural bacteria in honey that causes botulism) and can not have honey!**
- Cinnamon Stick – You can also use ground cinnamon.
- Cloves – Whole or ground. If you use whole cloves, be sure to strain them out at the end.
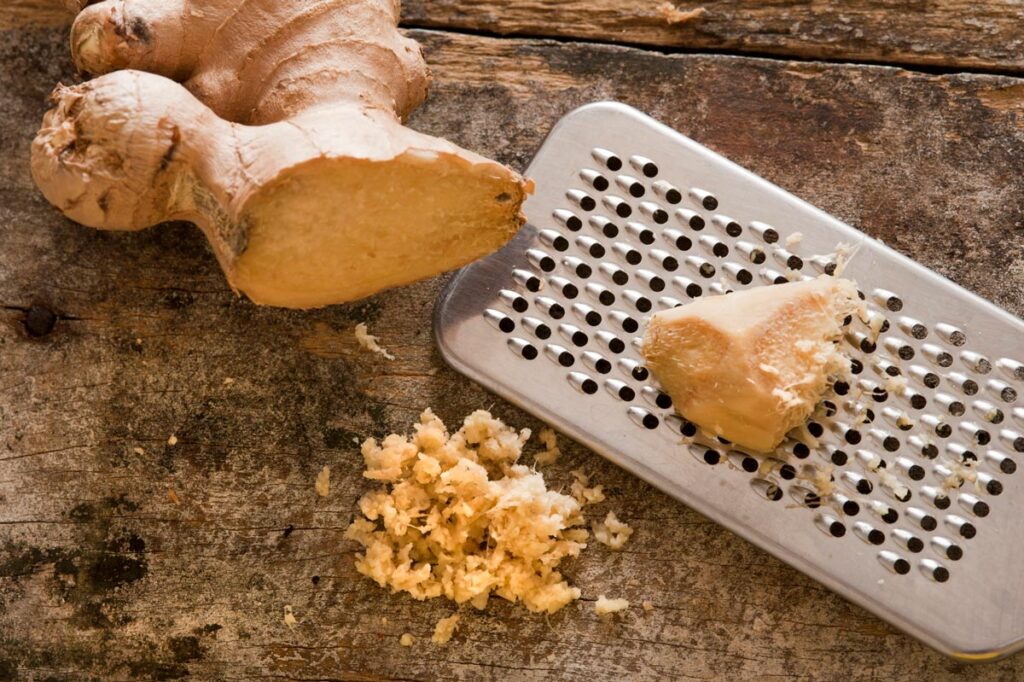
- Ginger – Fresh and shredded is preferred, but powdered ginger is an option.
- Rose Hips – I also buy my rose hips on Amazon. I always keep them on hand. They are loaded with vitamin C.
- Water – Filtered or purified water is best as it will make your elderberry syrup last longer. But tap water works, too.
How To Make Elderberry Syrup
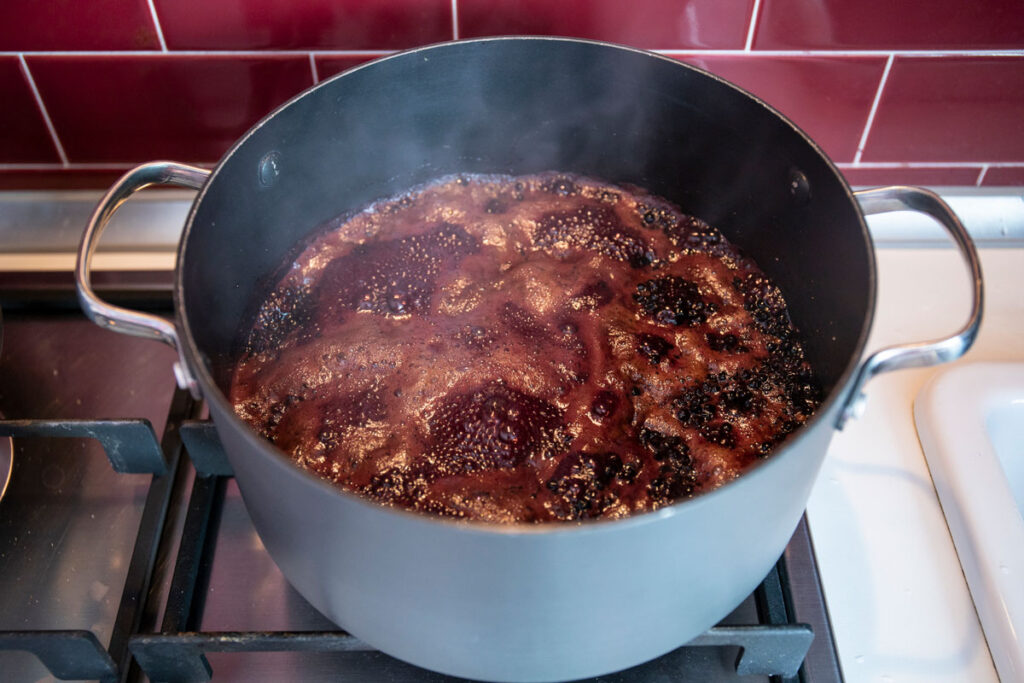
- Put all ingredients except honey in a heavy bottom pot, and bring to boil over medium high heat.
- As soon as it reaches a boil, reduce heat and simmer. Do not cover, elderberries contain hydrocyanic acid that needs to cook out.
- Simmer for 45 minutes.
- Turn off the heat and let the product cool to the point it can be handled.
- Remove cinnamon sticks and mash contents with a spoon or masher.
- Press through fine mesh sieve, squeeze through cheesecloth or a clean towel.
- Mix 1 cup of honey into the resulting juice.
- Store in an airtight container in the refrigerator for up to a few months.
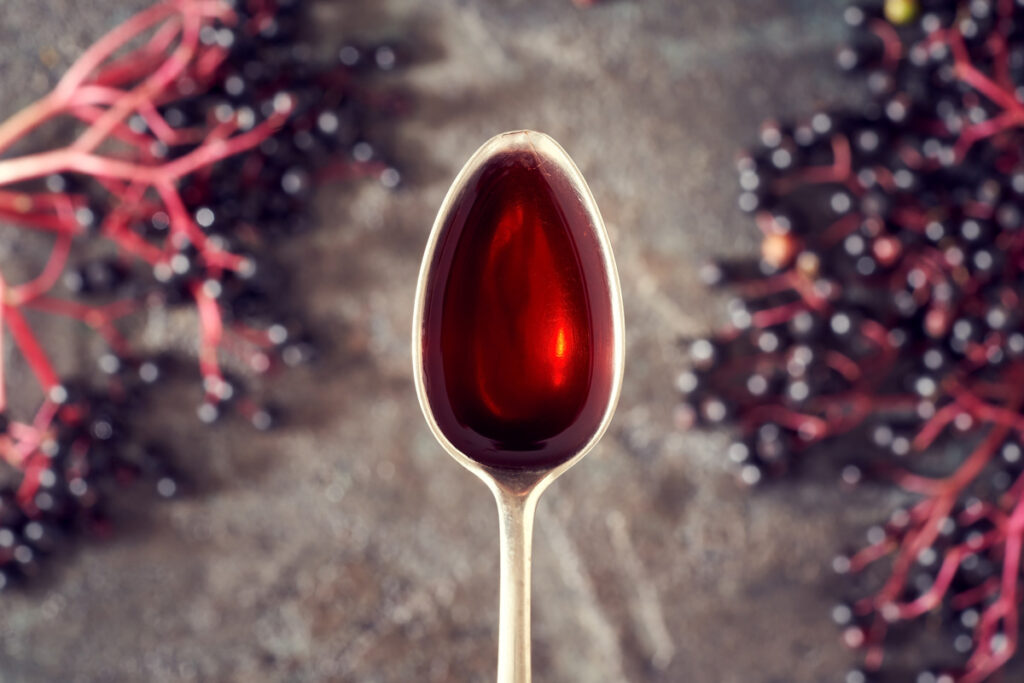
- Take a spoonful daily or as needed.
How to Store Elderberry Syrup
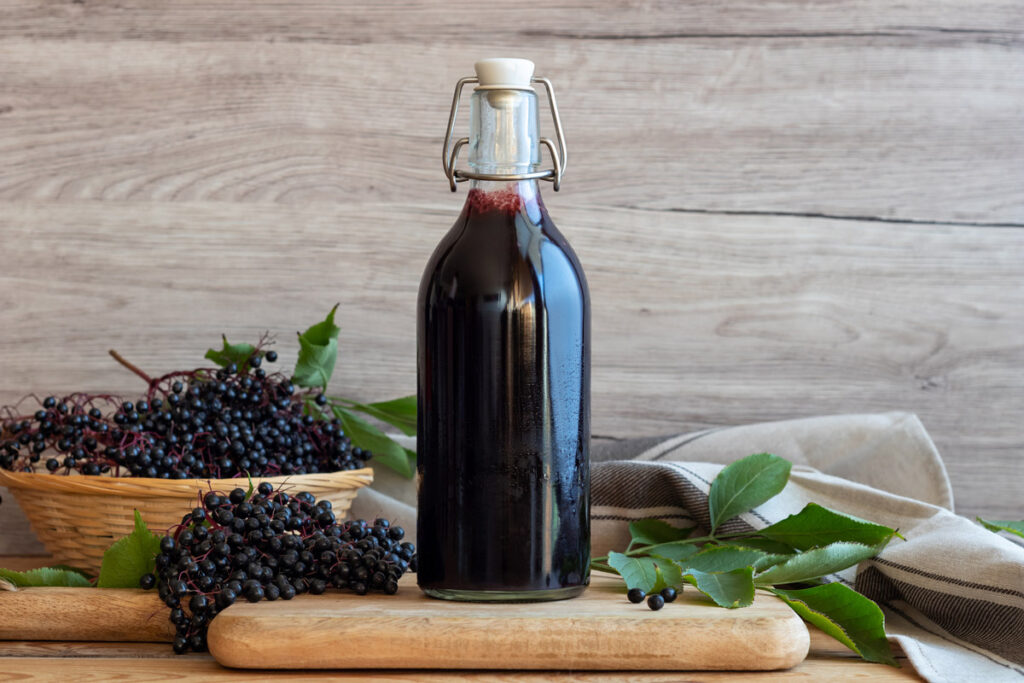
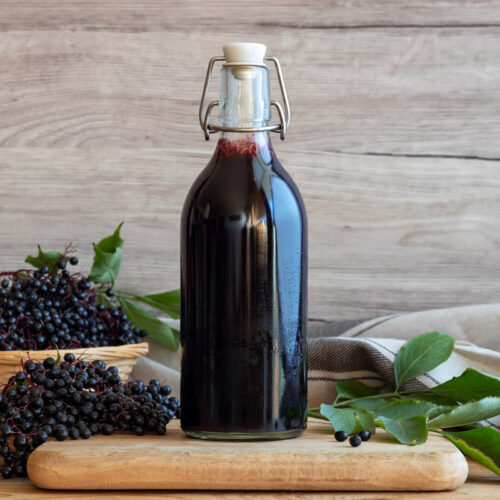
I pour mine into a glass jar with a swing-top lid, but any airtight container will work just fine. It’s recommended to store in the fridge for up to 6 months. We use ours pretty fast, but I’ve never had it go bad this way.
If you’re dipping a spoon into a jar, be sure the spoon is clean and don’t double-dip as you can potentially introduce bacteria into the jar which will cause spoilage.
Dosage Instructions
This is food medicine, so it’s not an exact science! I have taken one spoonful as daily maintenance for my immune system every morning for years.
Throughout the time of year when germs are running rampant, even the kids get a spoonful every day.
If we start to feel sick, I up the dosage right away. Pretty much every time I walk past the fridge or think about it, I’ll take another spoonful totaling several times daily. One thing to keep in mind…it’s full of honey, so be aware of the sugar you’re consuming!
FAQ’s
At What Age Can a Child Take Elderberry Syrup?
Keep in mind the honey in this recipe is not appropriate for babies’ undeveloped digestive systems. Elderberry syrup is considered safe for children ages 2 and up.
How Much Can I Give a 2 Year Old?
Although elderberry syrup is made from food ingredients, high doses of elderberry can cause an upset stomach. It is for this reason that it’s recommended to start your little one with a conservative dose at 1 teaspoon (or 5ml) once per day for general immune support and increase from there as your child grows.
How Much Elderberry Should a Child Take?
Older children should be able to easily tolerate 1-2 teaspoons per day for general immune support. During illness, this dose can be doubled until symptoms subside.
How To Make Elderberry Syrup – (For Kids & Adults)
Equipment
- Sieve Cheesecloth or a juicer can also be used.
- Saucepan
- Spoon or Masher
Ingredients
- 3/4 Cup Dried Elderberries
- 3 Cinnamon Sticks
- 2 Tablespoons Fresh Ginger Shredded
- 1 Teaspoon Cloves Ground
- 1/2 Cup Dried Rosehips
- 3 1/2 Cup Water
- 1 Cup Honey Local, Raw
Instructions
- Put all ingredients except honey in a heavy bottom pot and bring to boil over medium high heat.
- As soon as boil begins, drop heat to simmer.
- Simmer for 45 minutes.
- Turn off the heat and let the product cool to the point it can be handled (about 30 minutes).
- Remove cinnamon sticks, and mash contents with a spoon or masher.
- Press through fine mesh sieve or squeeze through cheesecloth.
- Mix 1 cup of honey into the resulting juice.
- Store in an airtight container in the refrigerator for up to a few months.
- Take a spoonful daily or as needed.