Saving seeds is not difficult, and if you haven’t done it yet, now is the time to start! You can save seeds from tomato plants, peppers, cucumbers, pumpkins, and more for planting in your garden next year. In this post, I am unpacking all my techniques for successful seed saving.

Why I Love Saving Seeds
Be sure to check out my post on how to avoid cross-pollination when seed saving for more growing tips. I love saving seeds because it's a definite money saver and a nice security.
Having the ability to grow my own food and save the seeds means that I can sustainably grow food for our table for years to come. It's an exciting and great experience.
If you've watched me on YouTube for any length of time, you know that I love seeds and I am a huge collector of seeds.
I don’t have a lot of frivolity in my life. However, seeds bring me a lot of joy and so I keep a really large seed collection. You can check out my seed shopping method in this post.
But if you want to learn how to start collecting your own seeds, you’re in the right place.
Choosing the Right Plants For Seed Saving
When saving seeds to grow in future gardens, choose heirloom plant varieties to save from. Heirlooms are stabilized varieties, which means that the seeds will grow the plant you are expecting; as opposed to modern hybrids which are often unstabilized and will produce seeds that are either sterile or that grow plants with different characteristics than the parent plant. This makes heirloom varieties the best choice for seed saving.
Check out my post on where to buy heirloom seeds for a comprehensive review of places to purchase heirlooms.
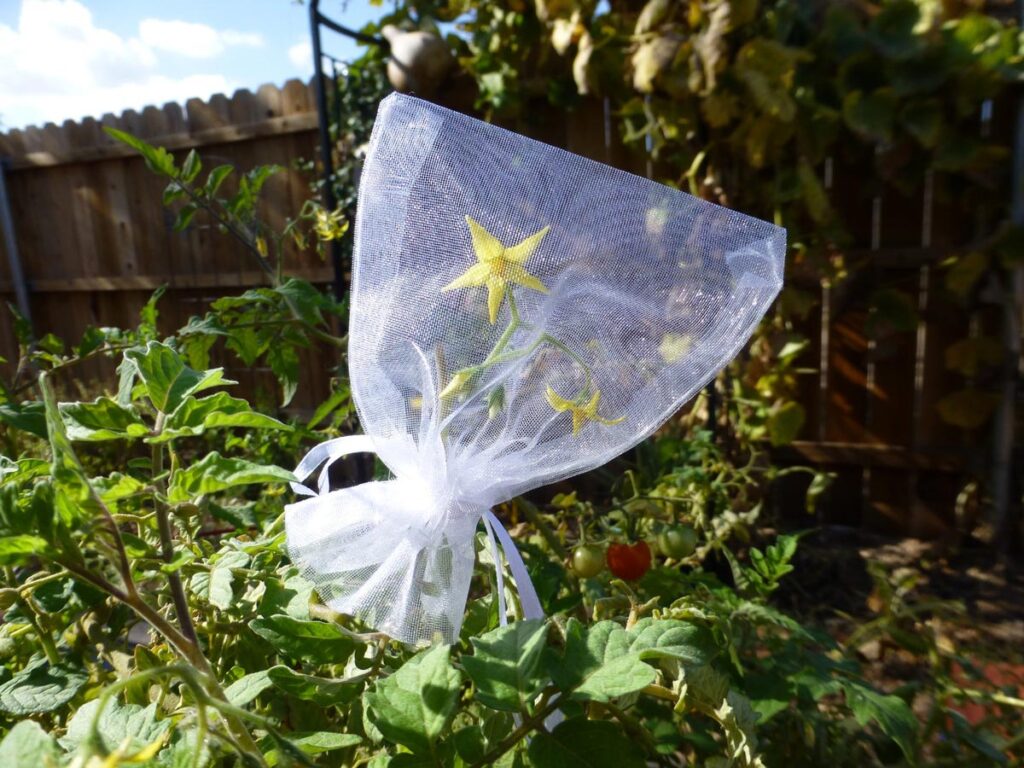
Why & How to Avoid Cross Pollination When Saving Seeds
Cross-pollination can occur naturally in your garden, resulting in hybrid seeds instead of pure, viable seeds.
Check out the four best methods to avoid unwanted cross-pollination here including my money saving tip and what to do if you’re not sure if your fruit was cross-pollinated or not.
How to Save Seeds Of All Sorts
A lot of the time I pick the fruits that look really good but somehow got messed up to save the seeds from. I might use a tomato damaged by insects or an okra that I missed when I was harvesting so it grew past its prime. Or maybe I have a fruit with bad sun scald or that a squirrel ate half of.
Those are great opportunities to save seeds with less waste. You can salvage those fruits to save seeds so they aren’t a total loss.

How to Save Vegetable Seeds
Root vegetables and greenery need to be allowed to bolt so that you can collect the seeds. This is how you'll save the seeds from carrots, radishes, beets, lettuces, broccoli and even some flowers.
Bolting means that you allow the plant to grow past the edible stage to the point that it grows flowers.
- Allow the plant to bolt.
- Let the flowers grow and die back.
- Cut the flowers once dry using a white piece of paper (a paper plate works too) to catch the seeds as they're removed from the flowers
Every little seed you’ve collected will produce another plant. It’s incredible the multiplication that happens when saving seeds.
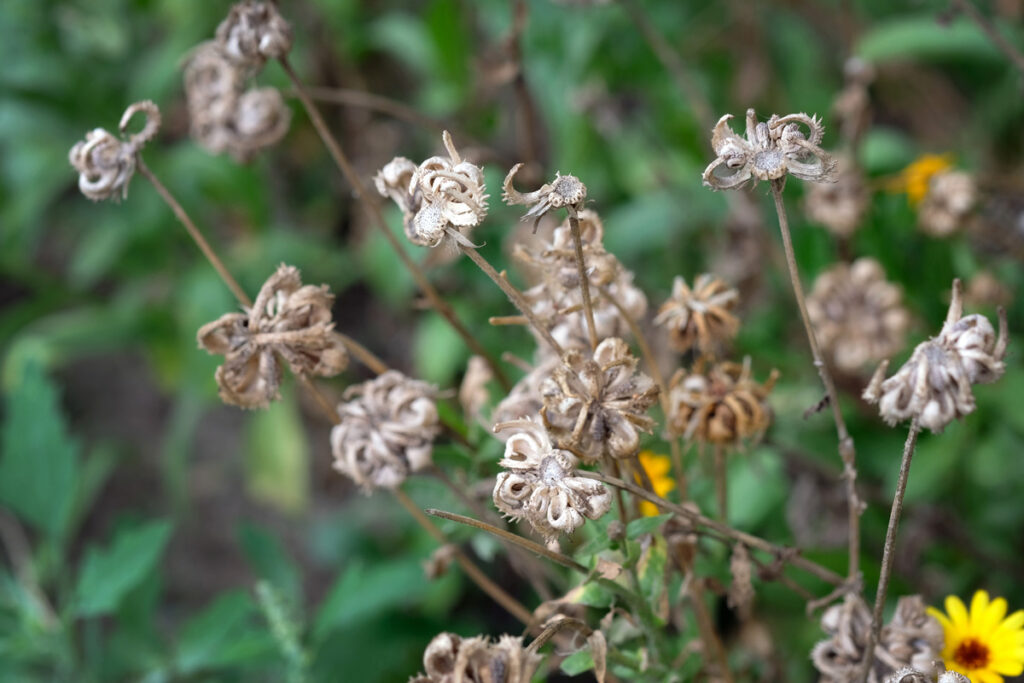
How to Save Flower & Herb Seeds
I don’t often save seeds from my flowers and herbs because many are perennials. And they typically come with so many seeds in a packet that I just haven’t had the need to.
However, if you are saving seeds from flowers and herbs, the process is similar to vegetable seeds above.
For instance, when my basil has flowered and the stalk with all the flowers is drying up, I break off the pod. Then I lay it out on a paper towel until it is completely dry. Next, I strip the flowers off the pod into a baggie and save them.
The next year, when I plant, I haven't taken the time to extract all the tiny little seeds from the flowers, so I just sprinkle those flowers into my soil to plant them. It works great!
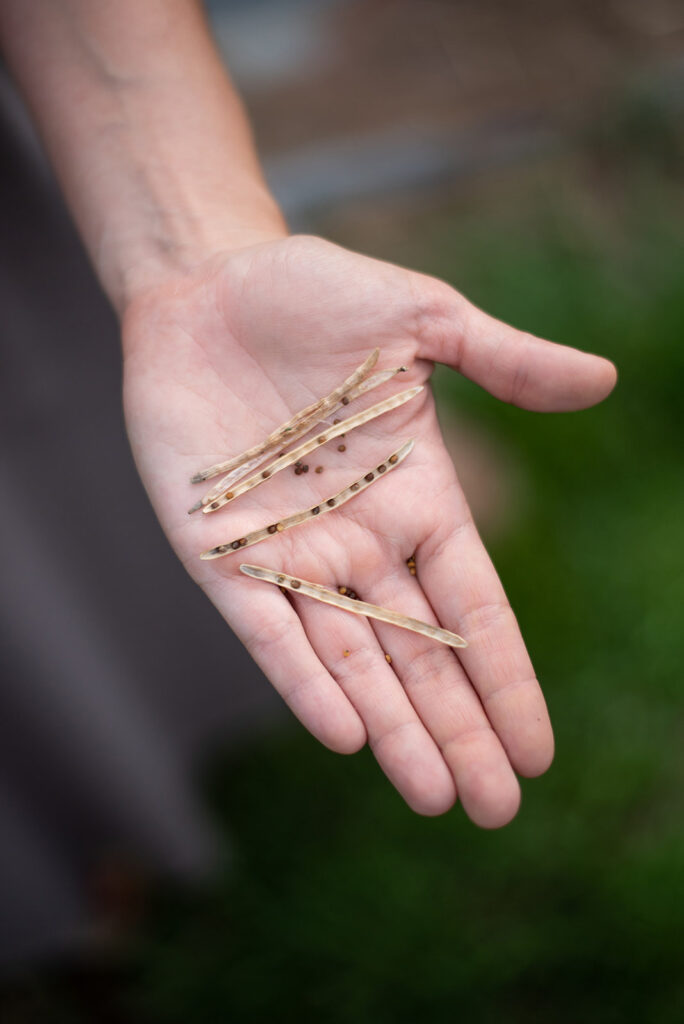
How to Save Bean Seeds
Even though a bean is technically a fruit, the seeds are collected in a similar way to the vegetables listed above. Essentially, you are saving the part of a bean that you eat.
Leave the bean on the plant until it is completely dry. Then, over a piece of paper, remove the beans from the pod and collect them. If the beans are not completely dry, let them dry a few days on your counter before storing them.
You can tell a bean seed is completely dry when you try to poke your fingernail into it and it doesn't leave a dent.
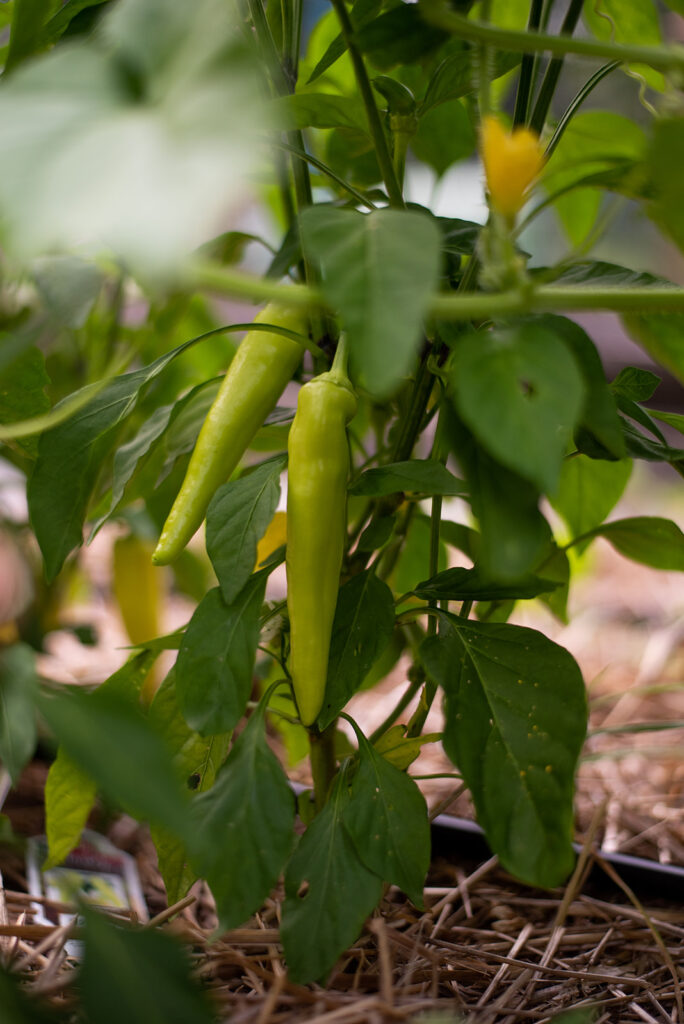
How to Save Pepper Seeds
Pepper seeds are easy to save. Leave the fruit on the plant until it is fully ripe and full-sized so the seeds are completely developed. The skin will start to wrinkle a little bit but you don’t want to wait until it is rotting.
Pick the pepper and pop off the top. Remove the seeds onto a piece of paper and leave them out on the counter for a day or two until they are completely dry. They are now ready to store.
How to Save Pumpkin & Squash Seeds
Like peppers, leave a pumpkin or squash on the plant until it stops growing and changes colors. Because the seeds are already dry and not in a gel coating, there is no need for fermentation.
Cut the squash in half, remove the seeds and lay them out on a paper towel in a single layer. Label the paper towel and leave the seeds out until they are completely dry before storing.
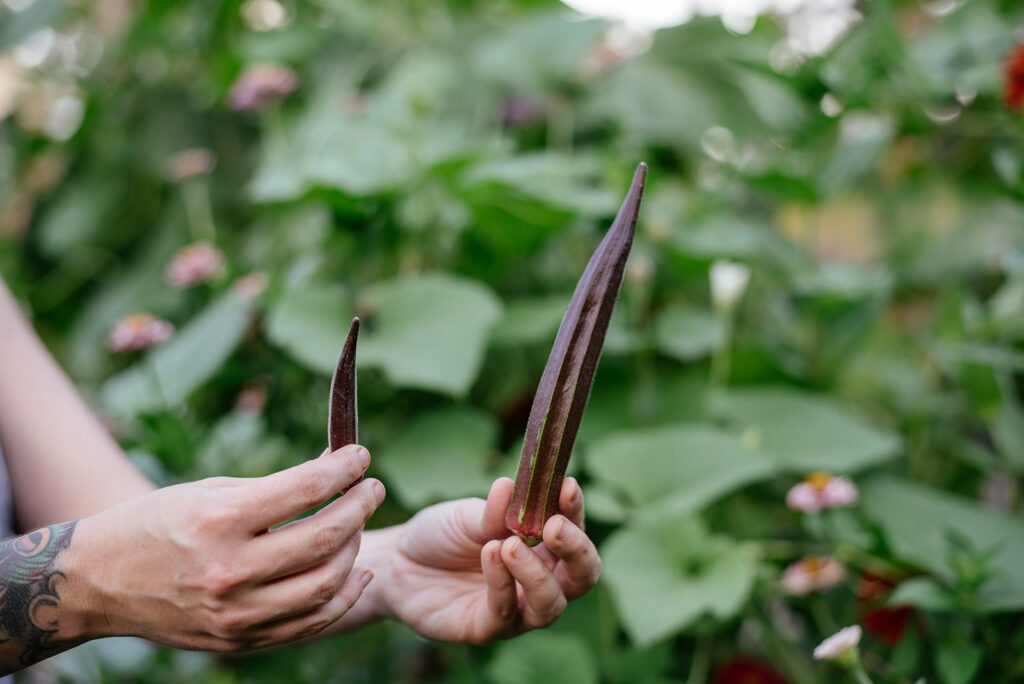
How to Save Okra Seeds
Okra is really easy to save seeds from too. In order to save okra, let it completely grow up and dry on the plant. Then pick a pod, open the pod and shake out the seeds onto a piece of paper.
When they are completely dry, they are ready for storage.
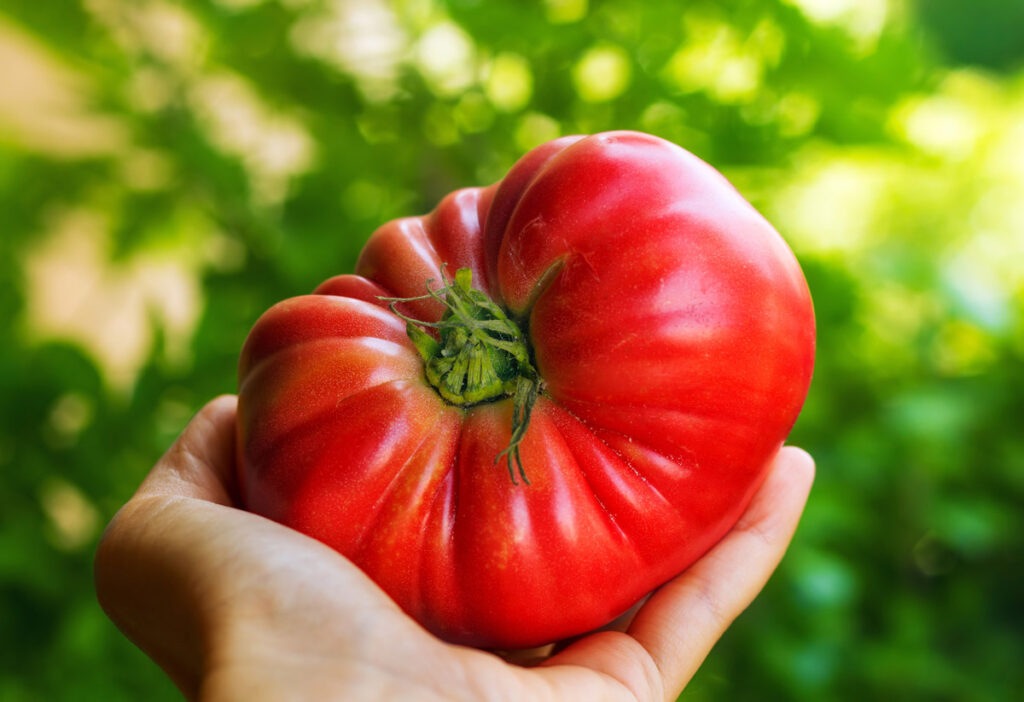
How to Save Tomato Seeds
Fruits that have a gel around the seeds need to be fermented before you can save the seeds. The fermenting dissolves the naturally protective, slimy coating from the seed so that you can keep it dry and not moldy in storage.
- Choose a good quality, mature tomato. Cut the tomato in half.
- Use a spoon to scoop the seeds and the gel into a small mason jar.
- Fill the jar with water until it is half full. Then label your jar with the plant variety. (I like to use glass markers for this.)
- Set the jar on the counter to ferment for a couple of days out of direct sunlight.
- Two or three times a day, swirl the jar to mix it around.
Tip: If you are having trouble with fruit flies attracted to the fermentation, you can purchase fermenting lids off of Amazon.
- After a couple of days, all the pulp and seeds will have separated with the good seeds sinking to the bottom and the pulp floating on the top. The seeds will no longer have that gelly bubble around them. You don’t want to leave them too long (past the two or three day mark) because the seed itself will begin to break down.
- Now, scoop everything off the top that is floating in the jar. That includes any floating seeds because those are not viable seeds.
- Pour the remaining contents of the jar into a fine-mesh strainer and rinse the seeds thoroughly.
- Cover a plate with four layers of paper towel and transfer the seeds onto the paper towel to dry, spreading them out into a thin layer.
- Allow them to completely dry before storing.
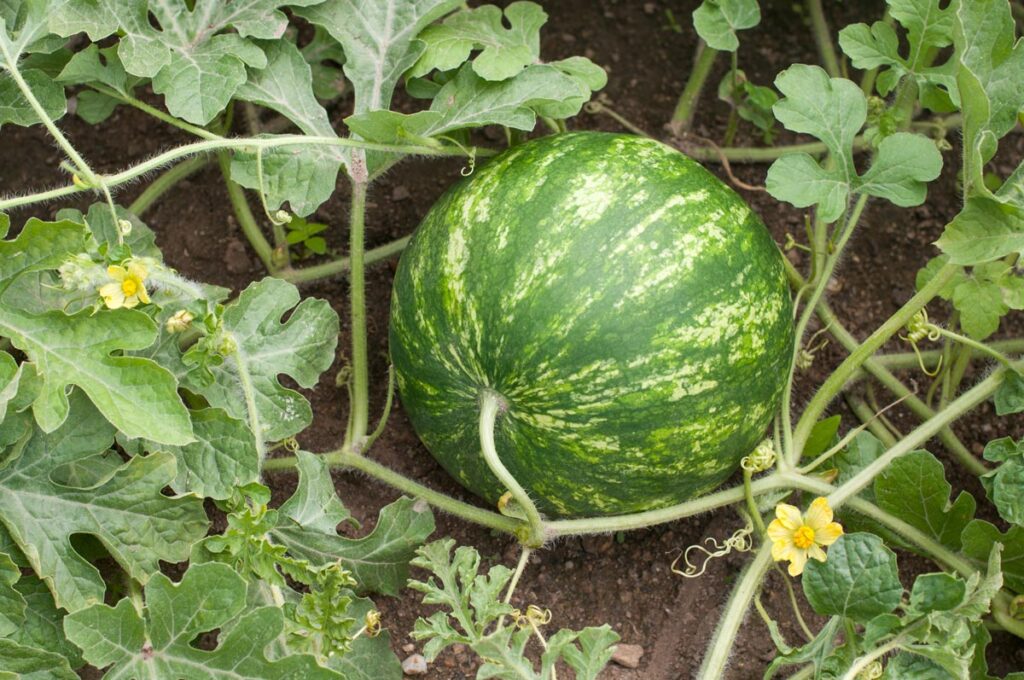
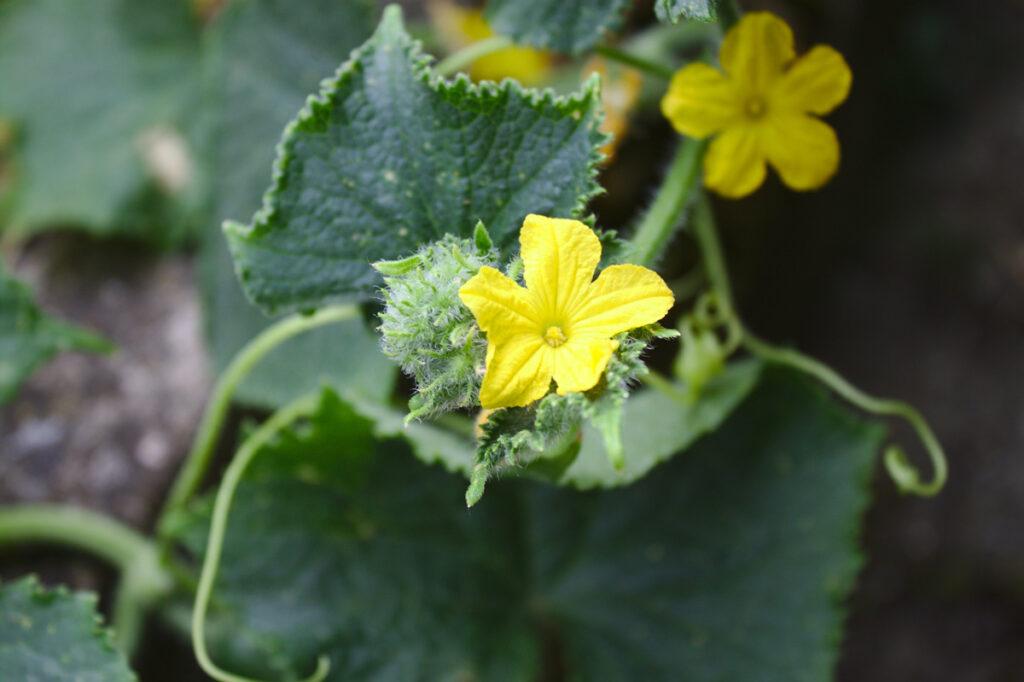
How to Save Seeds From Cucumbers and Melons
For cucumbers and melons, you will use the same process that you would use on any other wet gel-coated seed.
Once you have chosen your mature fruit, follow the above directions for drying tomato seeds to ferment and dry the seeds.
I hope that now you feel empowered to save your own seeds.
You absolutely CAN do it and it is so much fun. If you’re wondering how to store all the seeds you’ve saved, check out Seed Storage.
Until next time, I bless you.
More Related Posts
- A Complete Guide to Vertical Gardening (On a Budget!)
- How to Build a Raised Garden Bed (On a Budget)
- How To Start Tomato Seeds in Solo Cups
- How To Plant Carrot Seeds (For Best Germination Rate)
- Sow Seeds with PERFECT Spacing with this $20 Project
- Garden Planning Basics (How to Plan Your Garden)
- Growing Determinate and Indeterminate Tomatoes
- Growing In Soil Bags-Container Gardening Made Easy