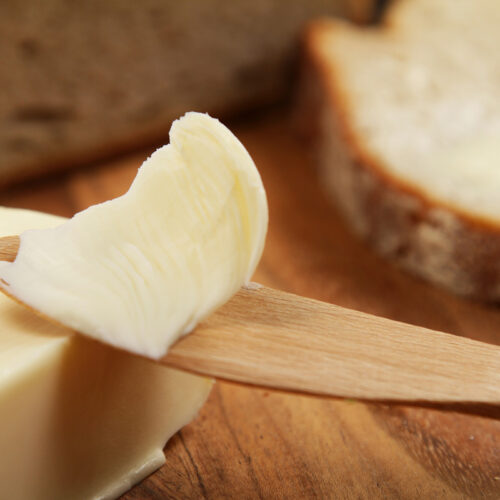
How to Make Homemade Butter
Learn how simple it is to make homemade butter using raw milk from your dairy cow or cream from the store, without a butter churn!
Print
Pin
Servings: 24 Tablespoons
Calories: 268kcal
Equipment
- Cream Separator If using cream from the store or a farmer that has already separated the cream for you, the cream separator is not necessary.
- Stand Mixer w/Whisk Attachment a hand mixer may also be used
- Tea Towel
- Spatula or wooden spoon
- Colander or strainer
- Bowl
- Water lukewarm is best
- Airtight Container
Ingredients
- 1/2 Gallon Fresh Cream Store bought whipping cream can also be used.
- 1/2 Teaspoon Salt or to taste
Instructions
- Run farm fresh milk through the cream separator. Put the cream into a container (I like to use Mason jars), and allow it to settle for at least 4 hours.
- Remove the heavy cream from the refrigerator, and pour into the bowl of the stand mixer.
- Using the whisk attachment (or hand mixer), mix on high until whipping the cream forms stiff peaks. Continue mixing through the whipped cream stage until solids appear. You will notice as the solids (which is the butter fat) begins to form, the cream volume will seem to fall. Pro Tip: To keep the cream from splashing outside of the bowl, drape a tea towel over the top of the stand mixer.
- Stop and scrape the solids off the sides of the bowl to make sure everything is being equally incorporated. You may have been mixing for 20 minutes by now. Start mixing the cream again on medium speed.
- Paying close attention, stop the mixer and remove the whisk, as soon as the solids start to all come together. When this happens, you should have lumps of butter and thin liquid buttermilk in your bowl. Pro Tip: You can save the buttermilk and use it in recipes that call for buttermilk. Just keep in mind that it will not have the same tang as store bought buttermilk because it is not cultured.
- Pour the butter and buttermilk through a colander (or strainer) to separate the butter from the buttermilk.
- Take the lump of butter in your hands and begin rinsing it under room temperature water, squeezing out all of the excess buttermilk as you rinse. Keep working and squeezing the butter and alternately rinsing it under cool water until you are satisfied that all of the buttermilk is rinsed out. Pro Tip: Make sure ALL of the buttermilk comes out of the butter. Any buttermilk that remains in the butter will go rancid quicker than the butter and spoil it all. If your butter starts to smell cheesy in a few days, you know that you have buttermilk left in it. In that case, use it quickly because it will not last much longer before spoiling.
- If you prefer not to have unsalted butter, sprinkle some salt on and mix it in. I recommend adding salt in small increments and taste testing it until you get it how you like it. Pro Tip: In addition to flavor, salt also helps remove moisture from the butter, which will aid in preserving it longer.
- Store butter in an airtight container in the refrigerator, or wrap in plastic wrap and freeze it for up to a year.
Nutrition
Serving: 1Tablespoon | Calories: 268kcal | Carbohydrates: 2g | Protein: 2g | Fat: 28g | Saturated Fat: 18g | Polyunsaturated Fat: 1g | Monounsaturated Fat: 7g | Cholesterol: 89mg | Sodium: 70mg | Potassium: 75mg | Sugar: 2g | Vitamin A: 1159IU | Vitamin C: 1mg | Calcium: 52mg | Iron: 1mg